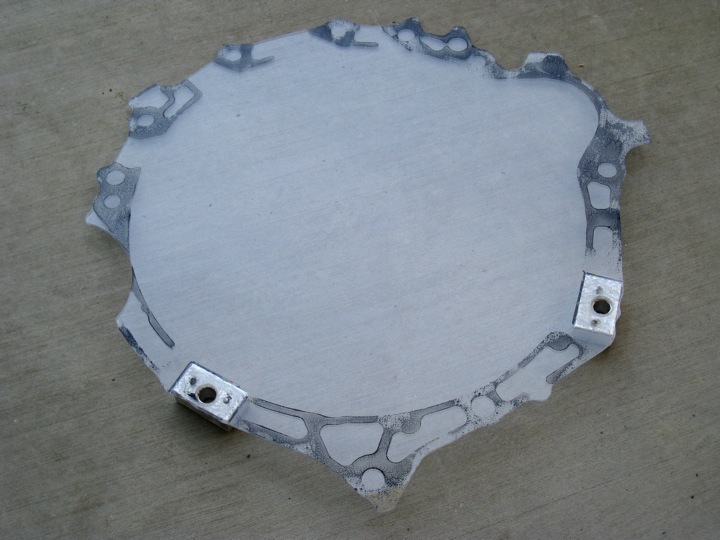
I mailed the adapter template to my father and ordered a piece of aluminum plate (15" x 23.6" x 2.2") to be delivered to his address. He's helping me out by machining the adapter. While that's going on, I thought I would post a photo of an important tool for acquiring accurate measurements .
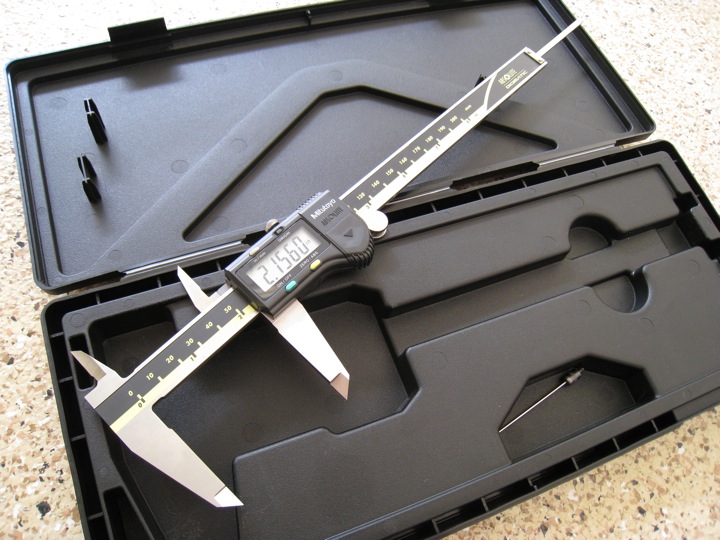
Monday, April 20, 2009
Tools for precision
Saturday, April 4, 2009
The adapter template
Here is the finished adapter template:
With the rough cut plexiglass template clamped to the transmission, larger than necessary holes were drilled over the location of the 10mm pin holes. Next, aluminum blocks were drilled to snugly slide over the alignment pins. With pins in the transmission, the aluminum blocks were slid over them and epoxied to the plexiglass. 2 small nails (with heads cut off) were also glued through the blocks and plexiglass to ensure the blocks would not shift making them 'bulletproof'.
I trimmed the plexiglass with a rotary tool to match the shape of the transmission bell housing exactly. The aluminum blocks align the template perfectly and ensure that this trimming pass results in a precise duplicate of the original flange.
Finally, I took a 'fingerprint' of the transmission flange. First, I removed the template. Next I coated the flange with some black acrylic paint using a paint roller. While the paint was still wet, I took the template, carefully lined it up to the pins, and slid it on, pressing it firmly against the flange. When I pulled it off, it created a great visual guide for machining the final aluminum adapter plate.
Subscribe to:
Posts (Atom)