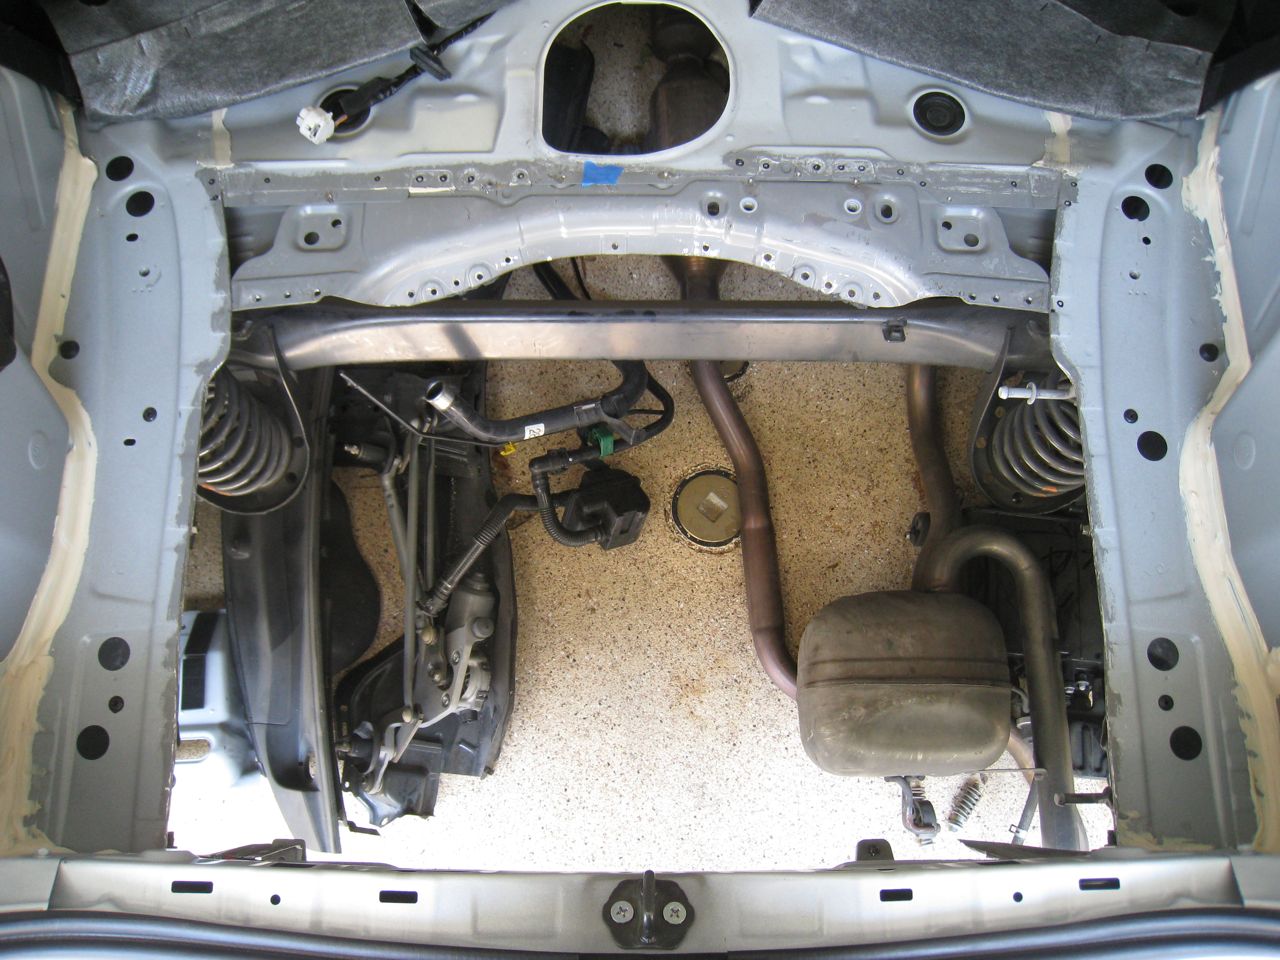
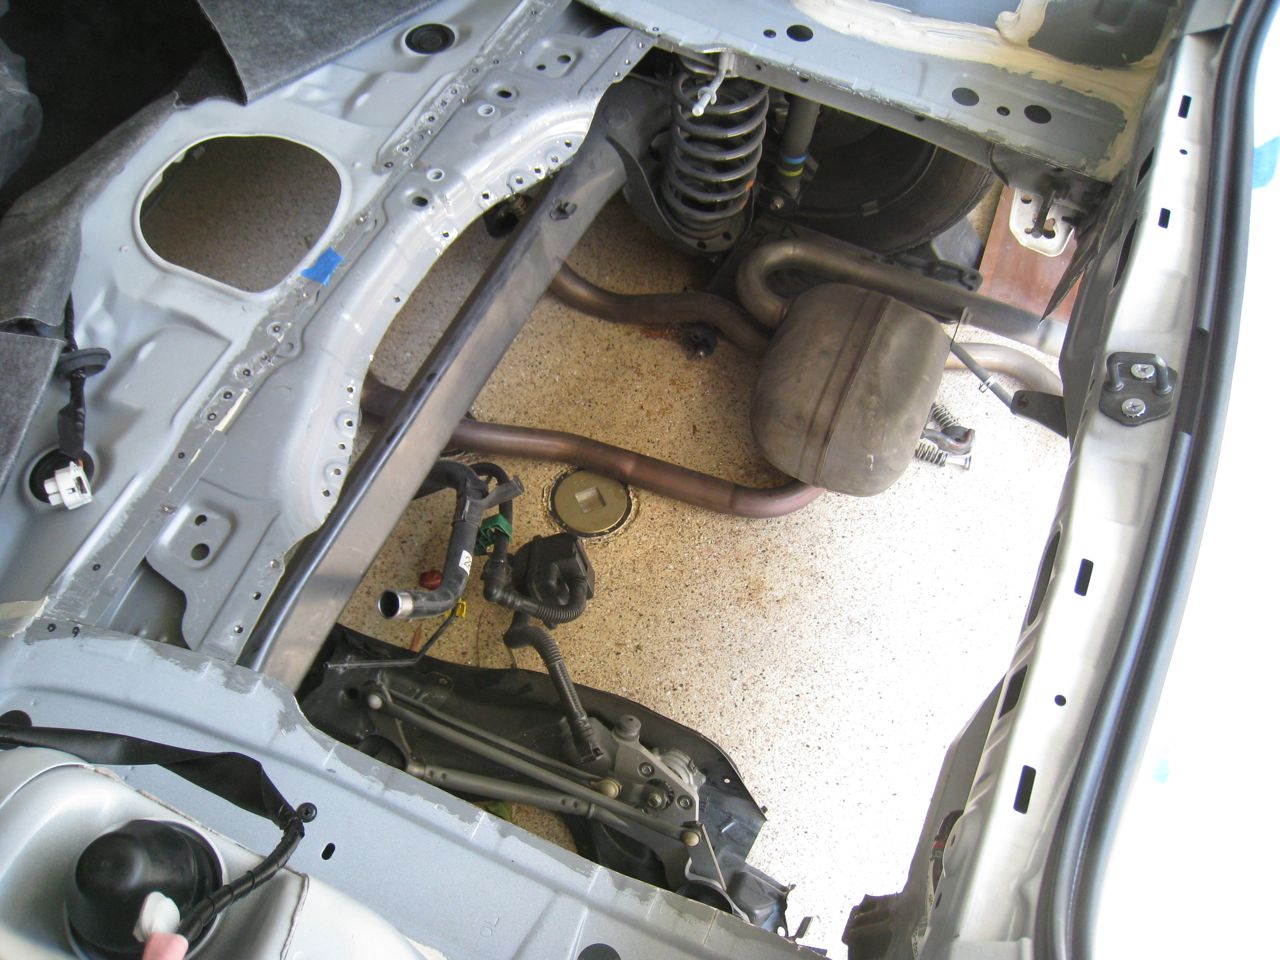
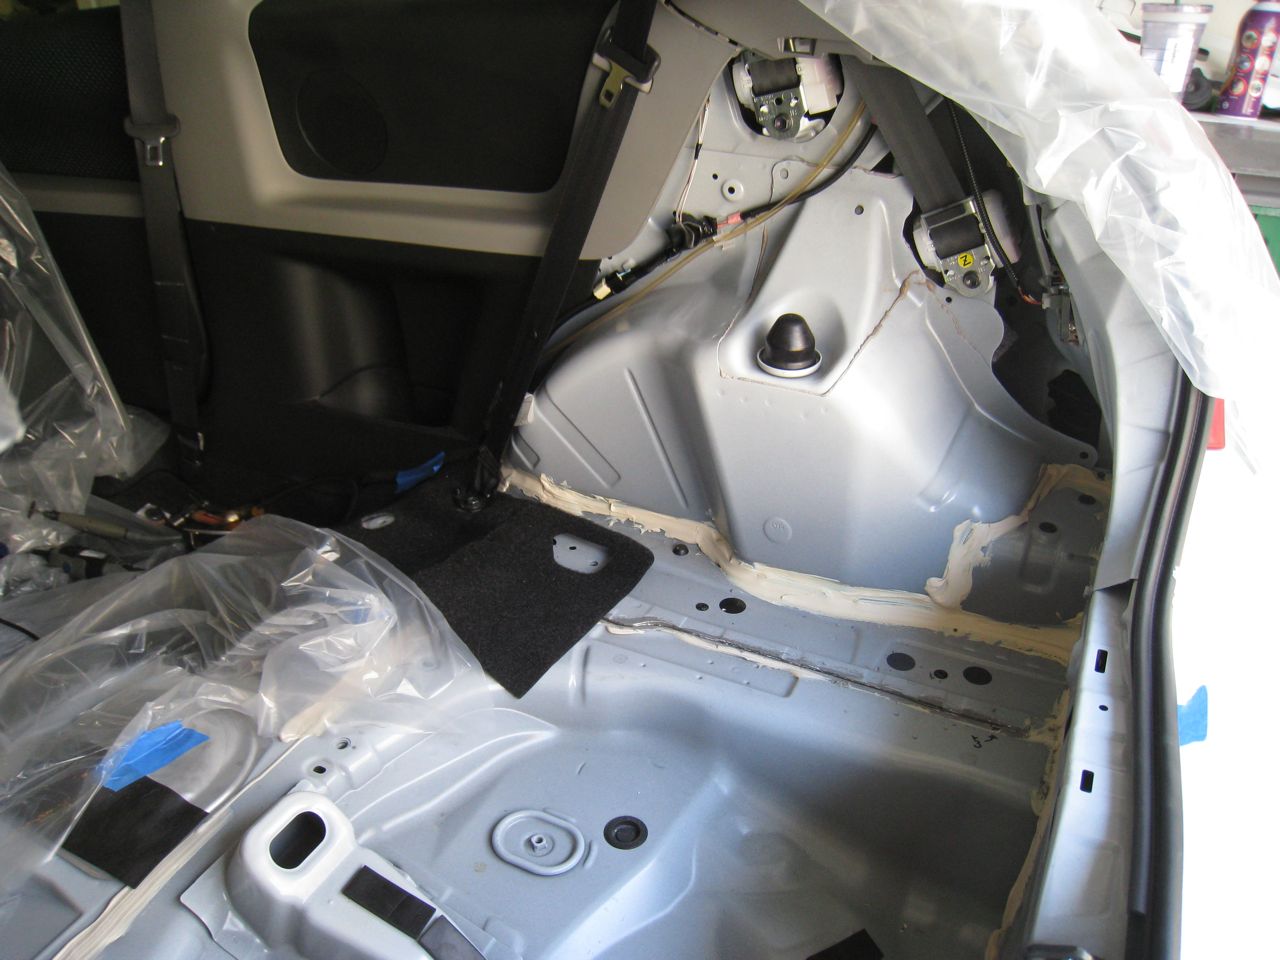
After days of cutting, grinding, prying, and drilling, I was very happy to snap these pictures of the void that will soon house the first rear battery box:
 Going back a bit, here's how things went down. I had to remove some more interior plastic panels from the trunk area to get better clearance on the sides and rear bumper end for more cutting.
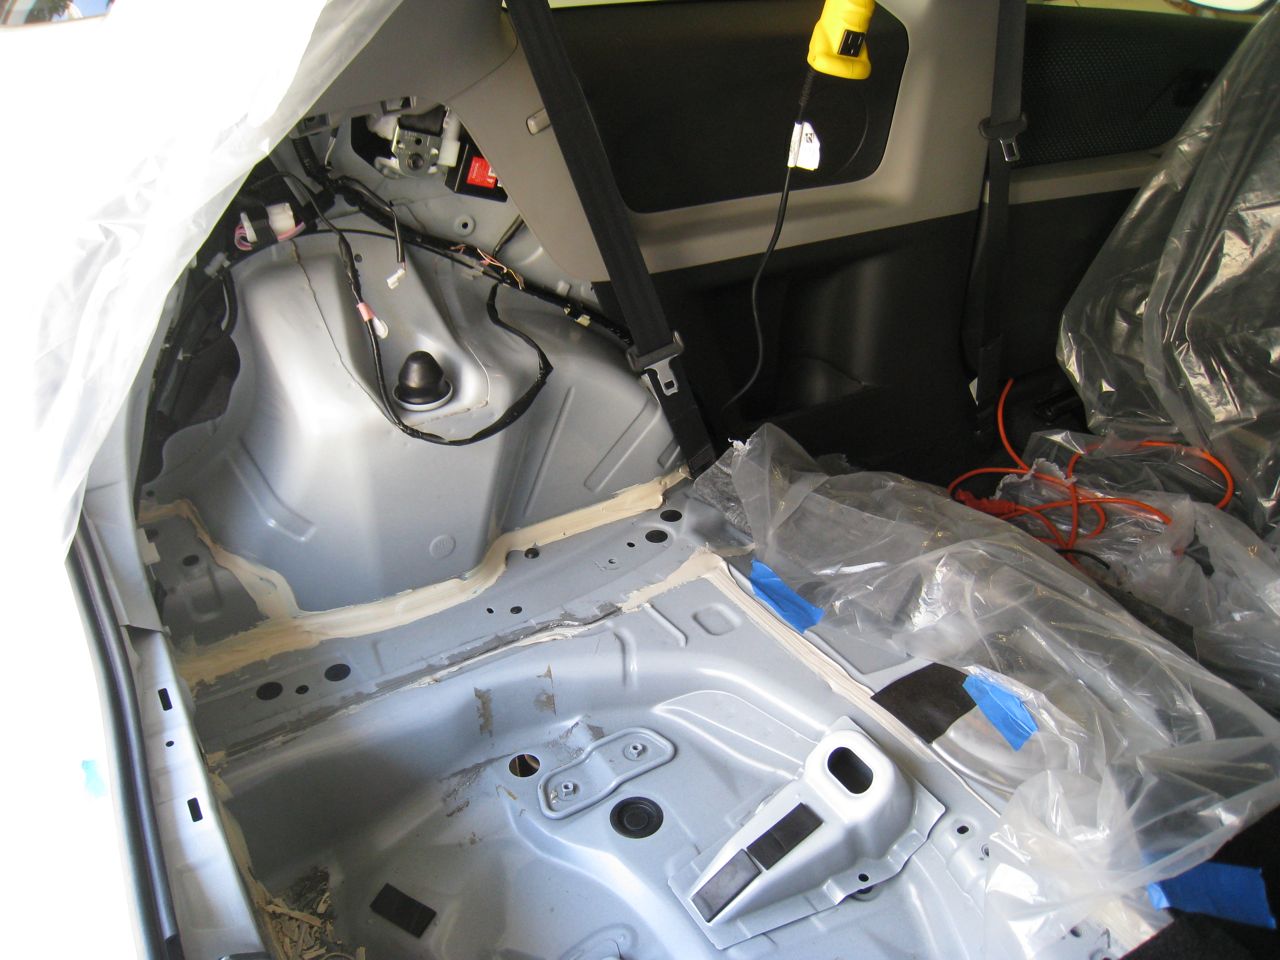
 I removed this small stamped metal cap that used to sit over the gas tank. It was held in place with some type of sealant that never dries out so I had to use a solvent to clean it up.
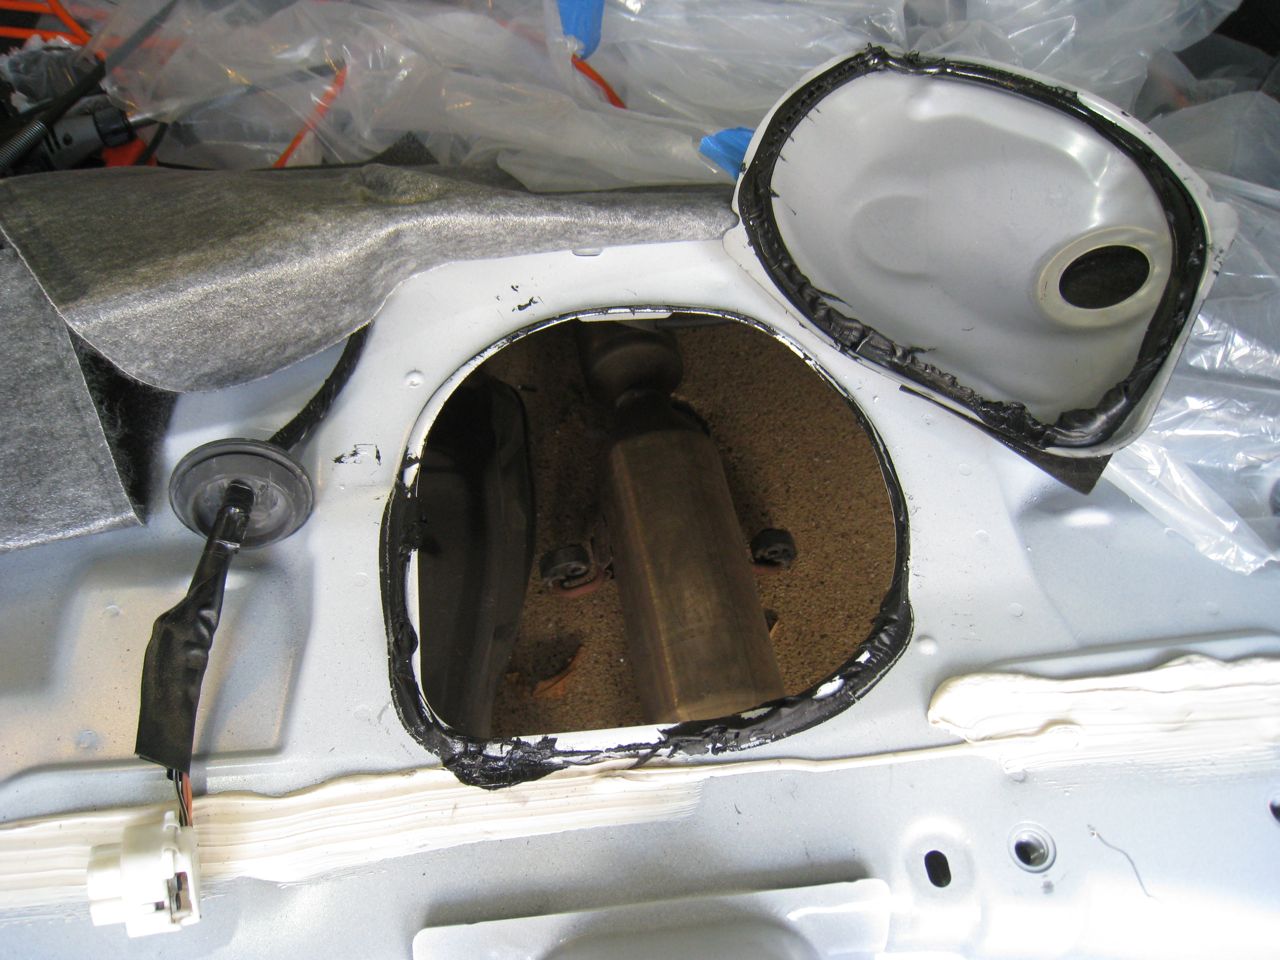 As I started to work along the edge that is closest to the front of the car, it became very clear that I could not simply cut through the metal without damaging the structural frame that crosses the rear of the car. So, I decided to start drilling out the spot welds so that I could pry the metal apart. I used a metal punch and hammer to create a center point for drilling, then used a 1/8" bit followed by my Unibit to enlarge the holes until the welds were gone. I had to use a chisel and hammer to separate some of the difficult welds that weren't completely removed by the drilling pass. Here's a shot of the carnage in progress:
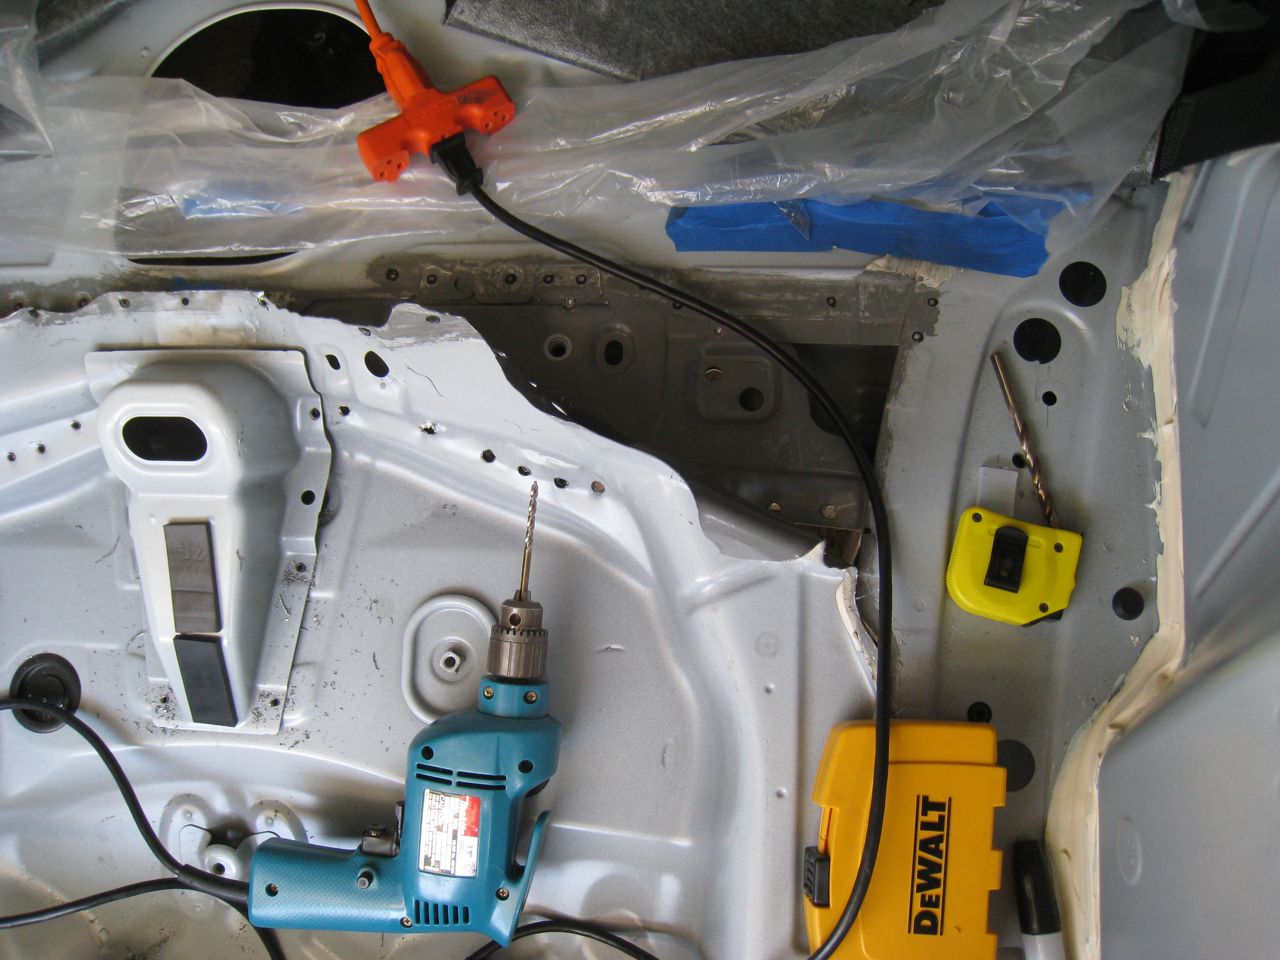 There was a single weld hidden under the spare tire mount that prevented me from freeing the front end of the well. In the end, I had to remove this part just to gain access to that last spot weld. Below is a photo of the mount once it came off.
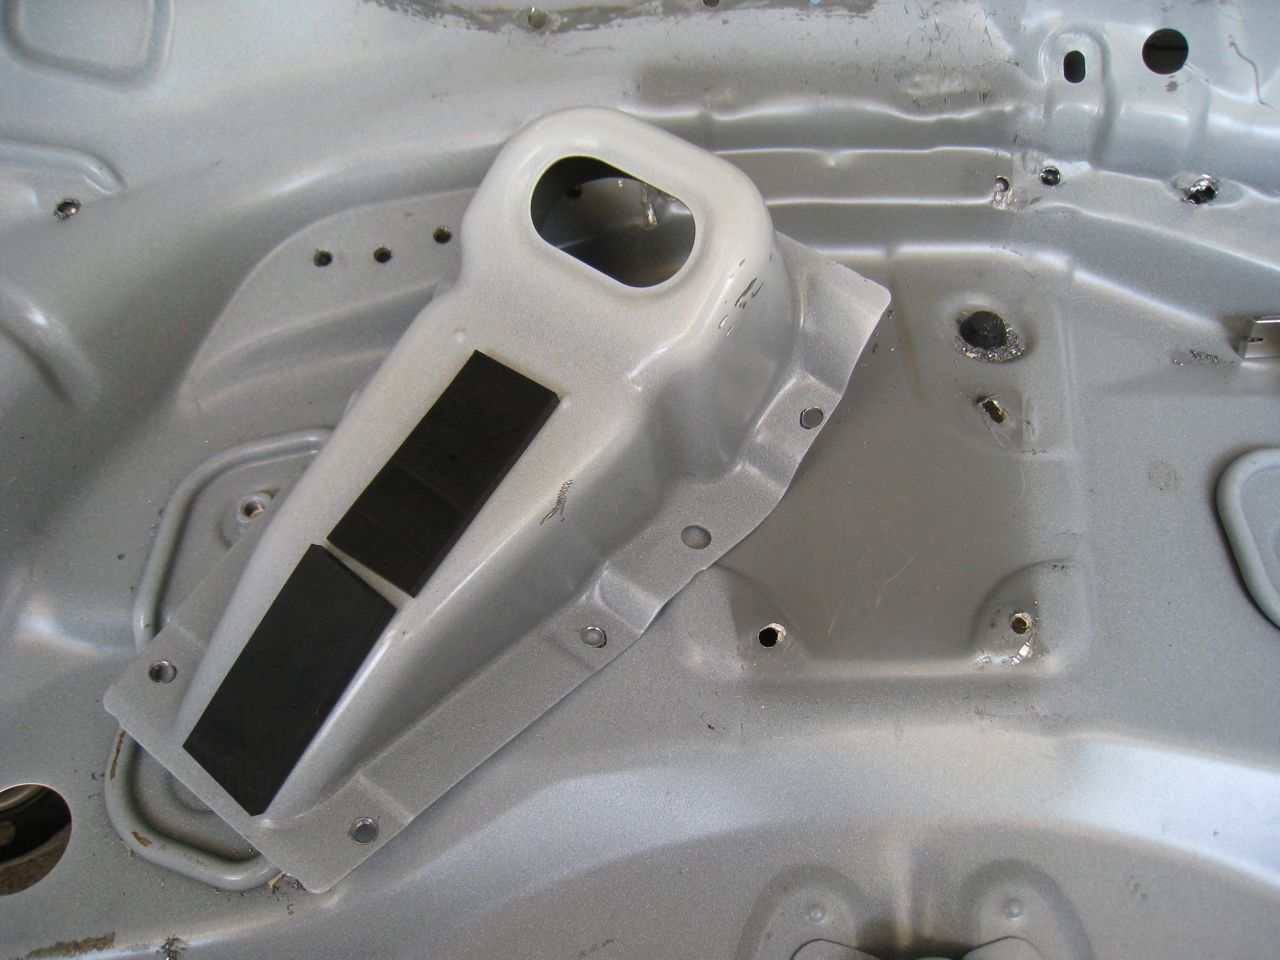 Several hours were spent working along this edge and the result is this crazy looking mess of metal. The panel was free on three sides at this point and all I needed to do was cut along the rear bumper side to finish the job.
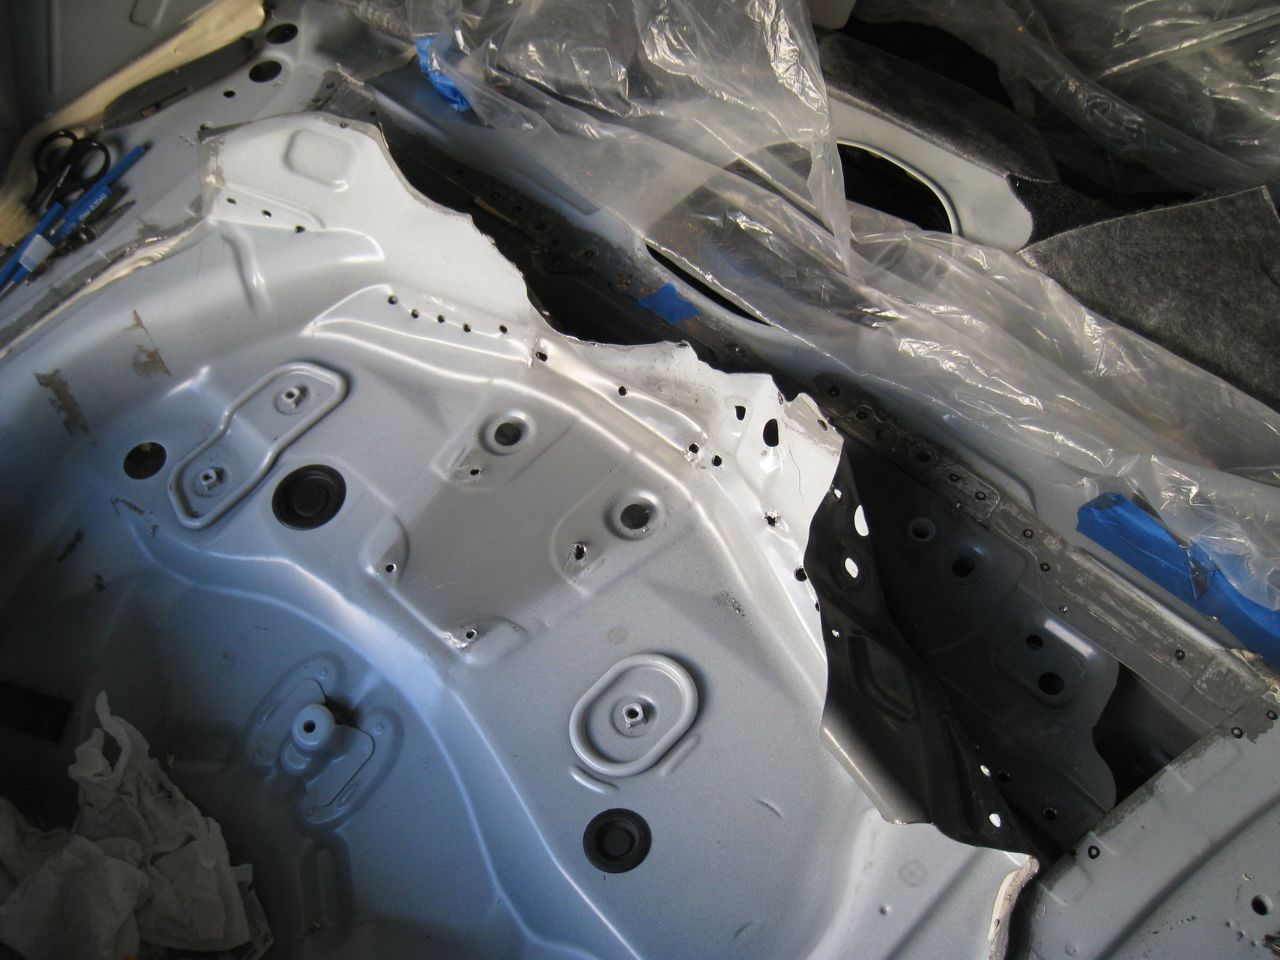 Removing spot welds was such a tedious process that I looked around for a better tool to do the job. I ended up ordering a spot weld removal bit from amazon.com that is designed for this kind of work. It's 8mm and has a flat profile with a small point in the center. It cuts much more like an end mill cutter than a drill bit. I plan to remove more of the body work where the rear passenger seats were so this bit should make things easier:
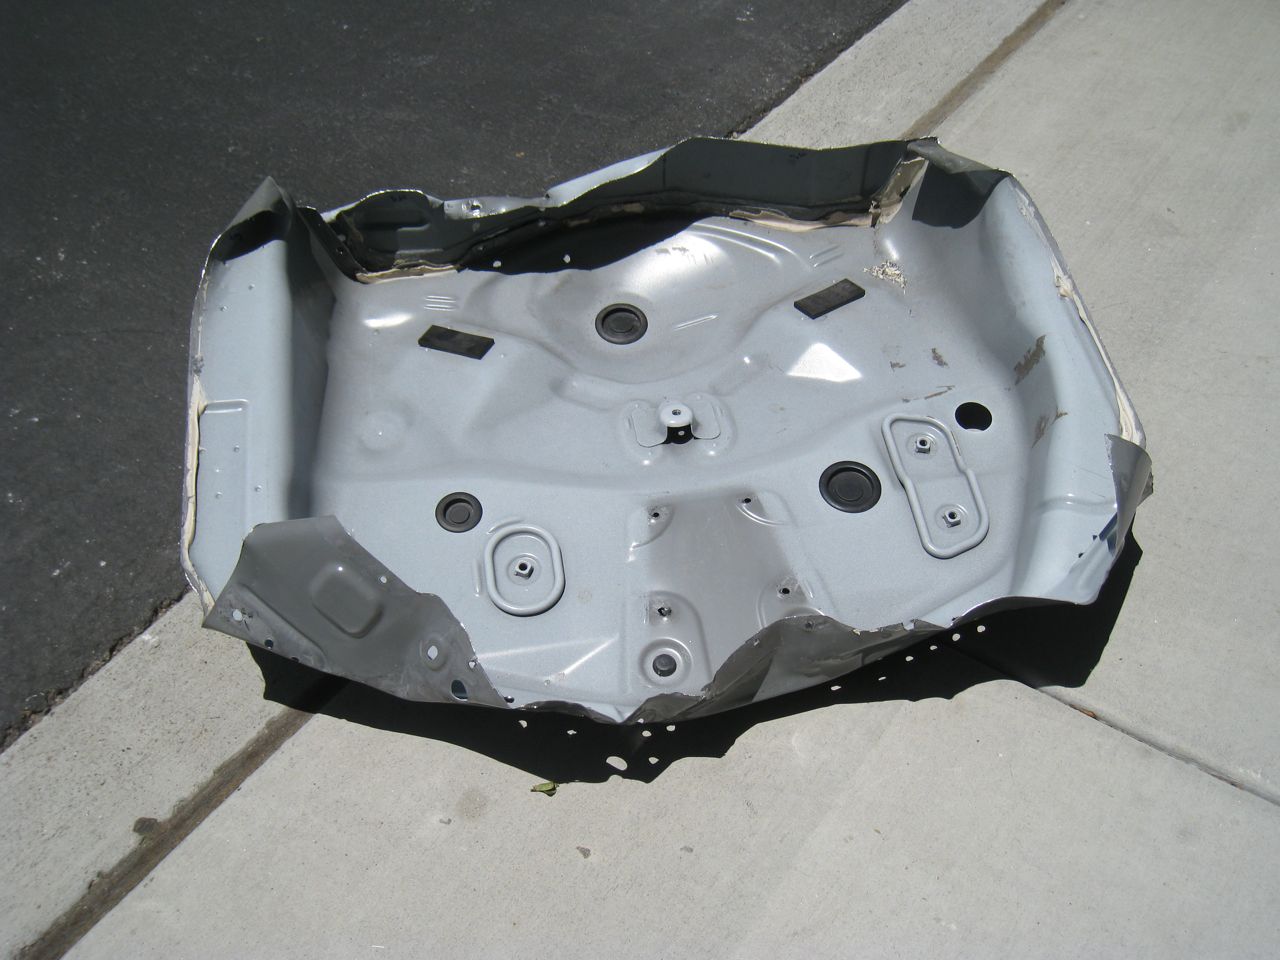
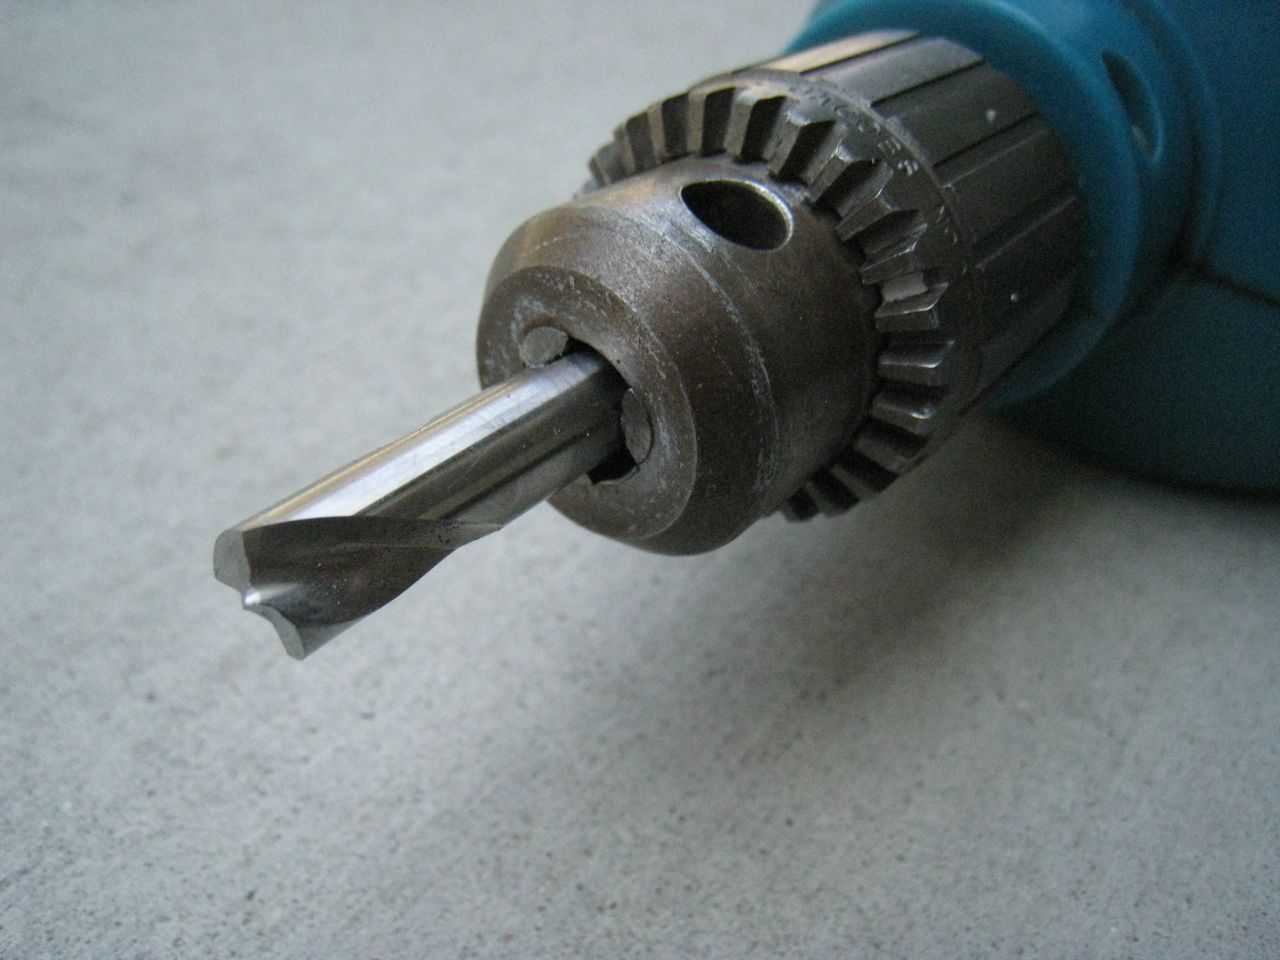 Finally, here is a photo of the sheet metal body panel once I got it out of the car. I mangled it pretty good in the process. Knowing you're not going to put it back certainly gives you some freedom.