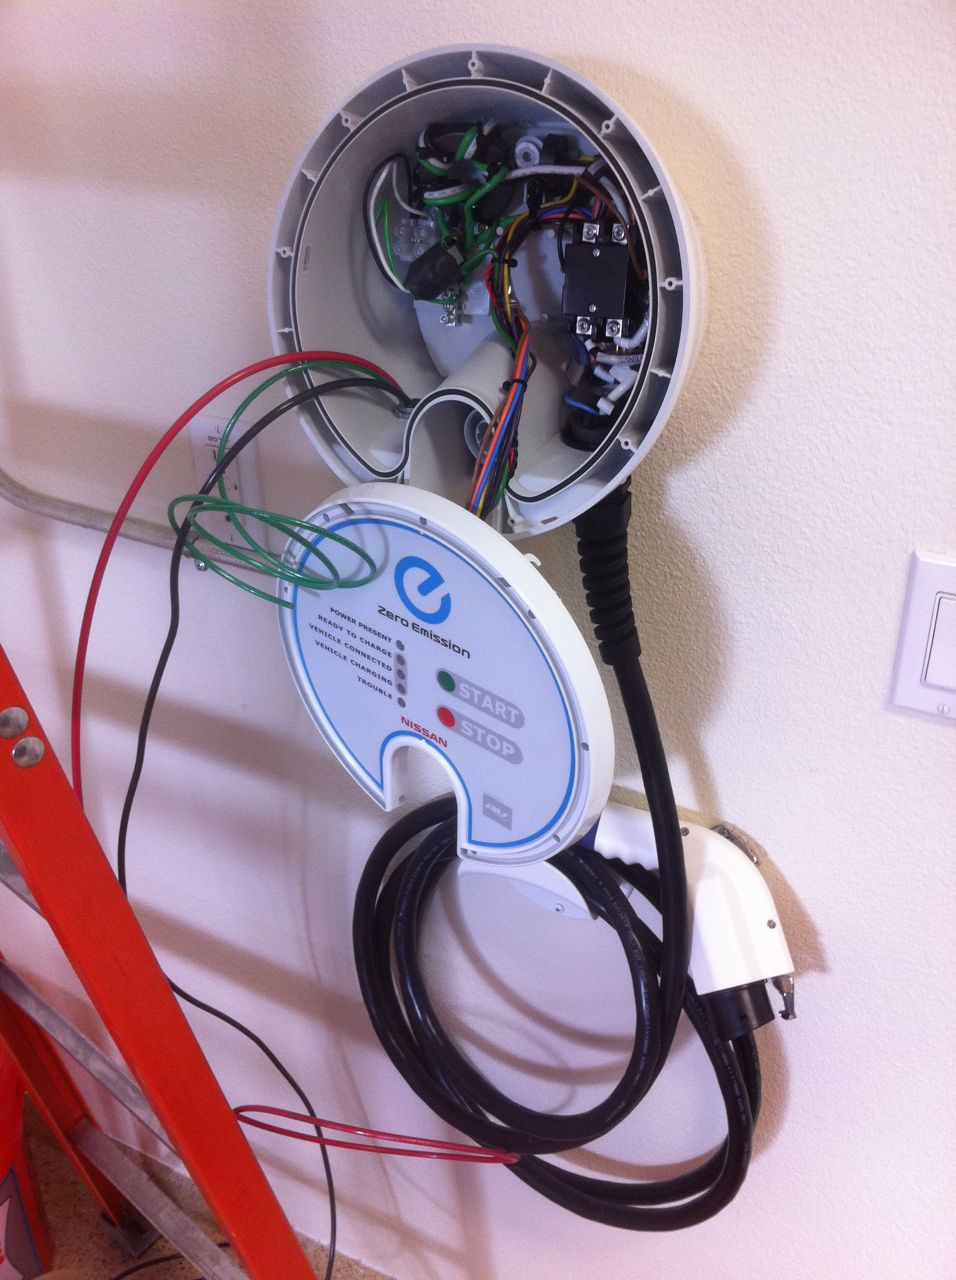
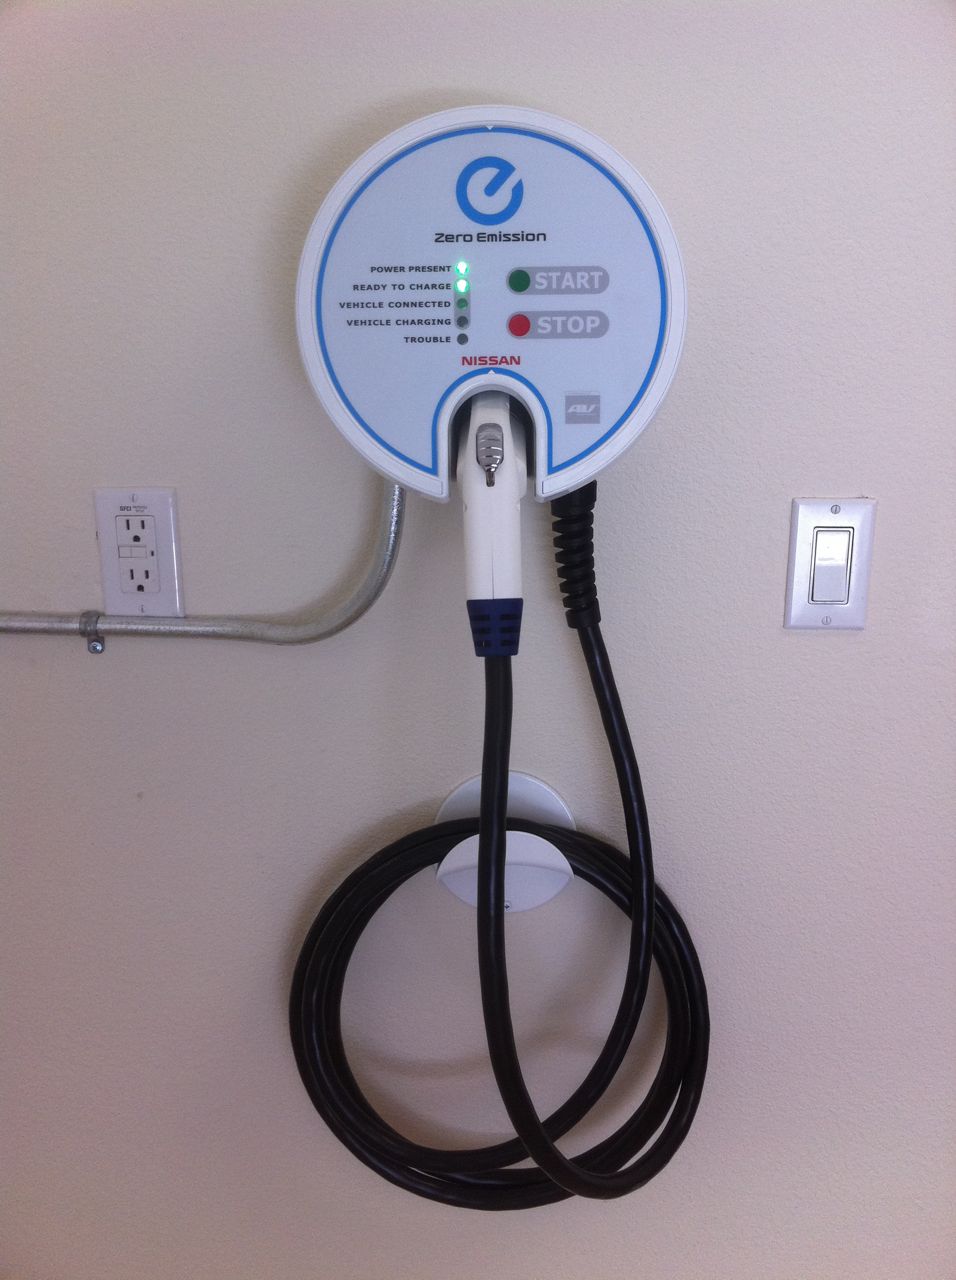
Today the Aero Vironment charging dock installation was completed so that we can start charging the Leaf at 240V. I took the opportunity to also pre-wire the garage for a second unit in front of where I park the Yaris. Whether I install another Aero Vironment dock or one from a different manufacturer, the hard work of running the lines from the panel to the garage is done. Here is the unit powered up and ready to charge an EV:
Friday, June 24, 2011
Alternative fuel infrastructure
Monday, June 20, 2011
Metal!
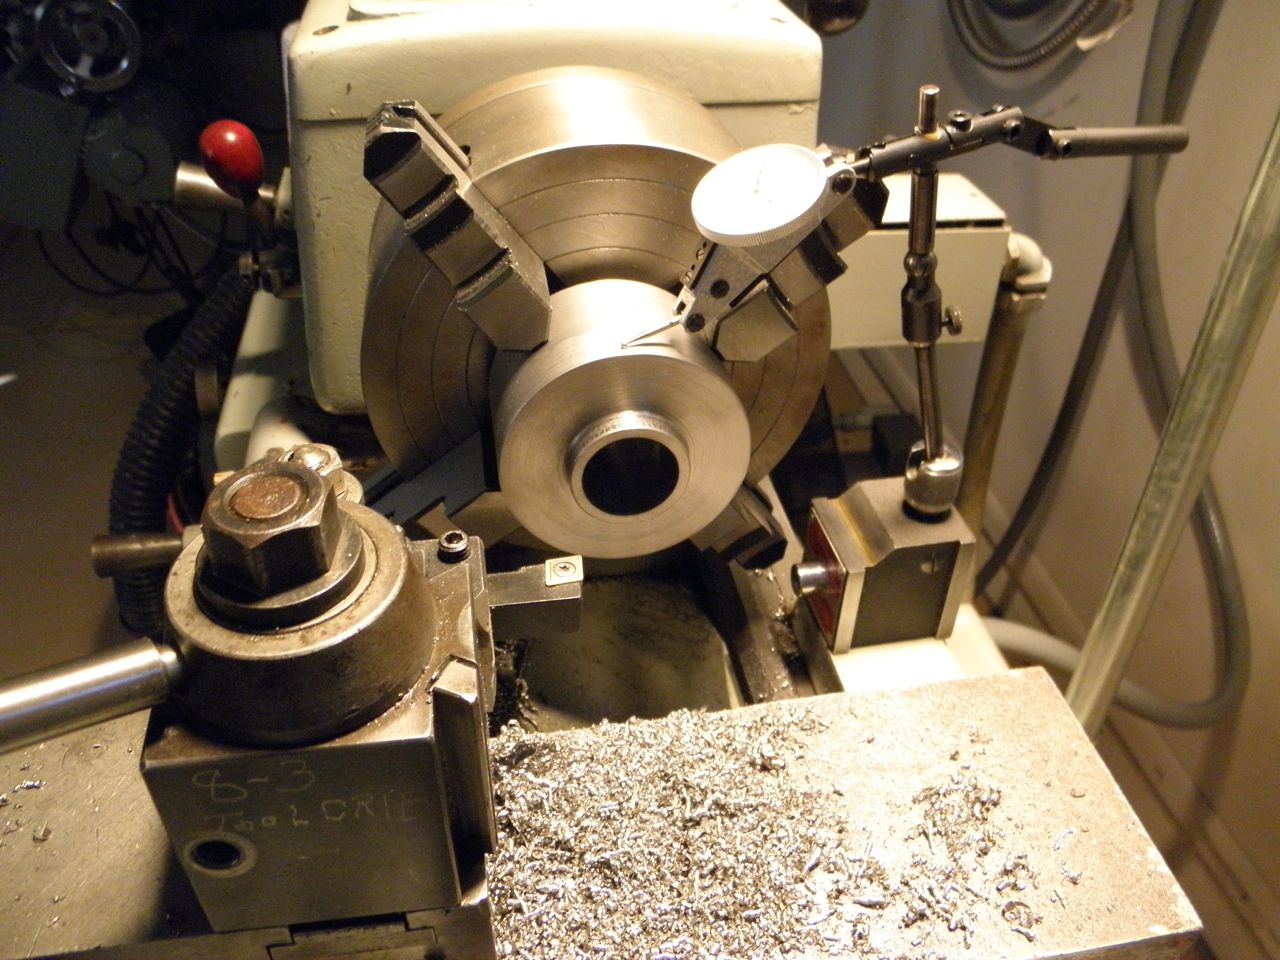
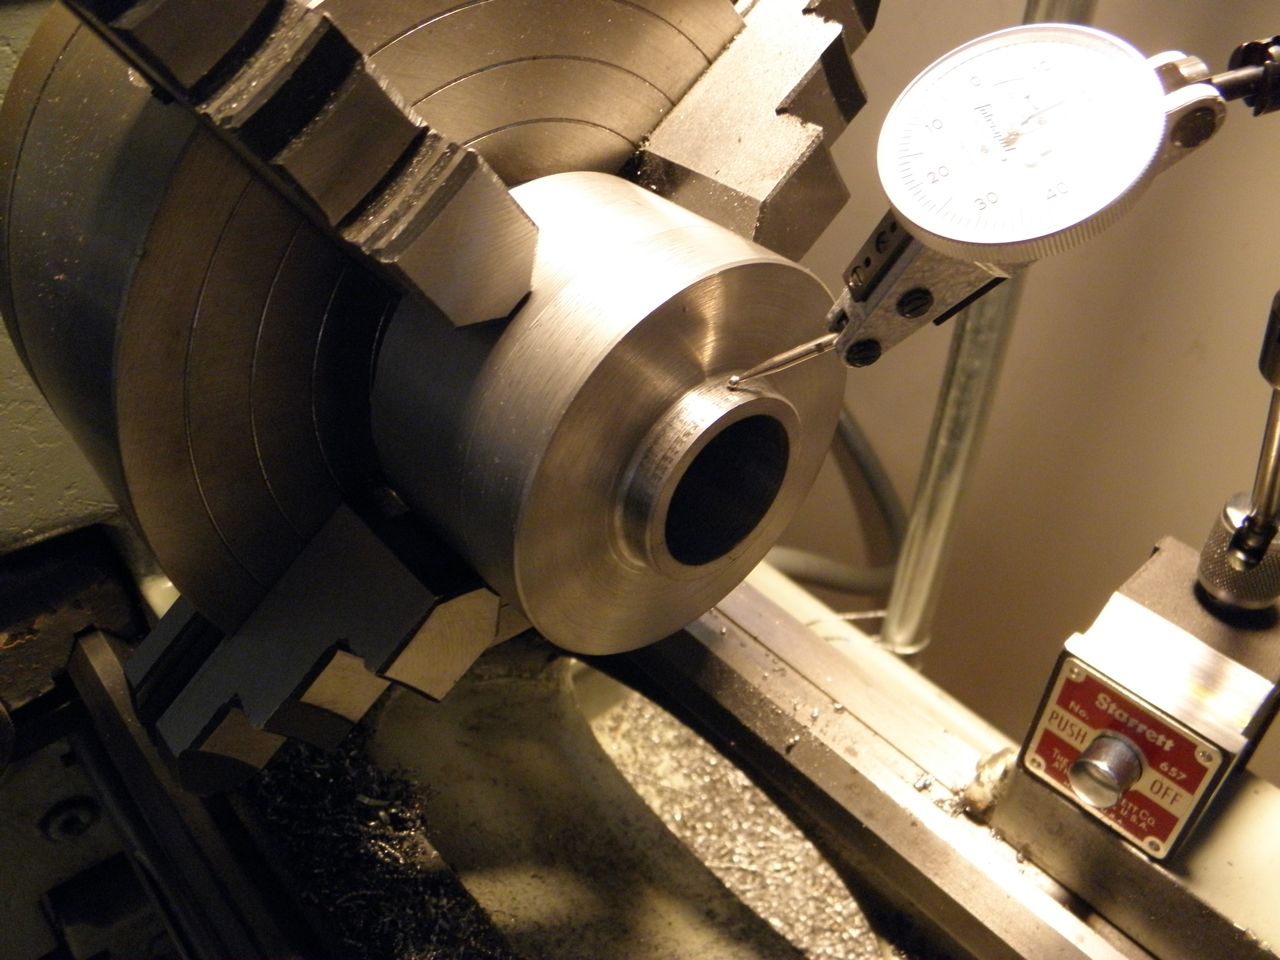
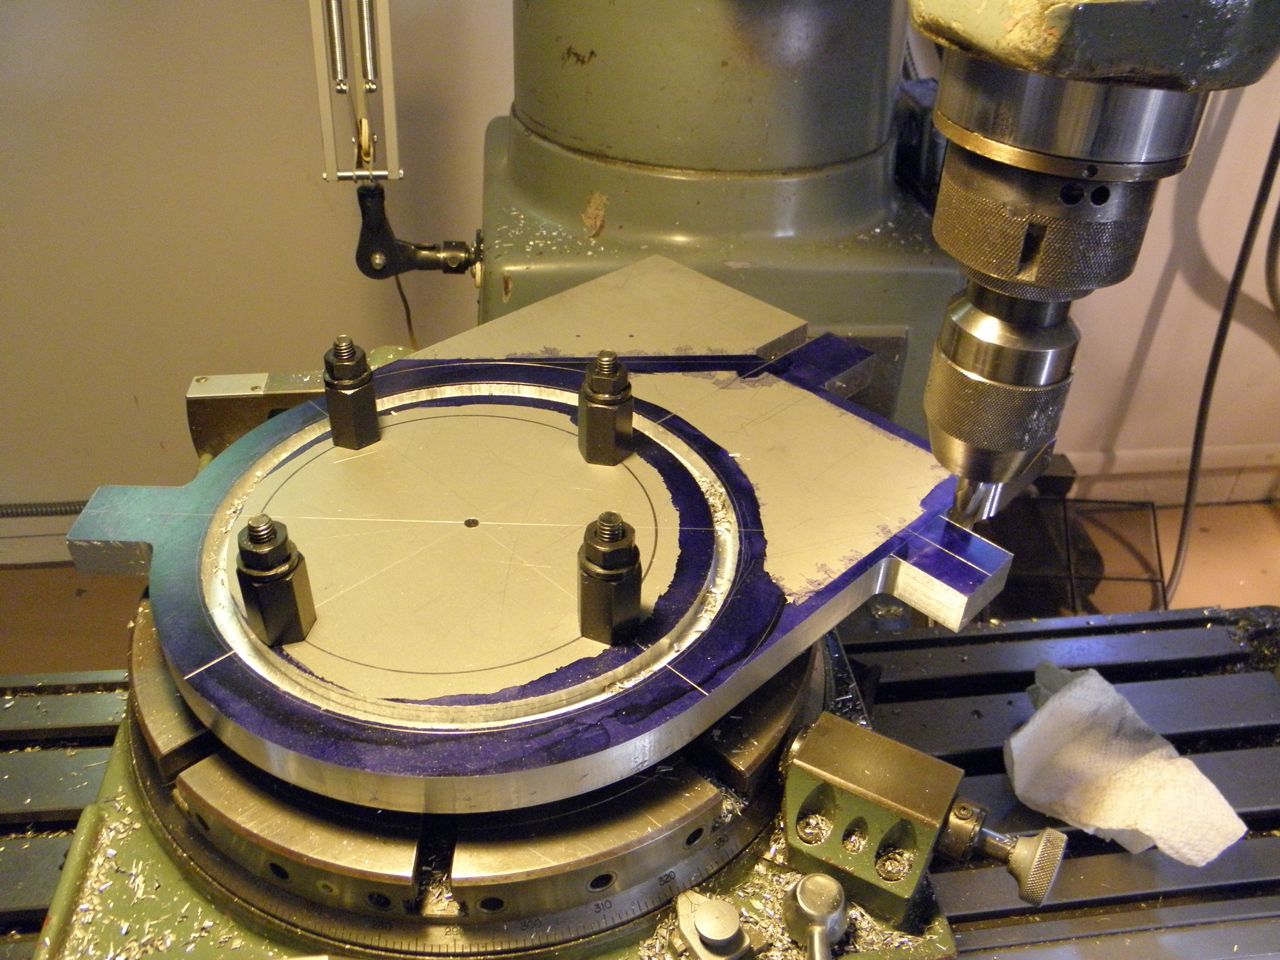
Here are two update photos of the motor-flywheel adapter being machined. This part is being turned on a lathe from a solid piece of 4130 (chrome-moly steel). It will installed on the drive-end motor shaft with and secured using the keyway (and probably a set screw to really keep it secure). Six holes will be drilled into the face so that the flywheel/clutch assembly can be attached the same way it did on the gas engine.
Above you can see a dial indicator which can be used to ensure a surface is within allowable tolerances as it rotates. It's critical that the face of this part be square to the center line of the motor shaft so that the flywheel will not wobble as it rotates.
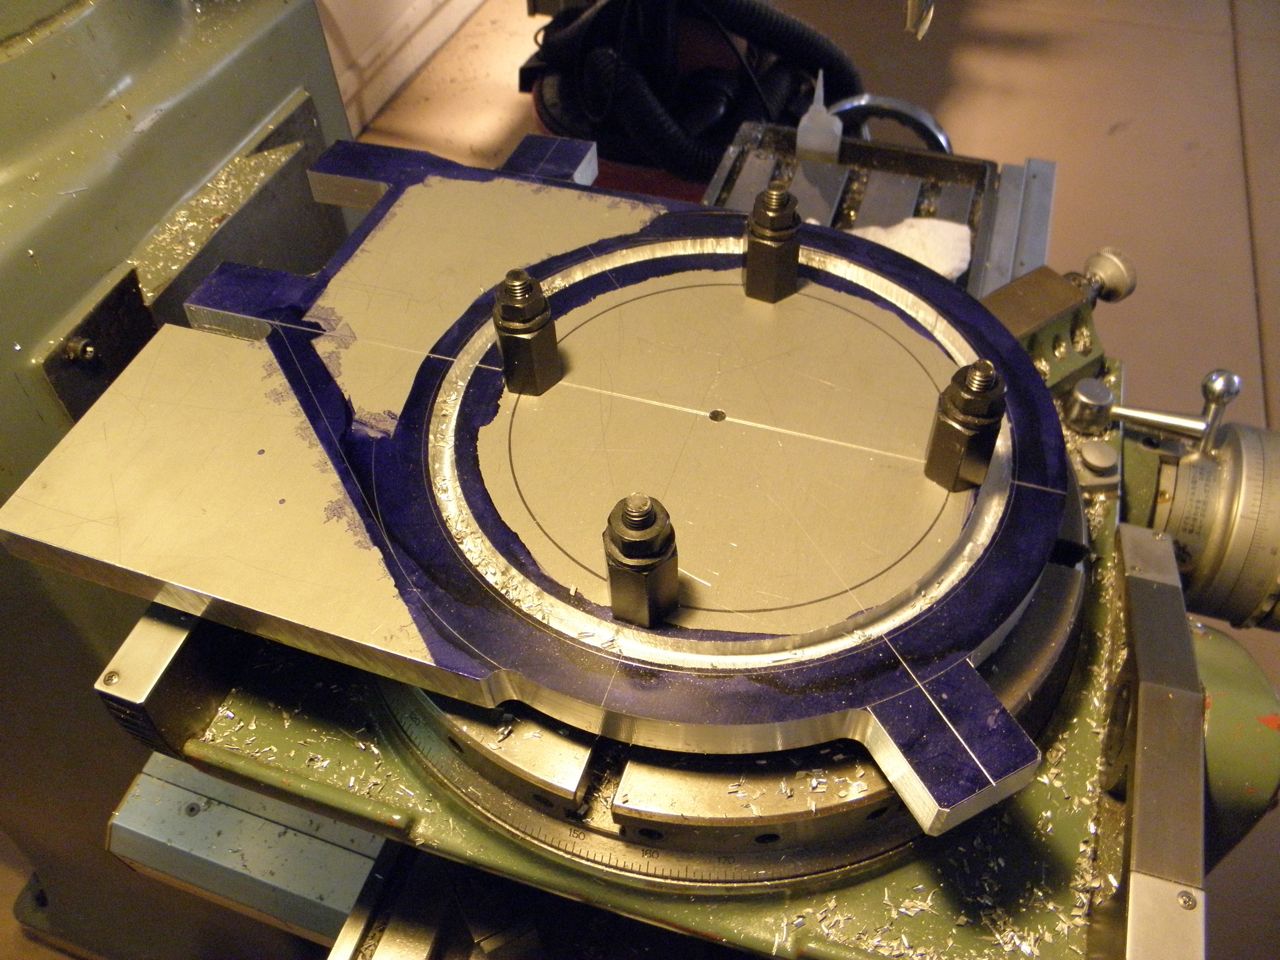
Below is the aft-motor mount being fabricated. This will support the commutator end of the motor and bolts up to one of the OEM motor mounts already in the car. It's going to be made from multiple pieces. Here are the two largest pieces being milled as a single piece to be split at the end so that the two halves can be installed around the motor in a cradle-like configuration.
A third piece is needed to connect the cradle plate seen above to the OEM motor mount. This piece is in essence an adapter and many measurements were take to ensure that the geometry of these parts would result in a shaft alignment that matched the original gas engine. With these parts completed, the mechanical drive-train will be complete. Back to cutting up the car!
Saturday, June 18, 2011
Down but not out!
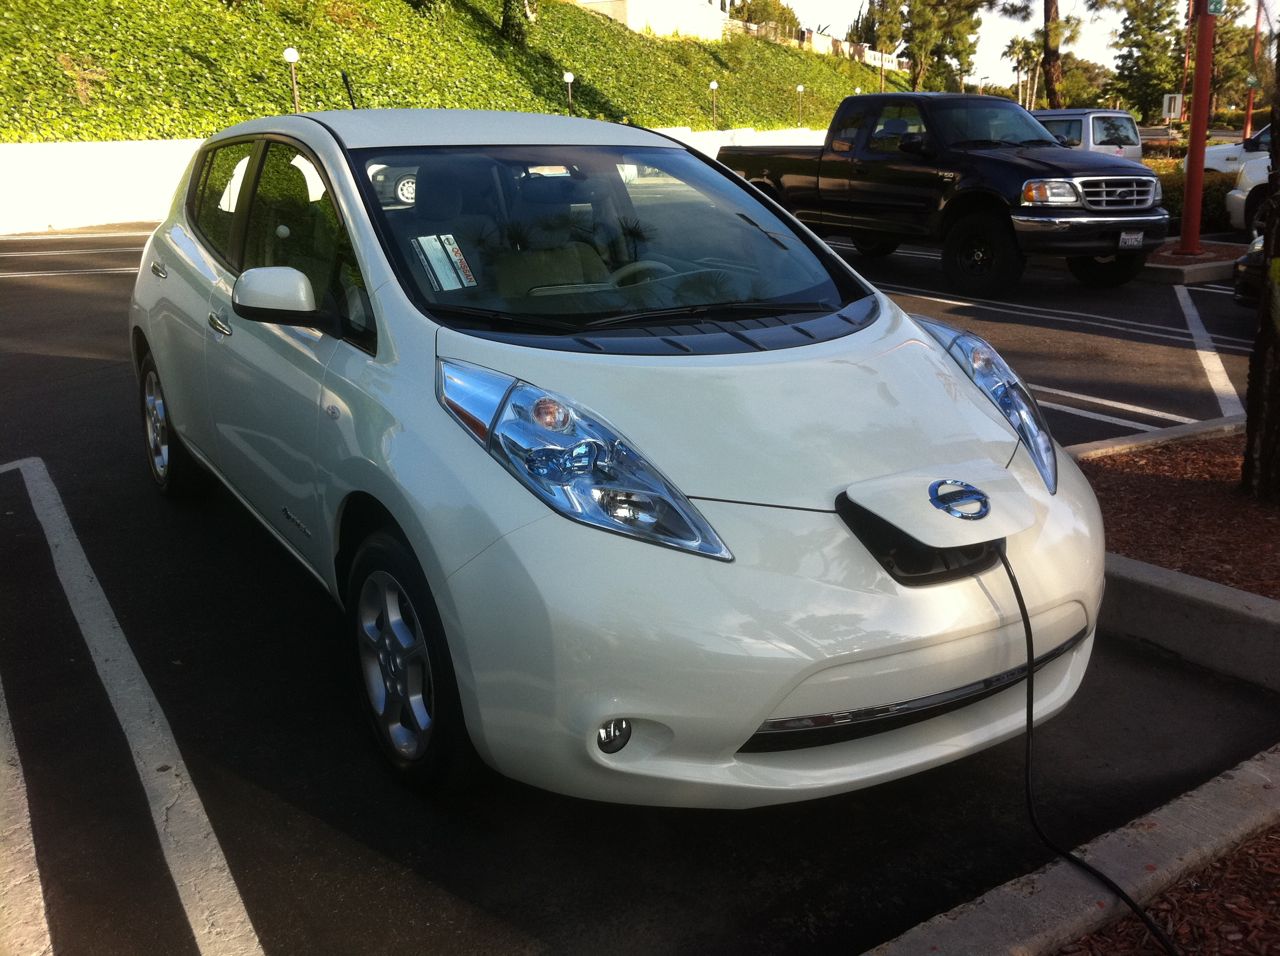
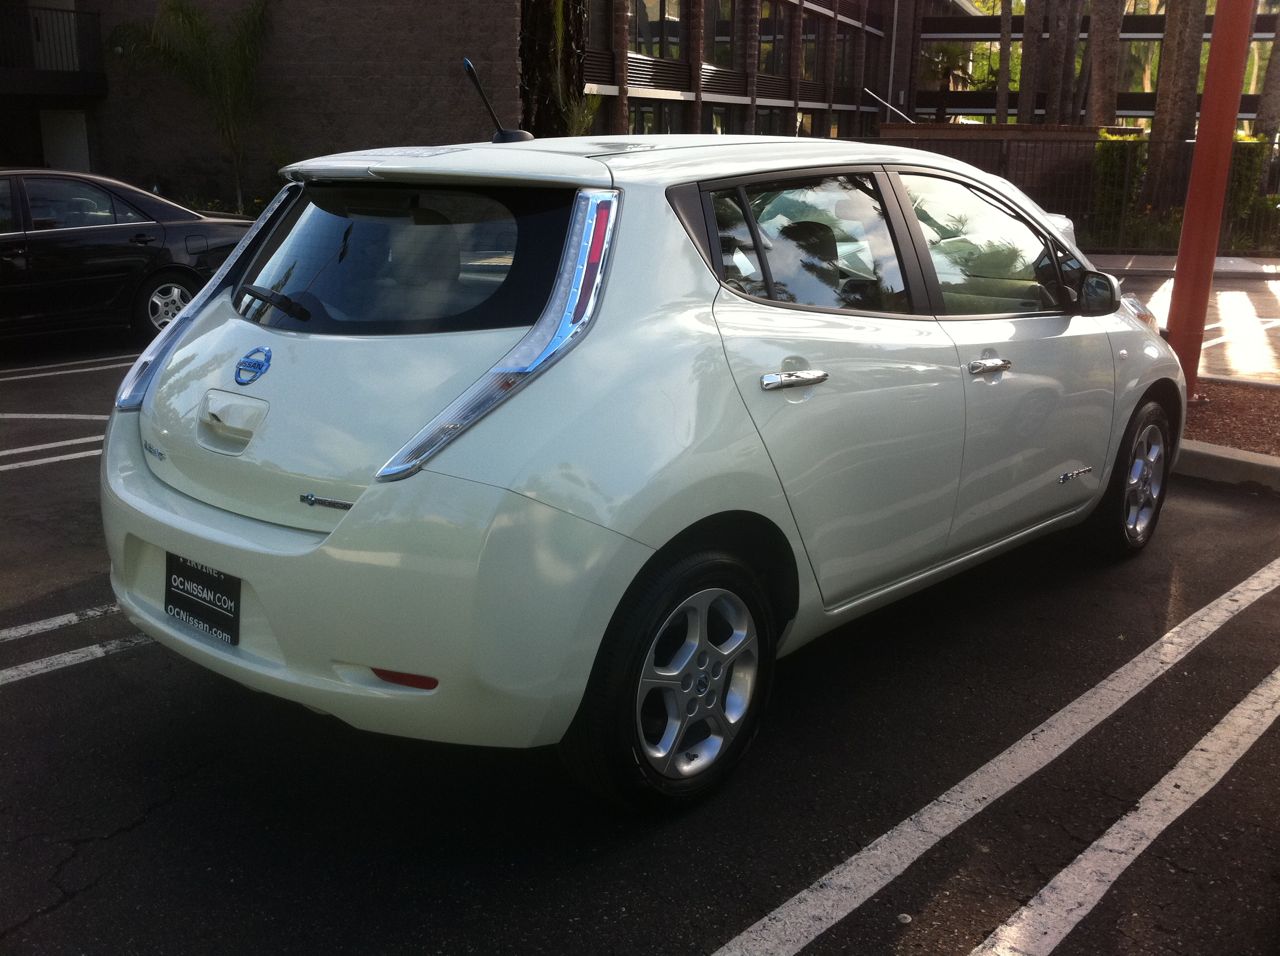
We had a major house disaster last month that put the EV project on hold for 3 weeks while we lived out of a hotel. However, we are back in our home and had a surprise turn of events. We picked up a Nissan Leaf EV and have been living with it for at least 3 weeks now. This has given me tremendous insight into life with an EV. It's been VERY good. Here's our new ride:
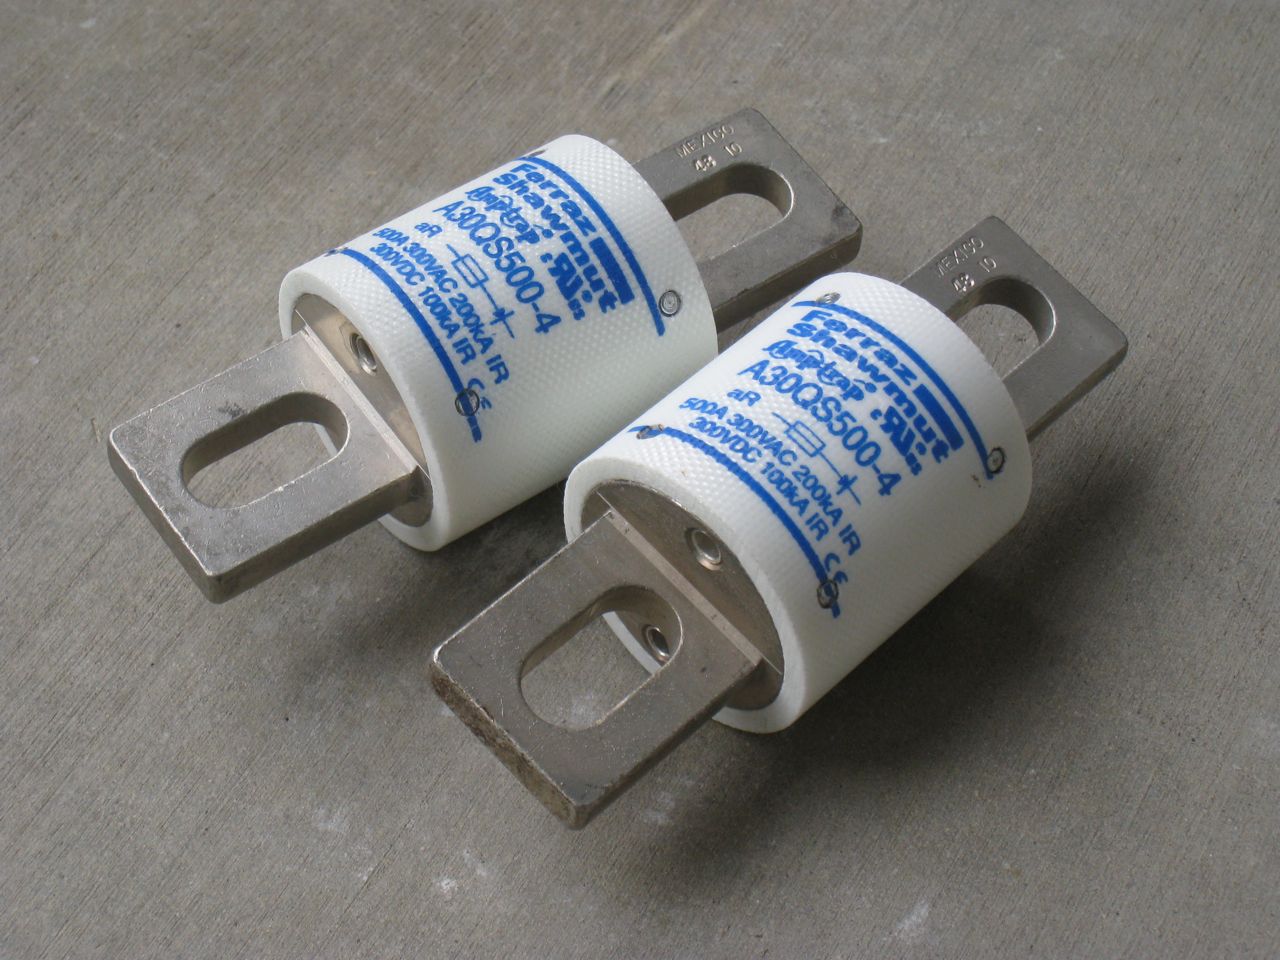
Back to the Yaris project! I received some fuses I ordered from EV Source in the mail recently. I ordered 2 because I didn't know how many I needed. If I only need 1, then I have a backup. If I need 2 of these monsters, then I guess I'll have to buy another backup. These Ferraz-Shamut fuses are rated at 300V DC and 500 amps. The pictures don't really explain how big these things are.
I hope to have some in-progress photos to post of the motor aft-end support/mount and the motor shaft hub (adapts the Warp 9 shaft to the flywheel). I plan to get back to cutting the tire-well out of the car now so that I can update my measurements for the battery box(es). More to come.
Monday, May 16, 2011
Surgery begins
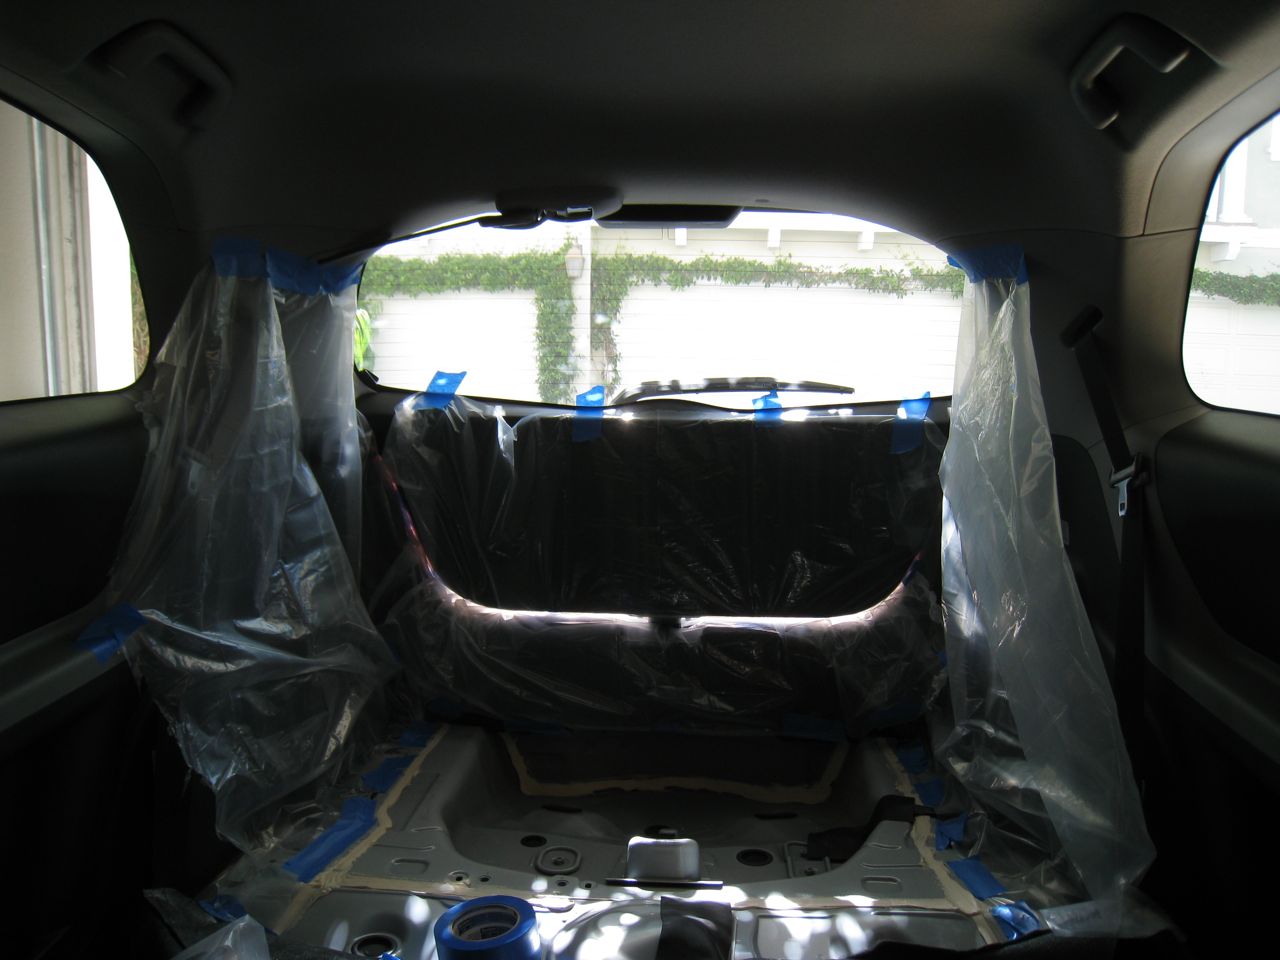
This weekend marked the beginning of my journey towards creating compartments for the batteries in the rear of the car. I prepped the hatch area with plastic lining to limit the amount of dust/debris cleanup I'd have to deal with later. I also put up plastic to separate the front cabin area from where I was working.
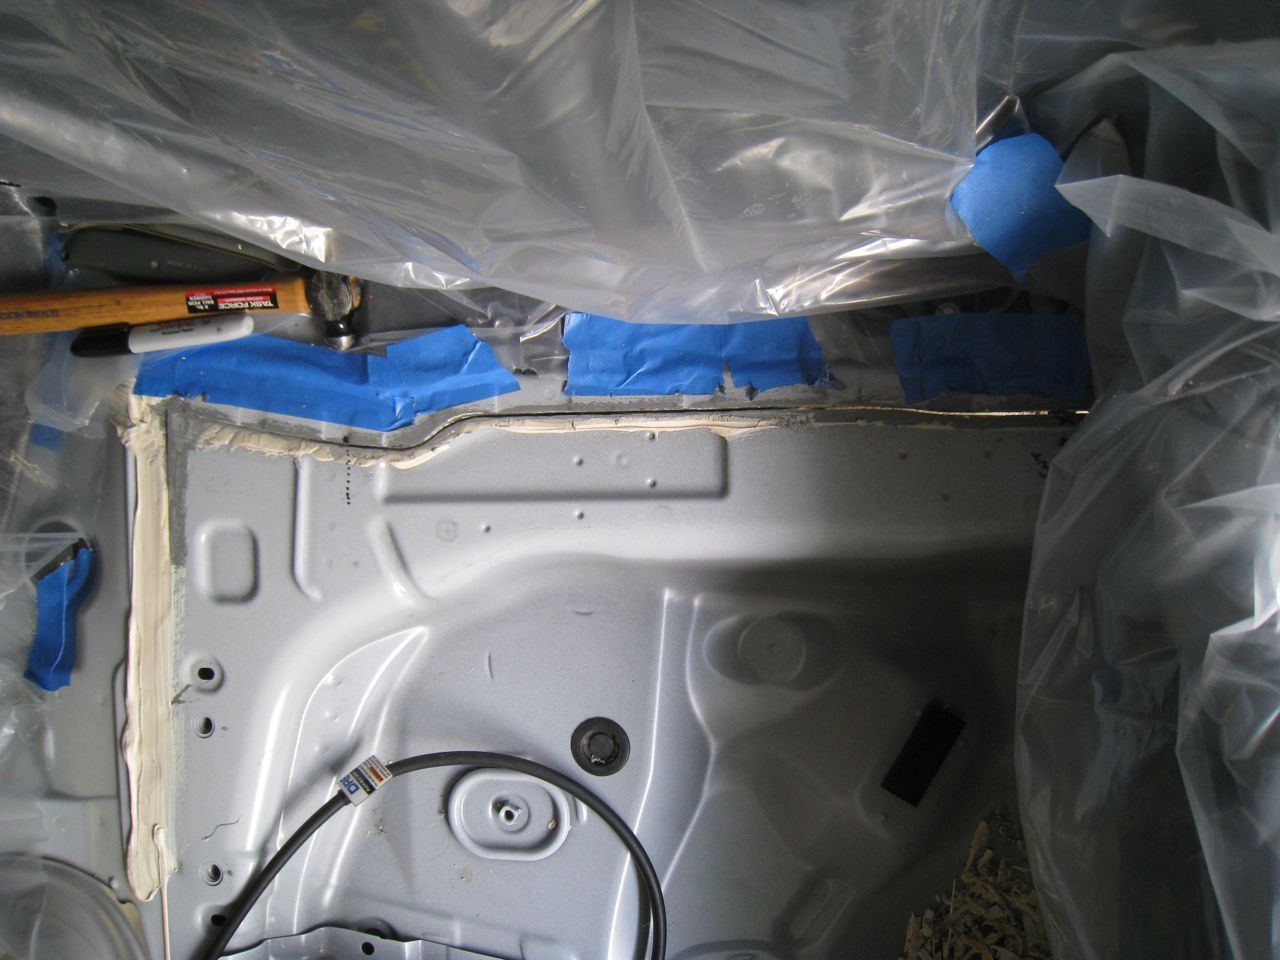
Next, I began to remove the weatherproof sealant that frames the spare tire well so that I could get a clear view of the sheet metal seam I was using as my guide for cutting. Here you can see I've already completed cutting the length of one side.
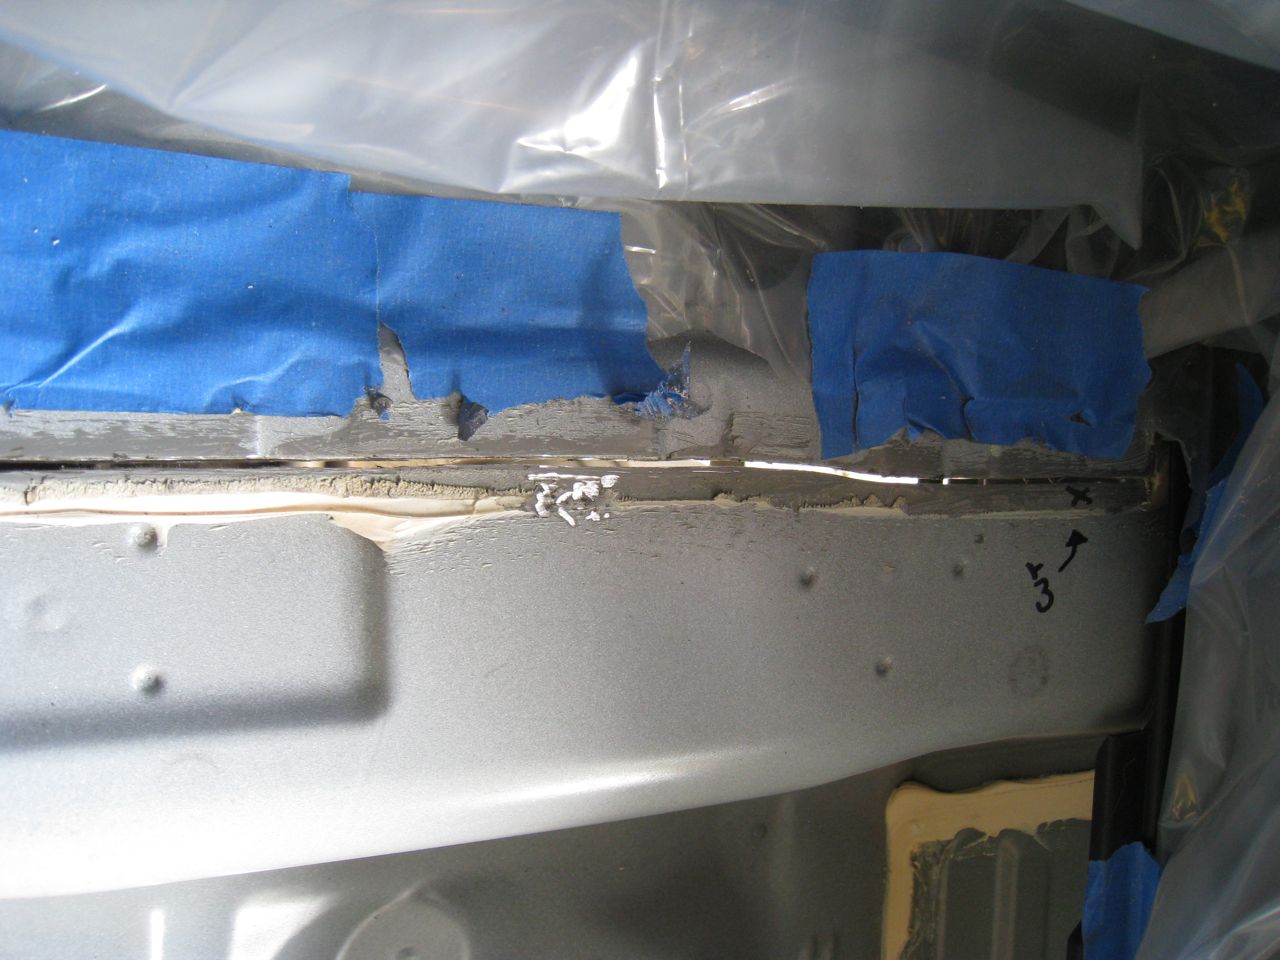
In this closer view, you can see daylight through the cut:
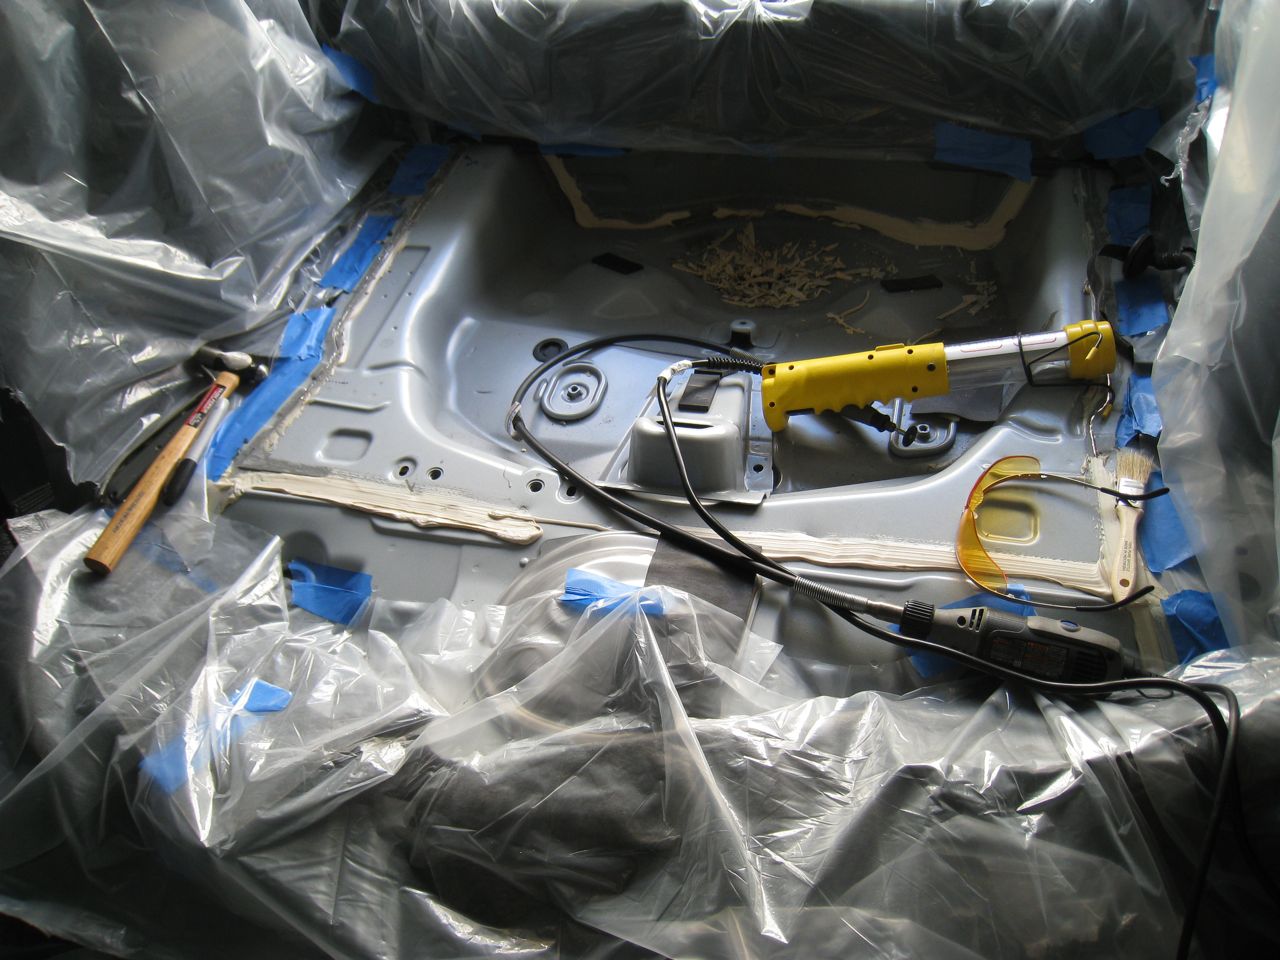
At the end of the day, I stopped with less than half of the job done, but I learned a lot about cutting the body work, took it slow, and now feel confident about removing more material. It's slow going, but I keep moving forward.
Thursday, May 12, 2011
Parts keep arriving
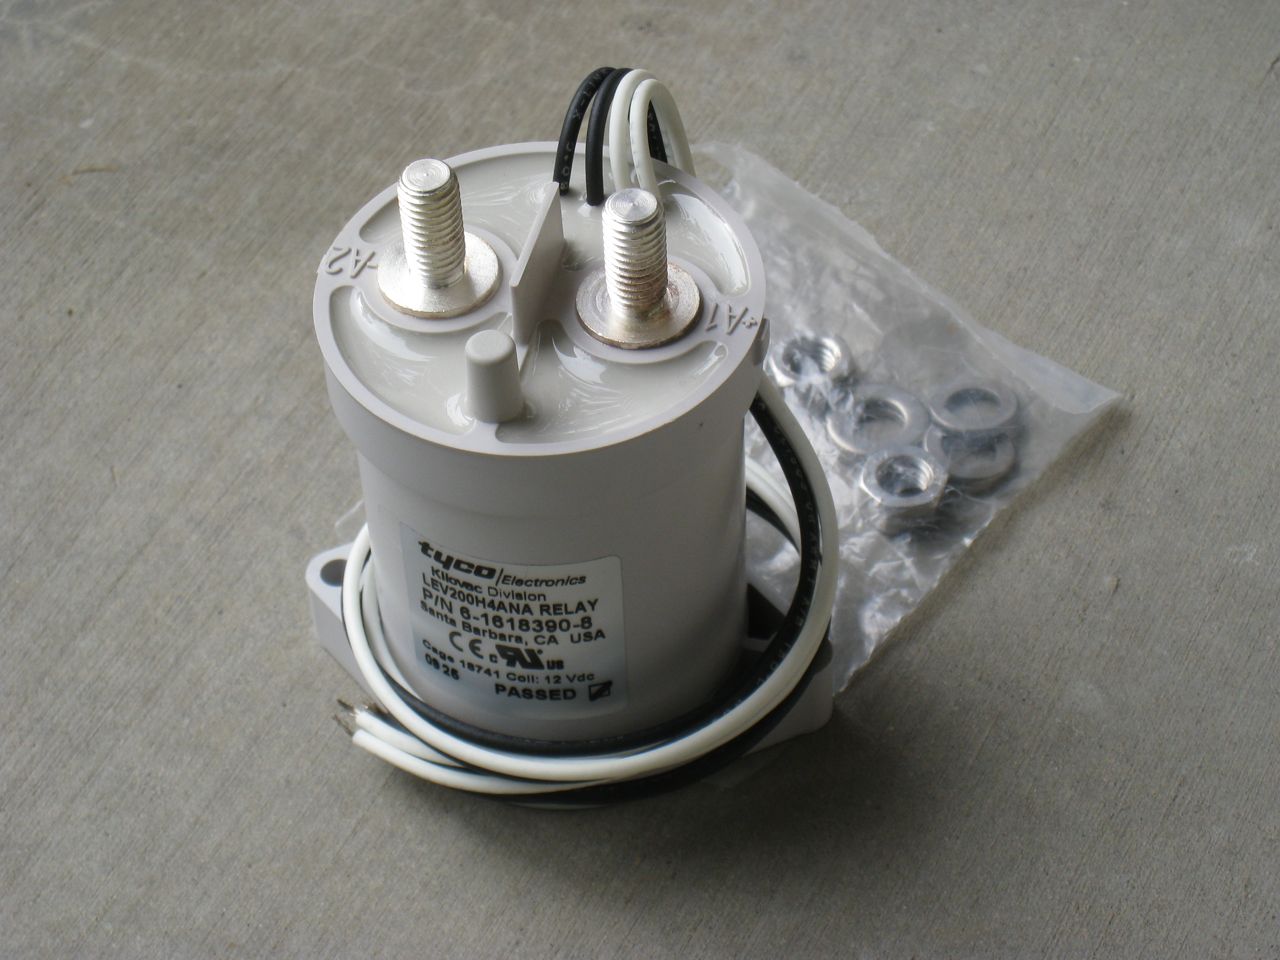
I picked up a Kilovac LEV200 contactor to be used as my main contactor. It is rated at 300V and 500A continuous. After speaking with someone at EV Source, it seemed like a good fit for my application. It's a nice little unit:
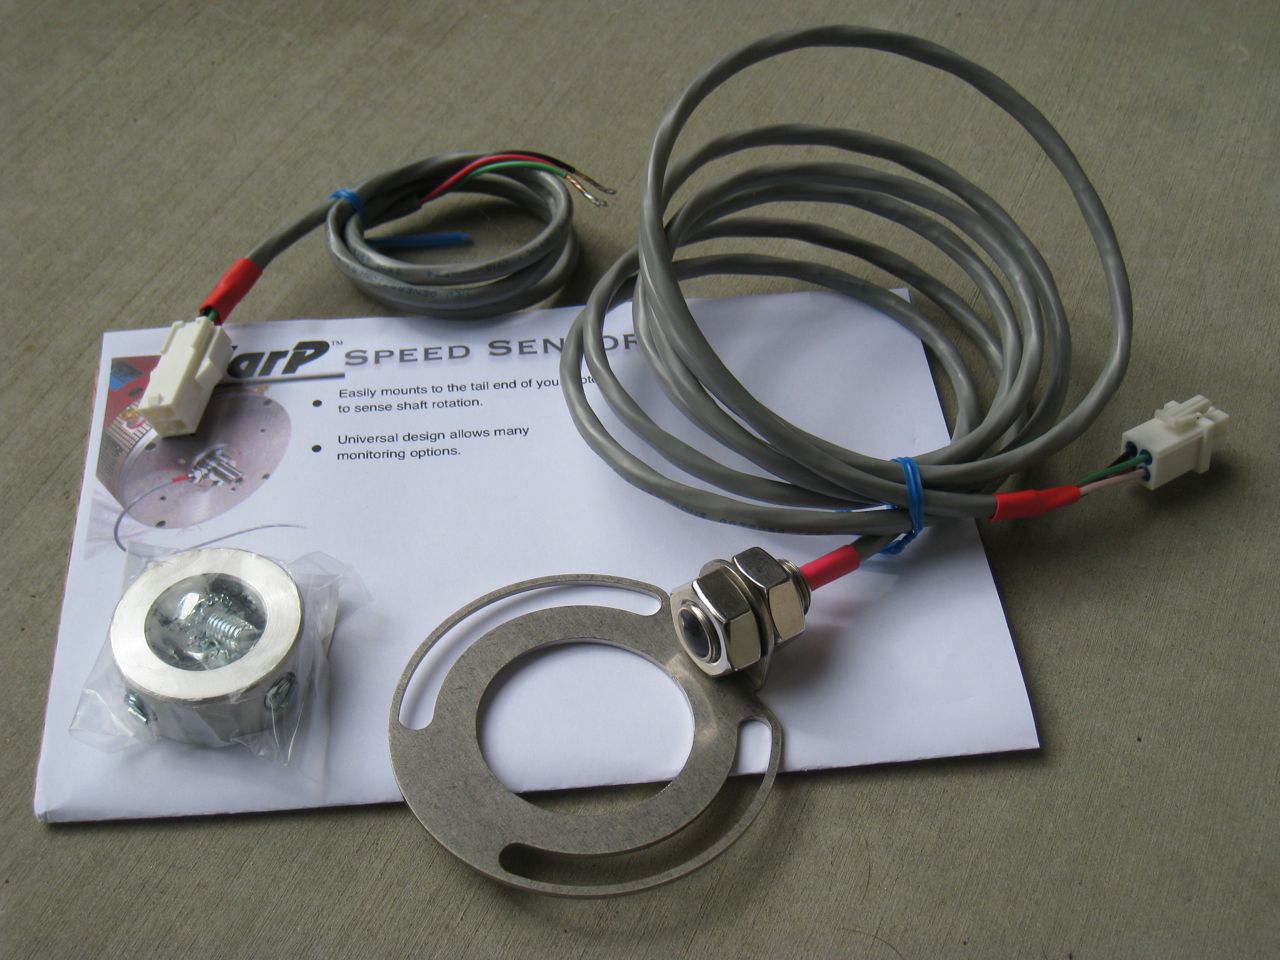
In the same shipment, I received a speed sensor for my Warp 9 motor. It's made by RechargeCar Inc. and is a really nicely packaged kit. This is also designed to work well with the Zilla controller so that it can monitor the motor RPMs and trigger various safety features.
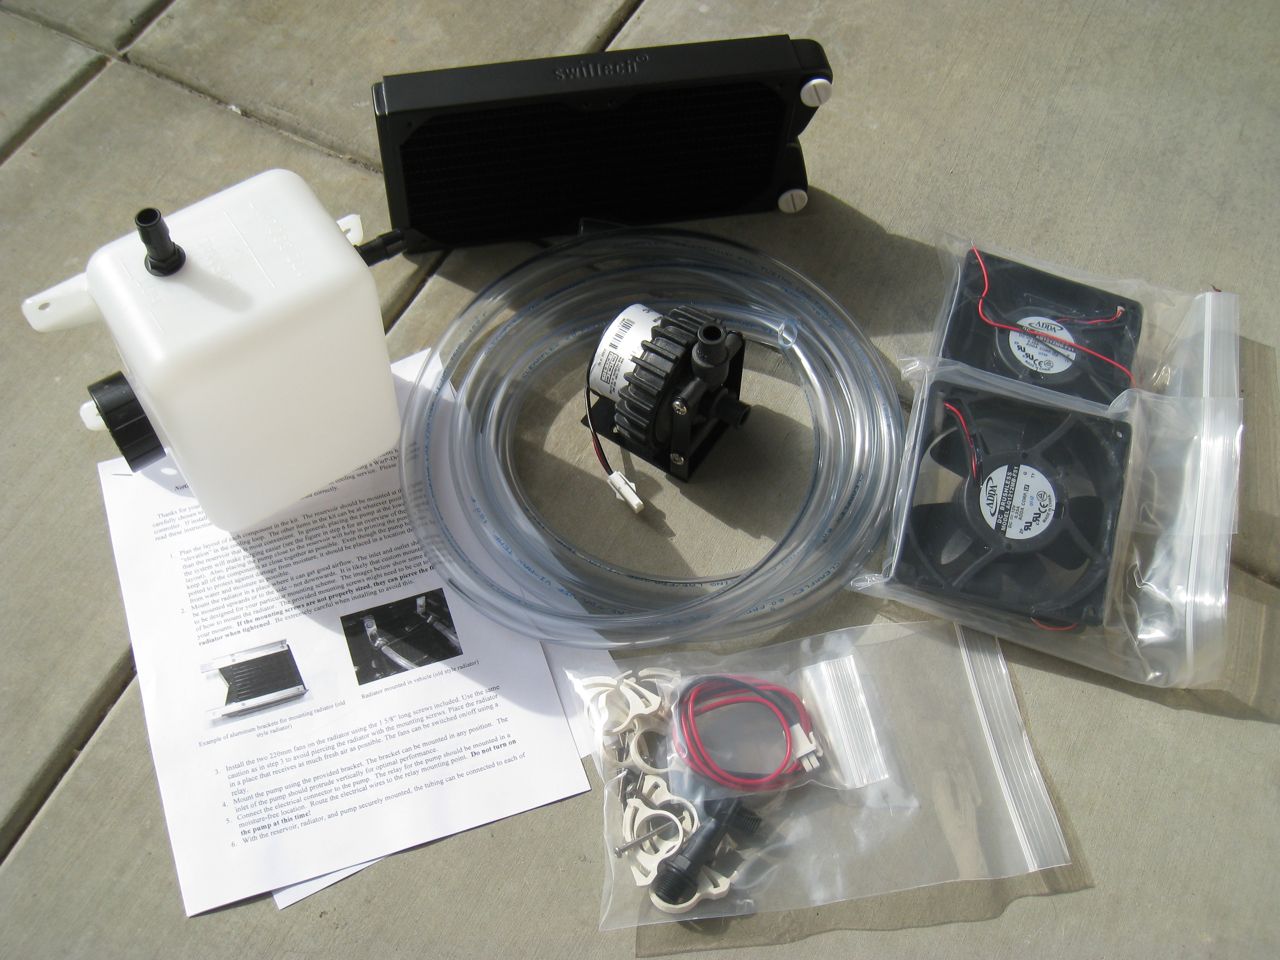
Below is the EV Source Zilla liquid cooling kit. It comes with a coolant reservoir, a pump, some clear tubing, 2 fans and a radiator. The quality of the components seems very good and I'm looking forward to hooking it up to the controller.
More parts to come.
Saturday, May 7, 2011
Drivetrain upgrades
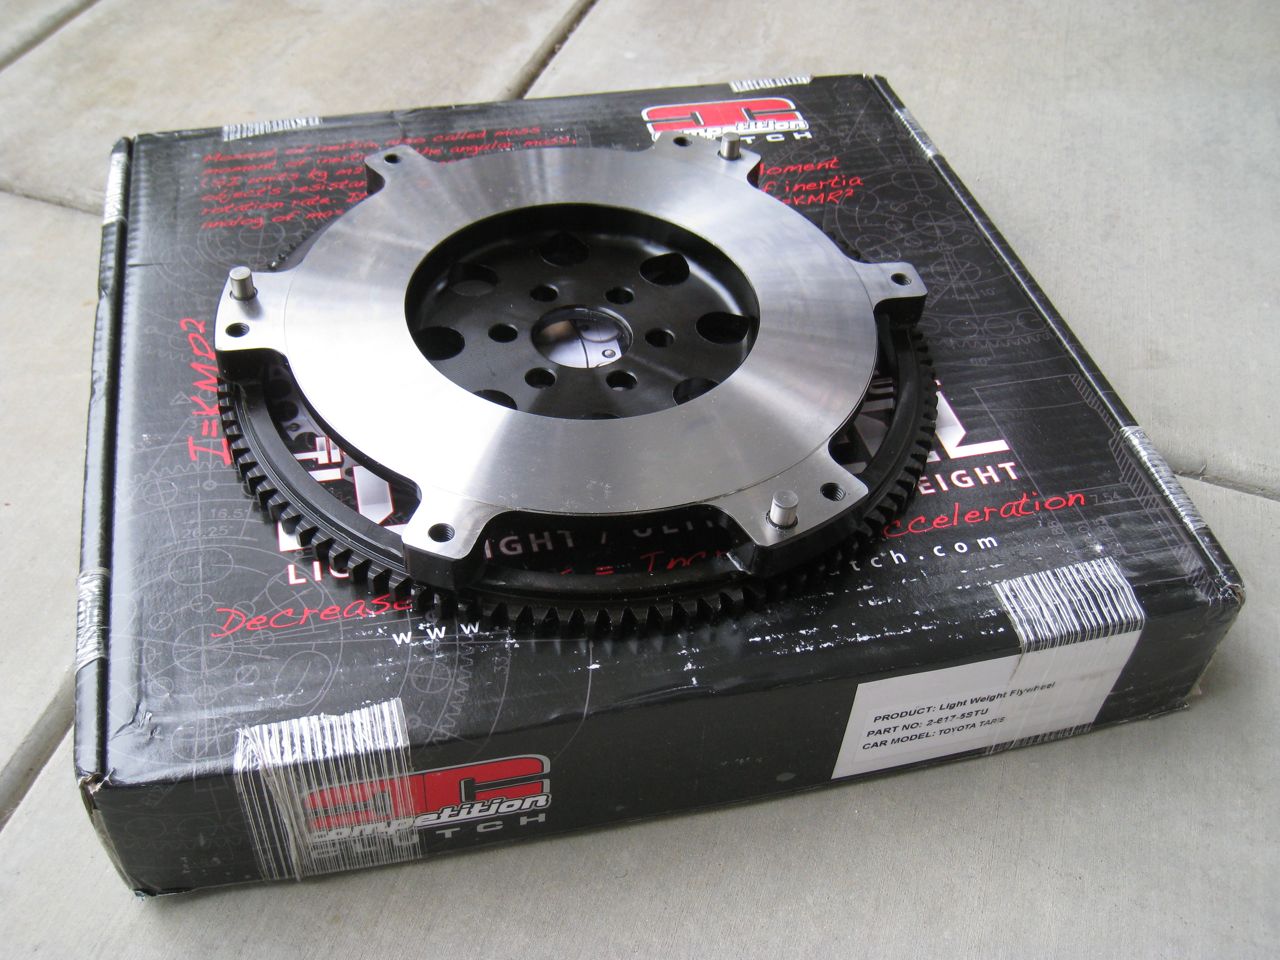
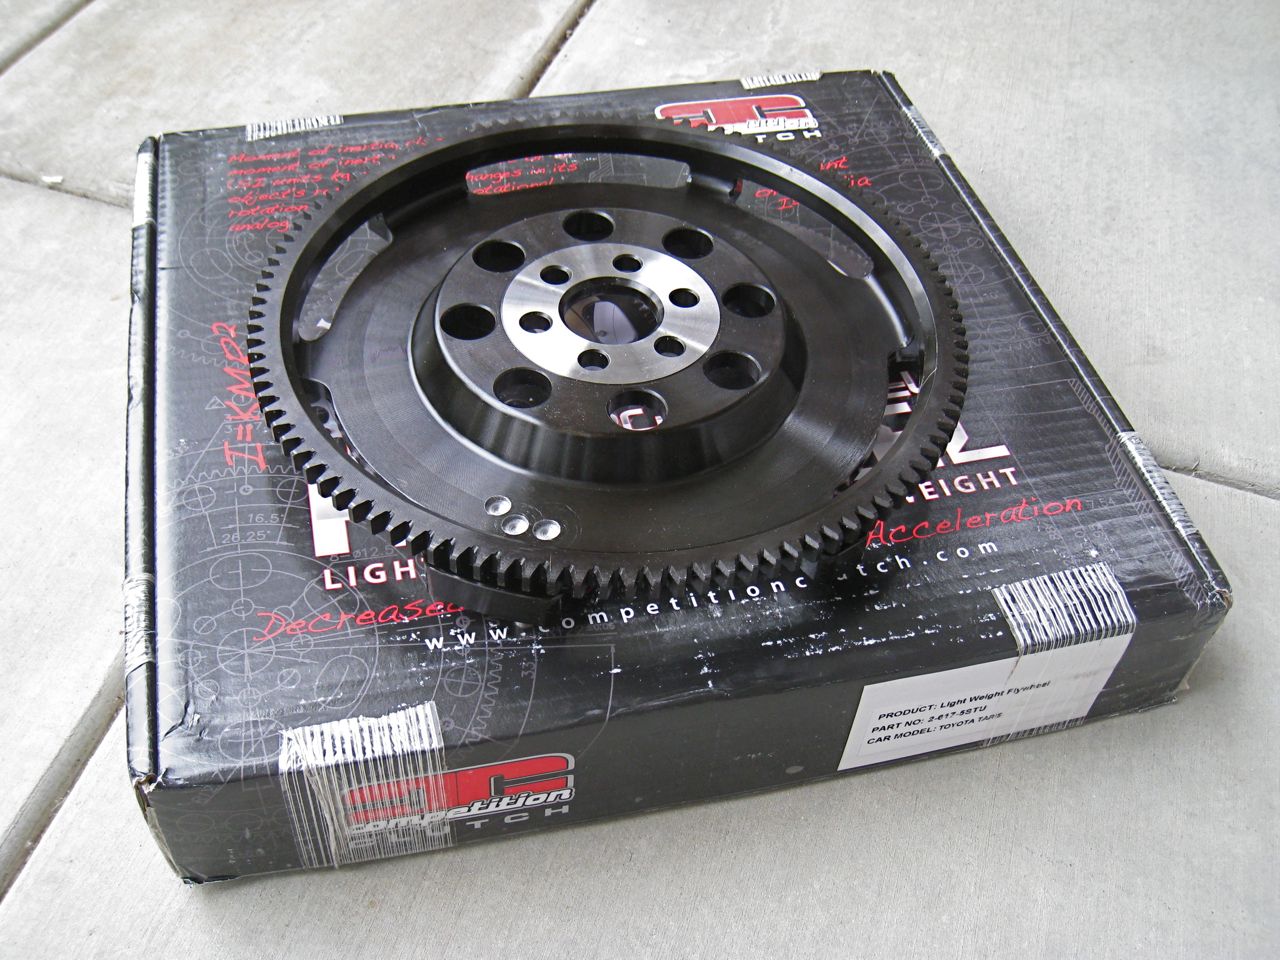
I just received my ultra-lightweight flywheel from CCI (Competition Clutch) and it's a really nice looking part. The stock flywheel in the Yaris weighs a little more than 15 lbs whereas this one weighs 8.64 lbs. It's a 1-piece design, made from forged steel, and moderately skeletonized.
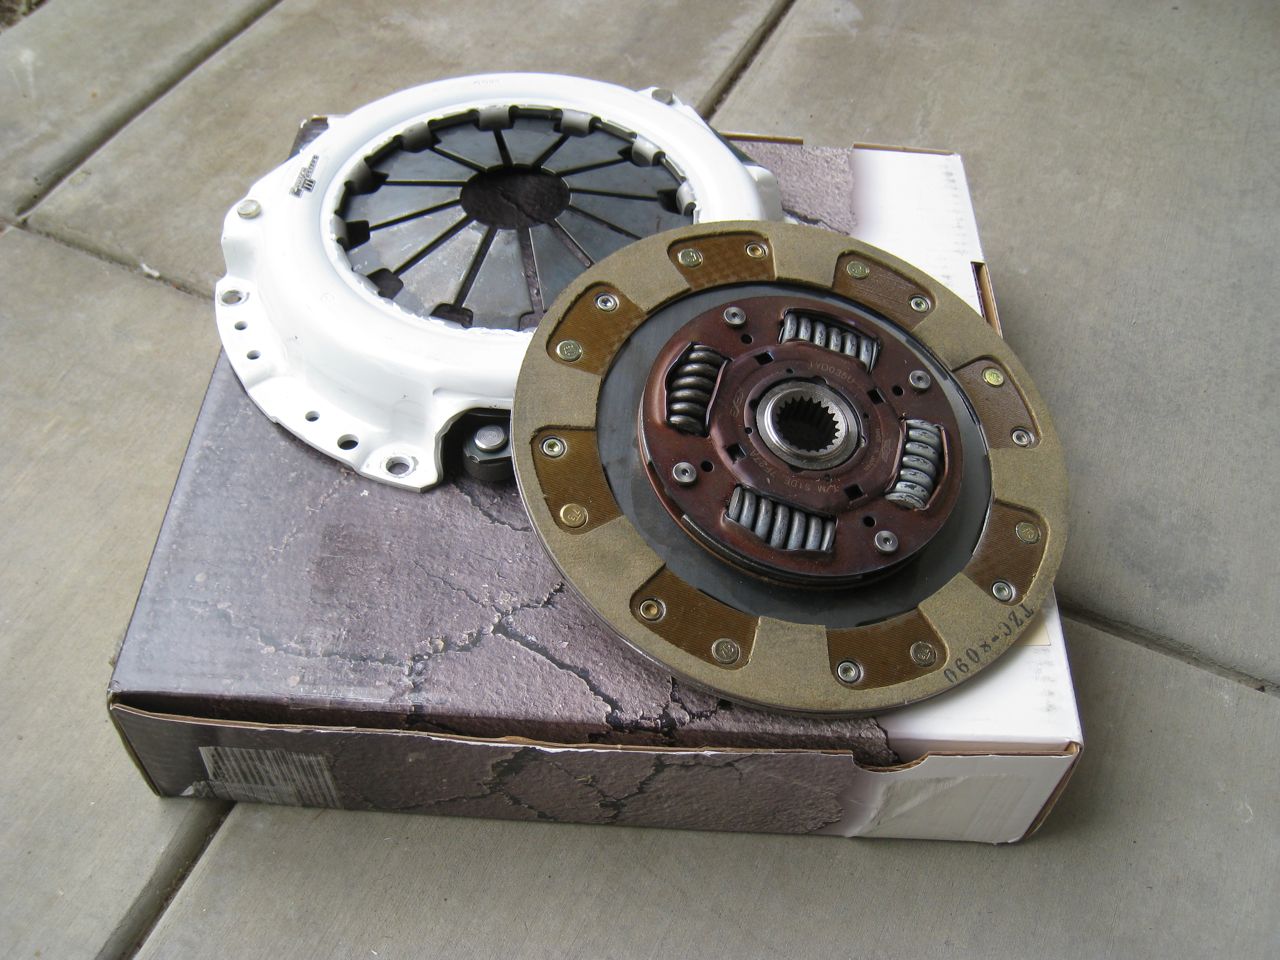
I also received my new clutch. It's a ClutchMasters Stage III clutch that will allow the car to handle a substantial increase in torque that the Zilla/Warp 9 combination is sure to dish out. I figured it would be easier to get these parts in the car now rather than later since I can still tear down the drivetrain with relative ease.
Many thanks to Garm over at www.microimageonline.com for hooking me up with these, they stock an impressive array of performance parts for the Toyota Yaris and Garm was really helpful and supportive of my project. More parts are on the way and should be arriving this week. Stay tuned.
Saturday, April 16, 2011
Removing the rear seats
Recently I decided that I'd like my Yaris EV to be a lightweight, performance, 2-seater EV. To that end, I've decided to remove the rear seats to install all of the batteries in the rear section of the car (plus some other components like the charger potentially). So this afternoon I decided to remove the 60/40 split rear seats. Here's a photo during the process:
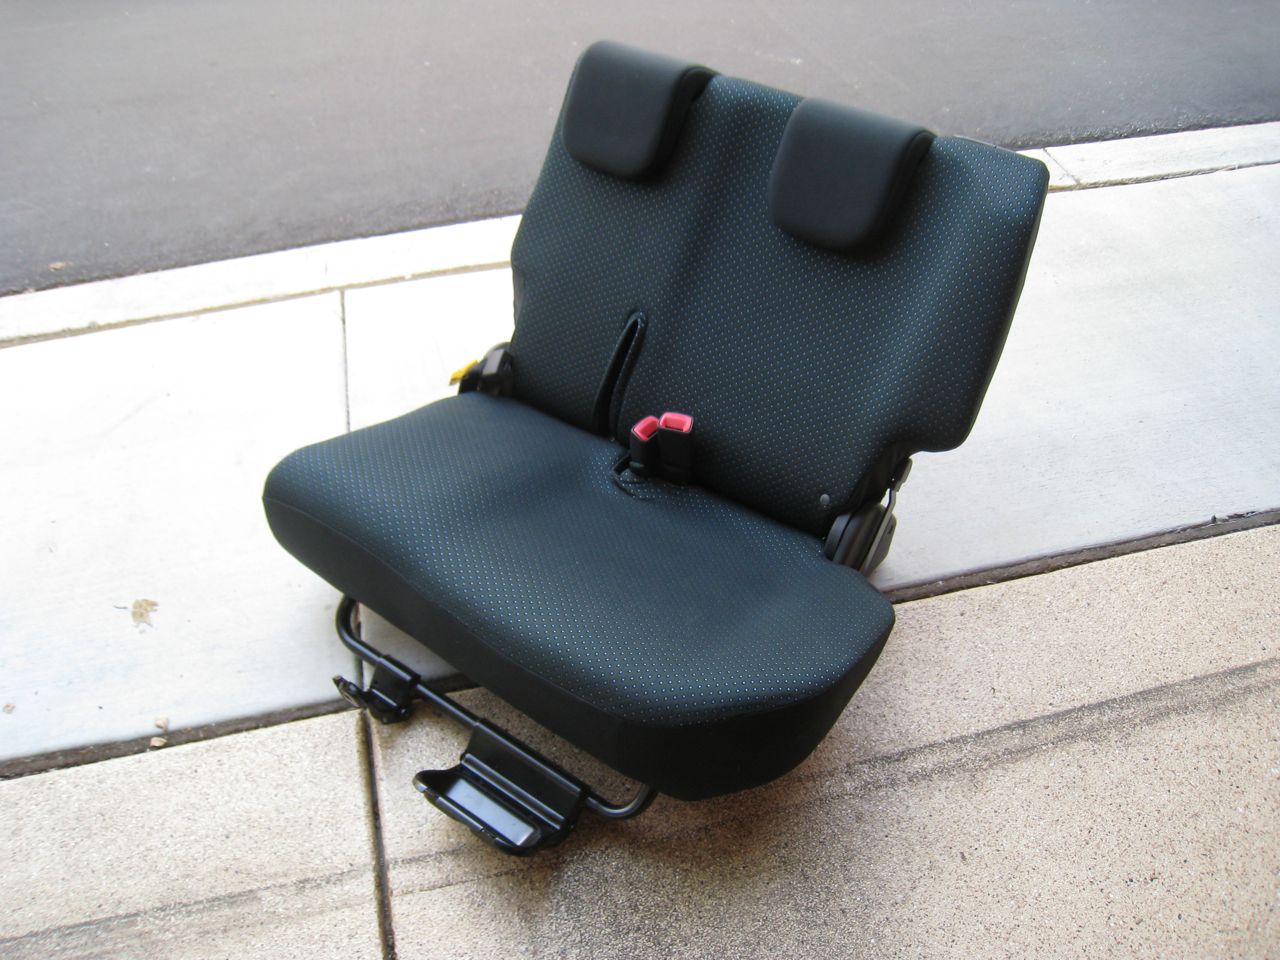
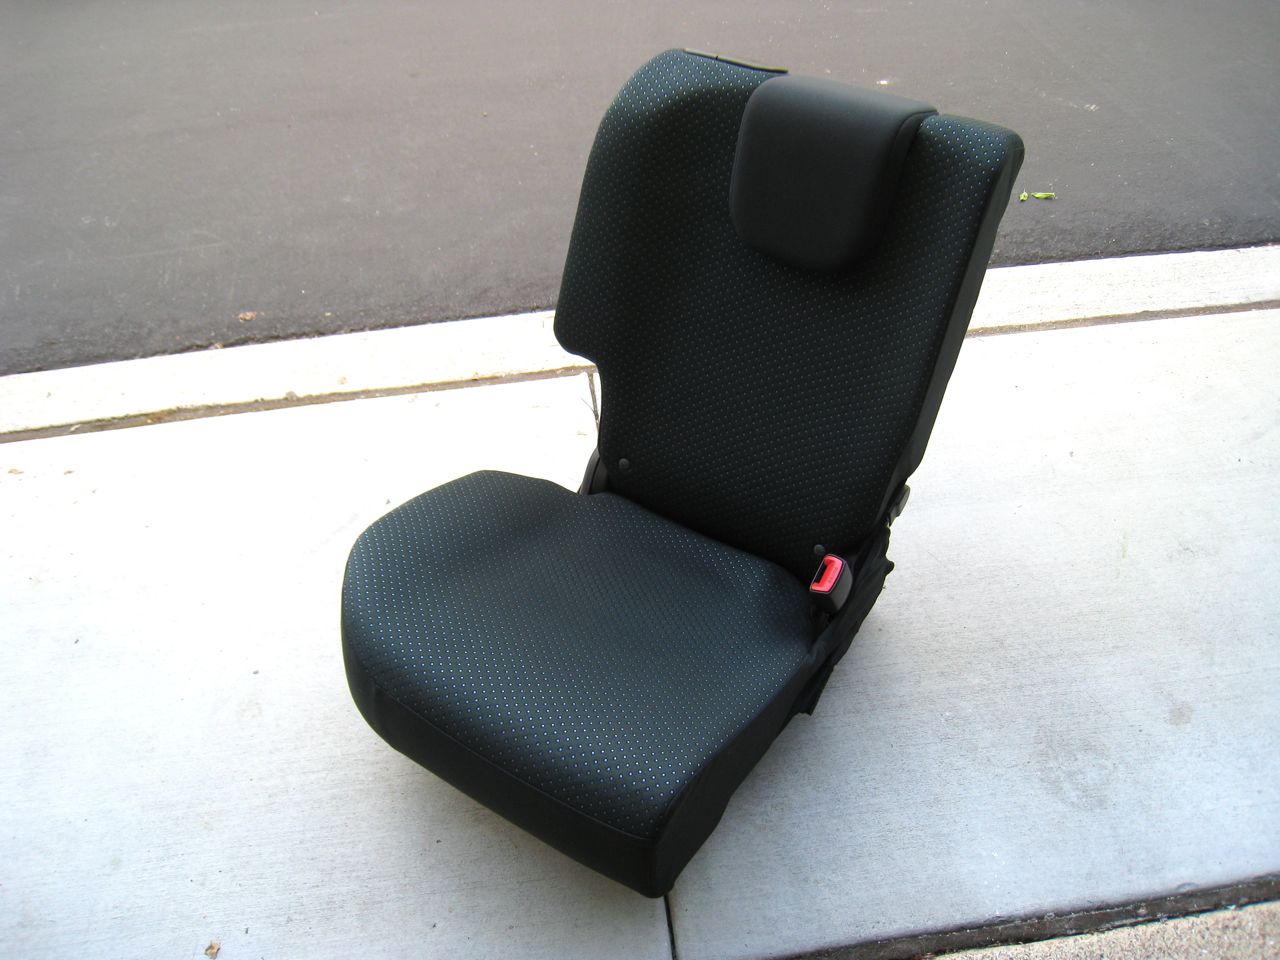
The seats weigh in at a combined 90 lbs. That's some significant weight to remove from the car. Below are the rear seats once I got them out of the car:
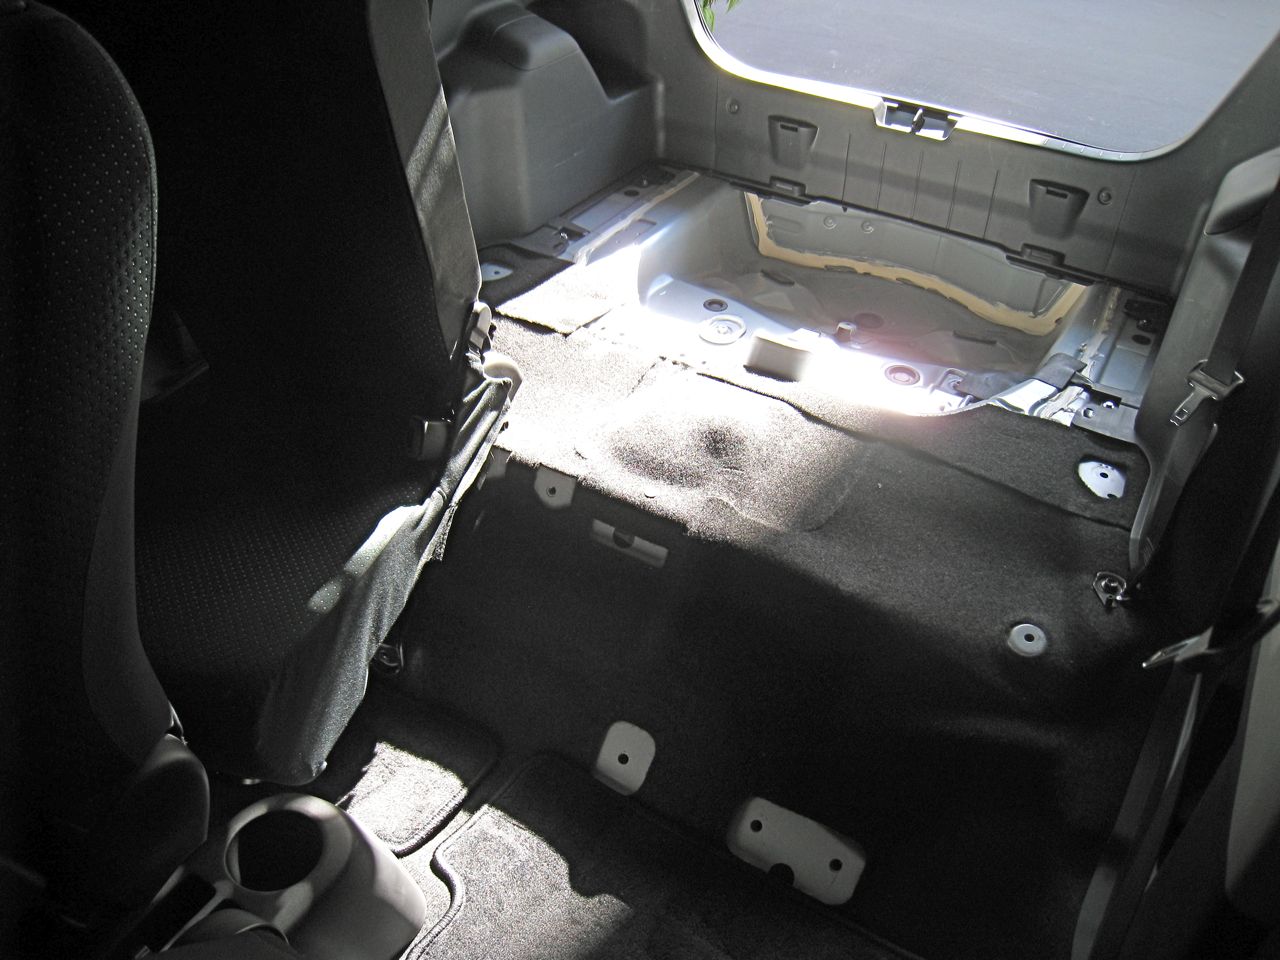
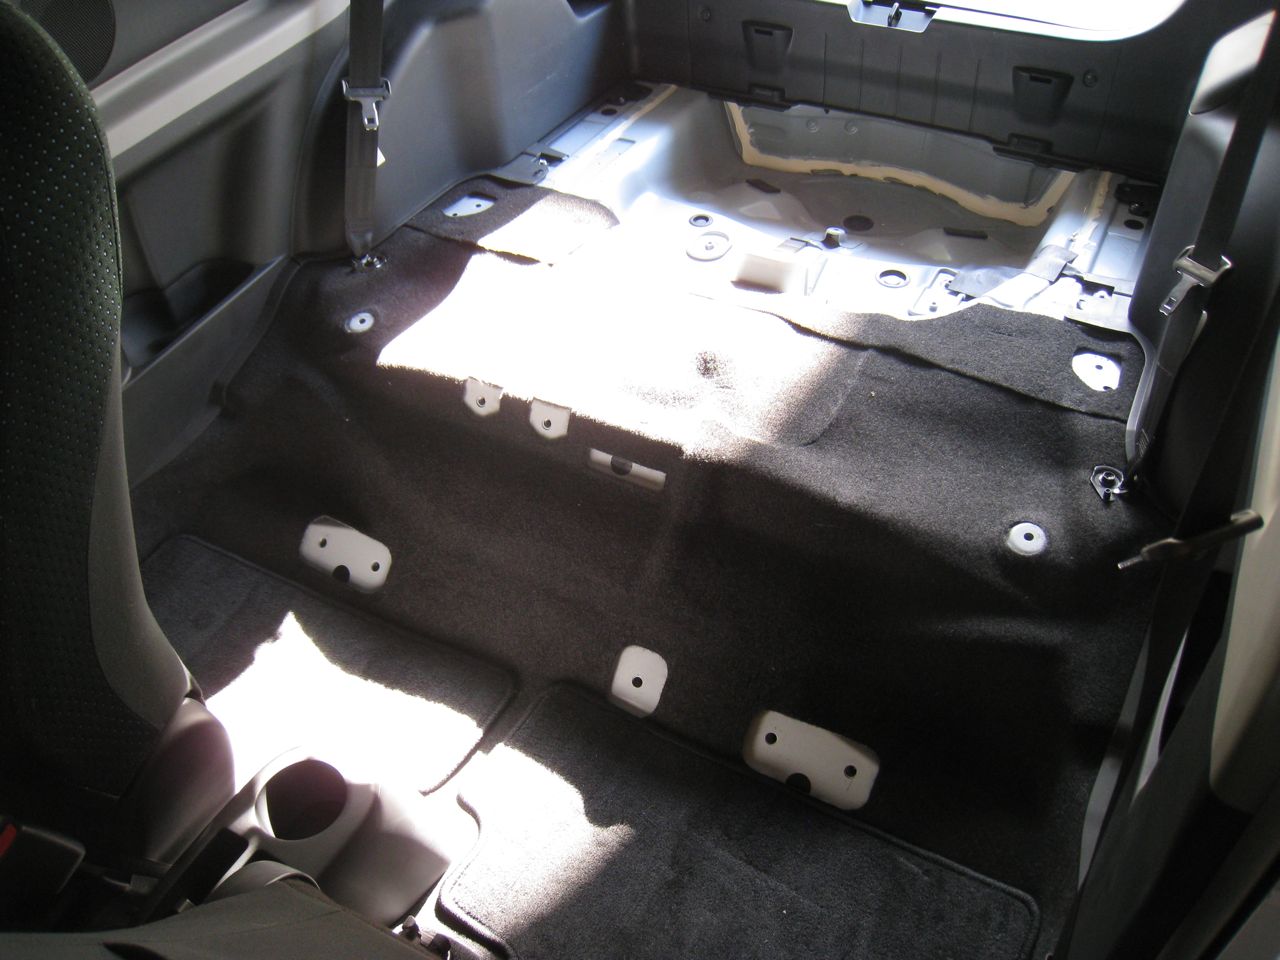
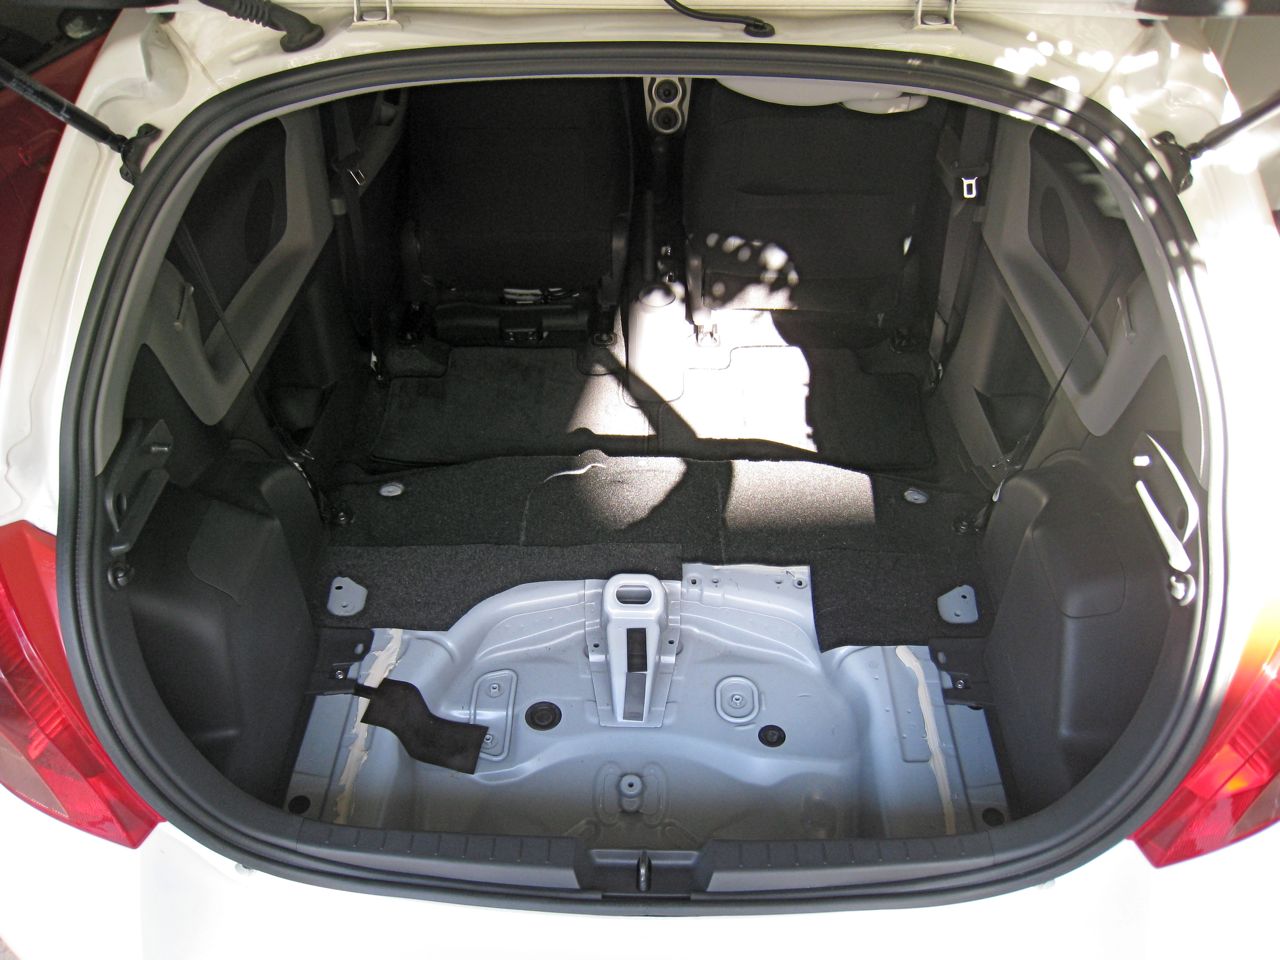
All in all it was a pretty straight forward process. I used an E10 Torx bolt socket and my torque wrench to remove all the bolts that secured the seat mounts to the chassis. I made note of the torque they were installed to (35 ft-lbs.) incase I ever want/need to re-install them. Here's what the space looks like without the seats:
I plan on cutting the spare tire well out and fabricating an aluminum batter box that drops into its place that will store 36 of the batteries. Hopefully I will also be able to make use of the area where the seats were for the rest of the batteries (24).
Subscribe to:
Posts (Atom)