I didn't have a lot of time, so I removed the hood and the front bumper. This will make my life easier for the next few weeks. It's also nice because I don't have to worry about scuffing, or otherwise damaging the body of the car while I work over the engine bay
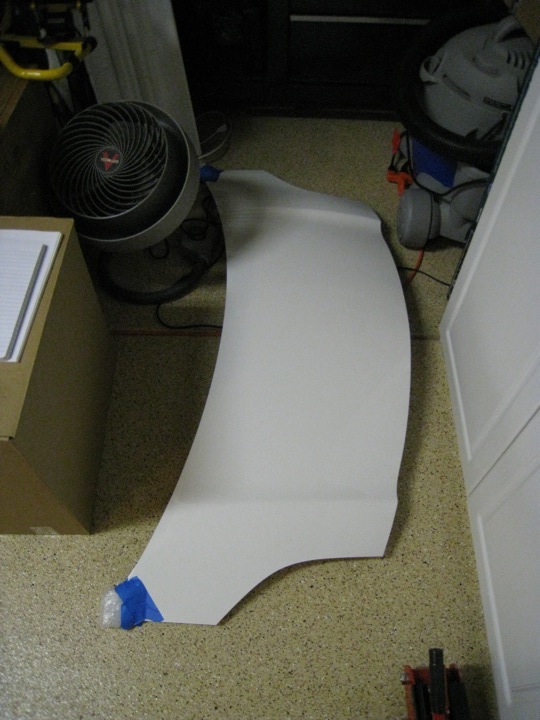 Above is the hood resting on the ground after I took it off. I marked where the mounts lined up prior to removing it so that in can be re-installed with proper alignment later.
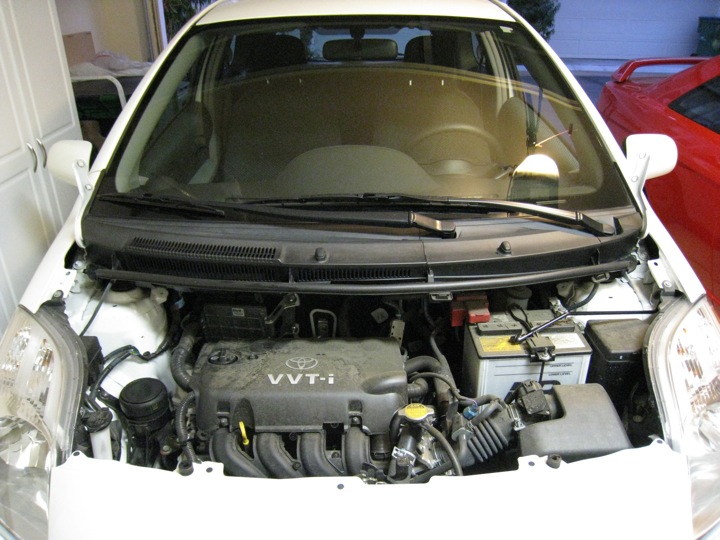 Here's what the tiny engine bay looks like. Actually, there's a fair amount of space in the car's compact front. The front bumper covers a good portion of the useable space. It's held on by a fair number of bolts, plastic clips, etc. Nothing new to me except these plastic cleat-like mounts secured to the fenders. I really thought this was a nice bit of hardware so I snapped a shot:
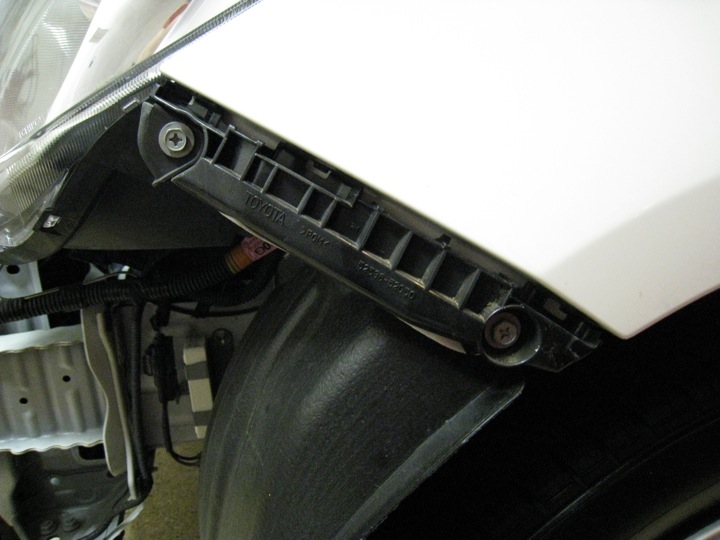
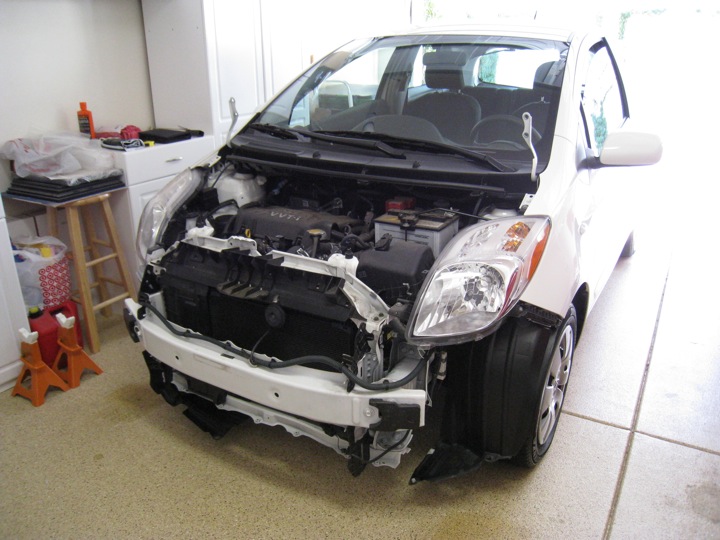
Once the bumper was removed it looks less cramped in there. There's also a support structure (painted white) that crosses the engine bay. It holds the horn, hood latch/release, as well as the top of the radiator. I'll remove that a bit later.
No comments:
Post a Comment