Saturday, November 29, 2008

Demolition: Engine Electrical

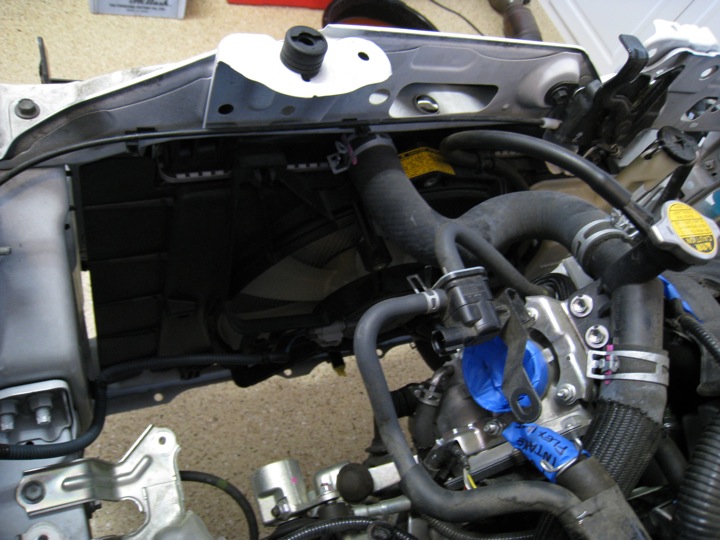
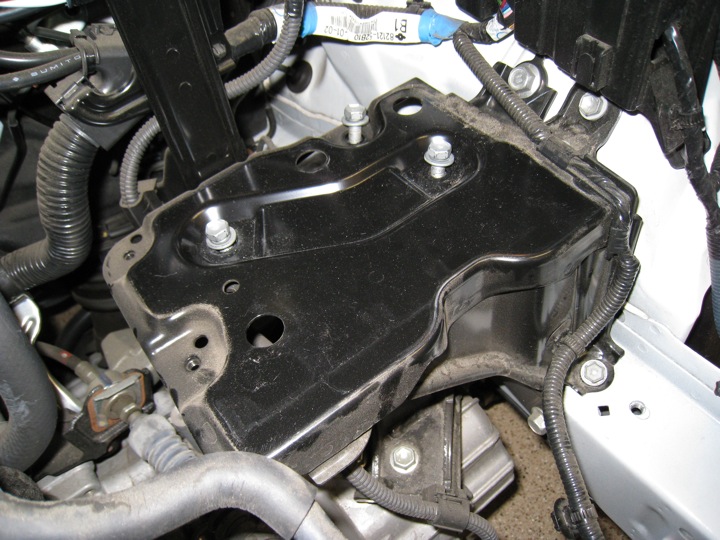
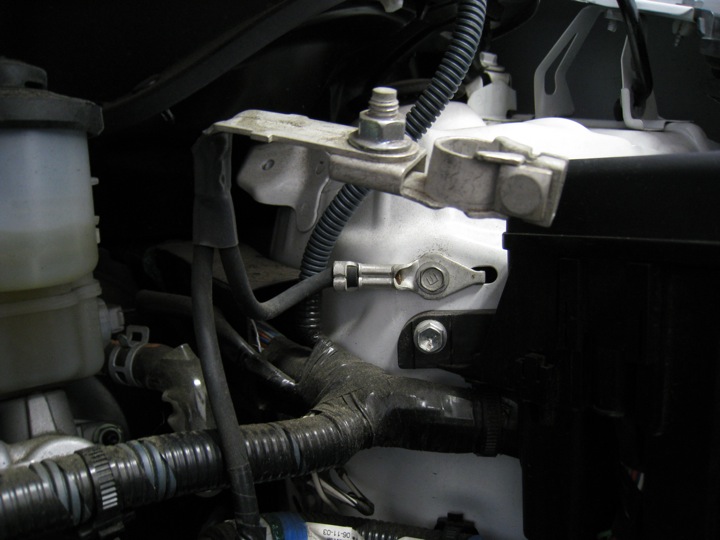
In the process of removing all of the electrical wiring and harnesses that connected the engine to the 12V battery, this mounting plate (used to support the battery) was removed.
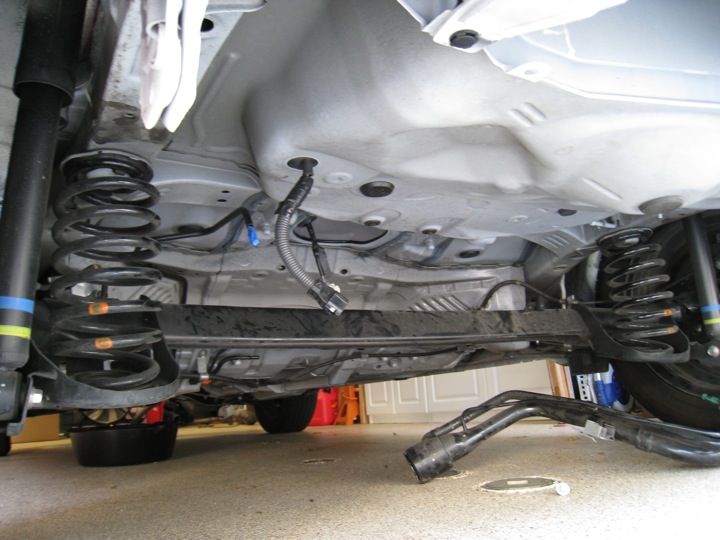
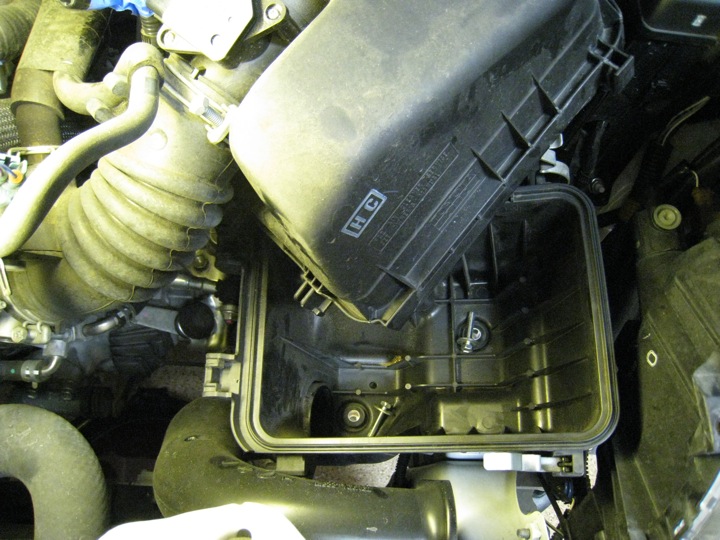
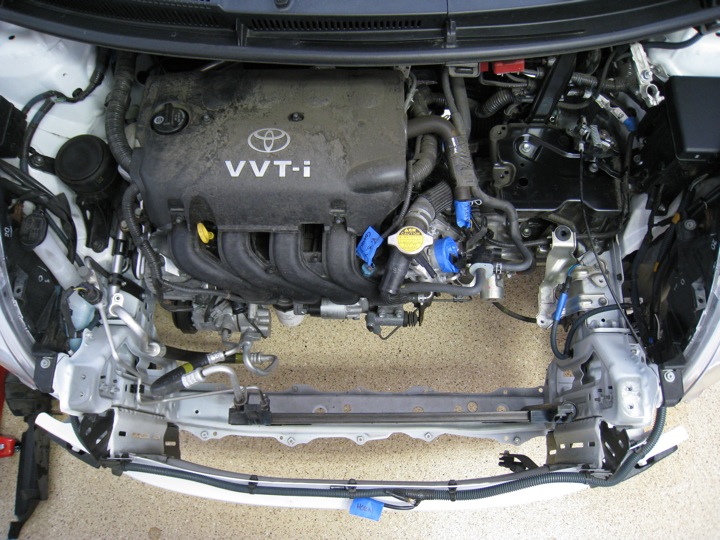
After removing it, access to the transmission side motor mount is a snap. It's the black metal bracket that connects to the chassis on the right side of the photo below:
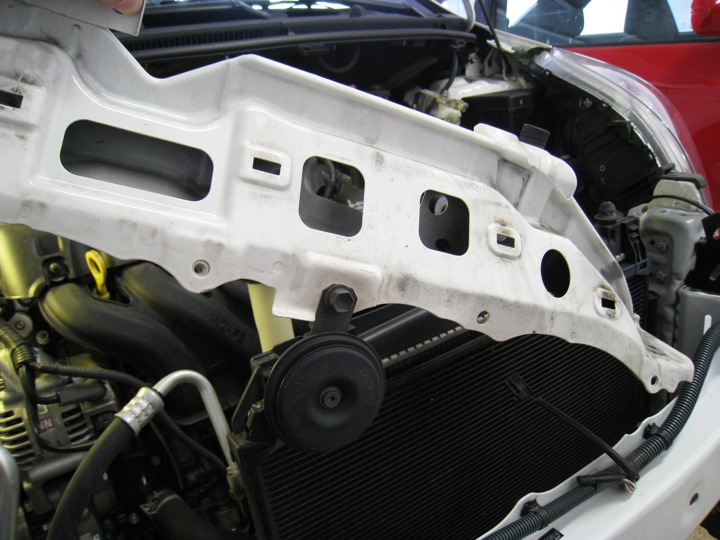
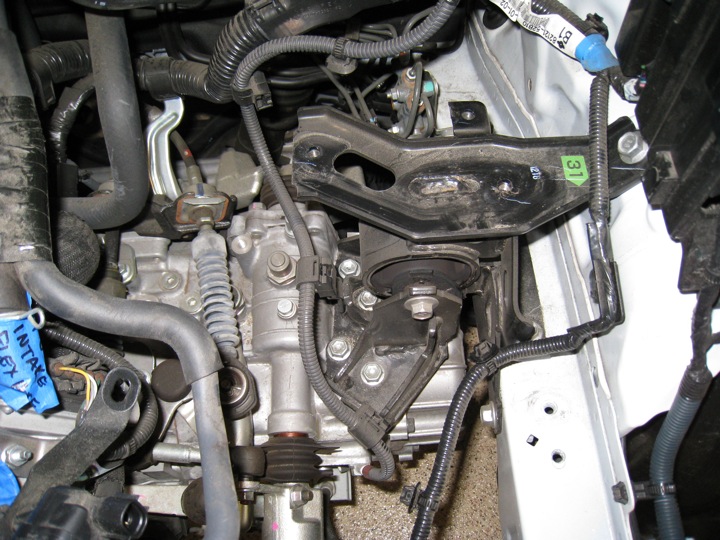
Several grounding points were also disconnected at this point.
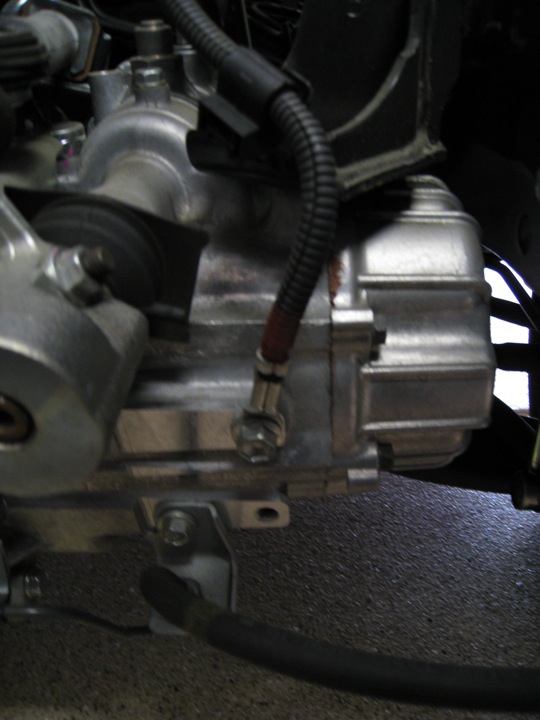
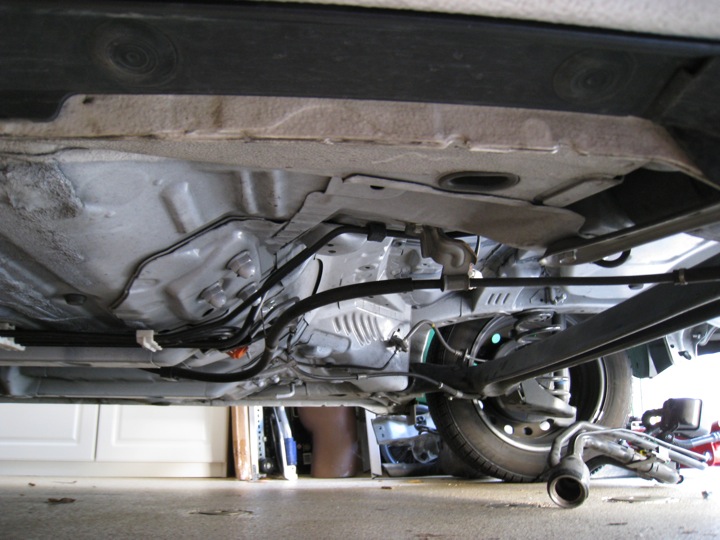
Finally, I loosened the alternator mounting bolts and removed the belt. This allowed me to remove the alternator.
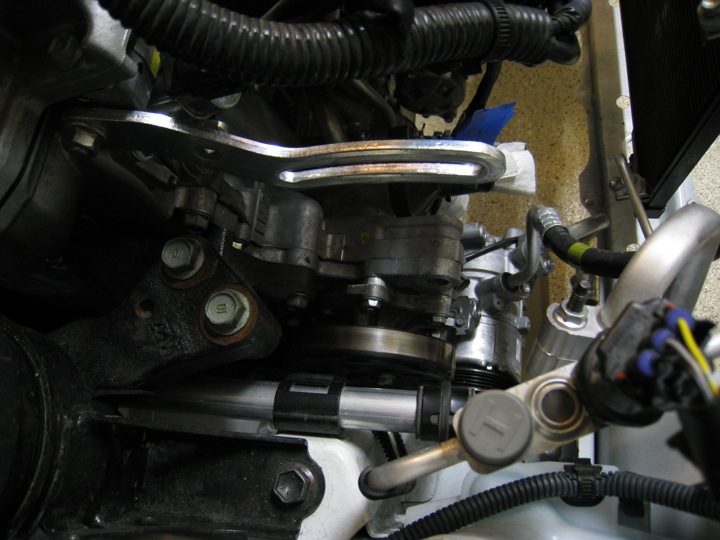
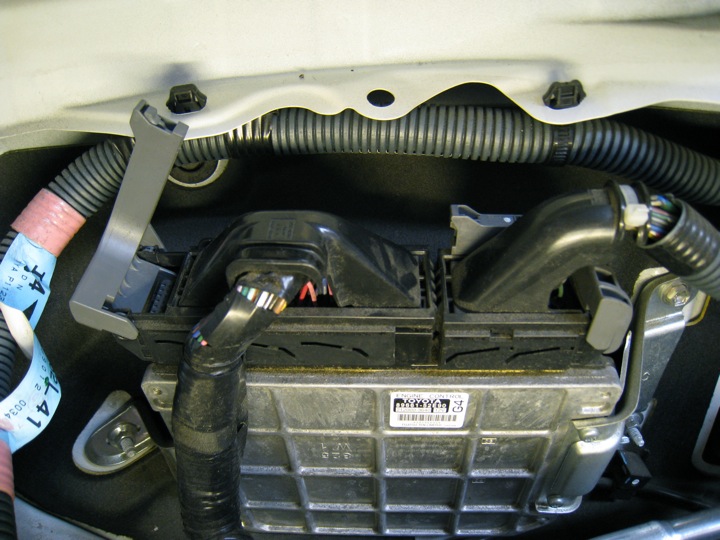
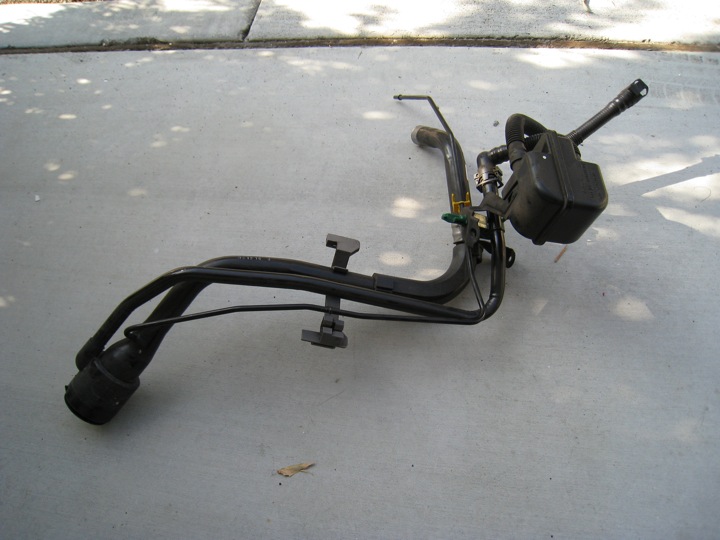
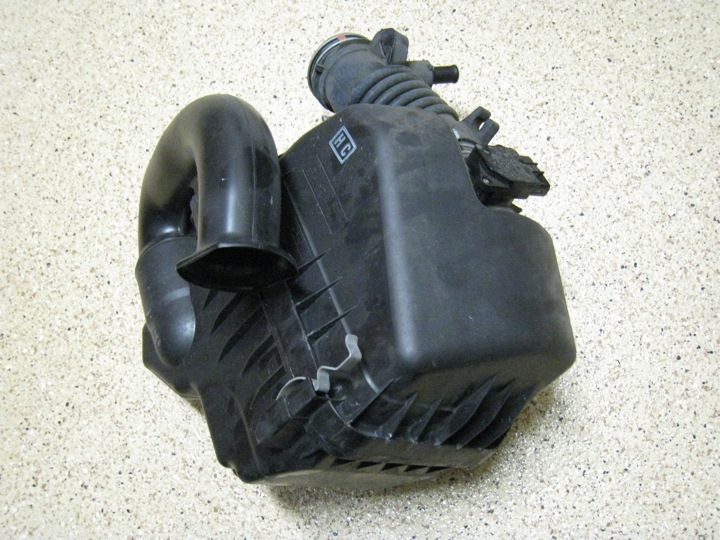
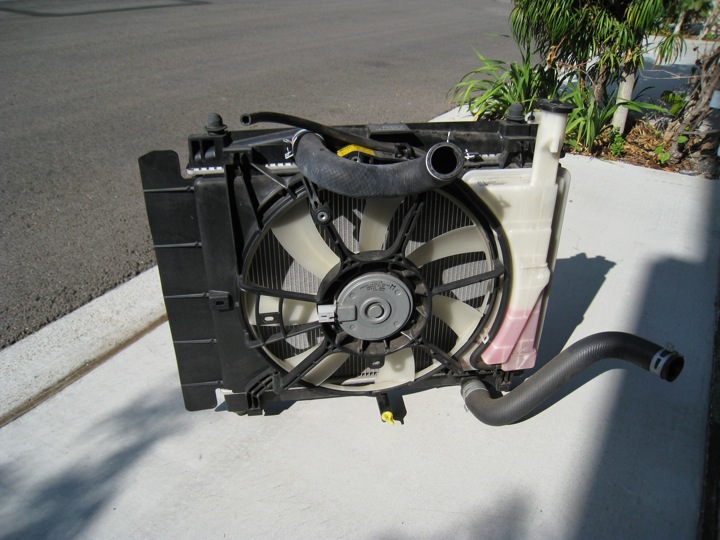
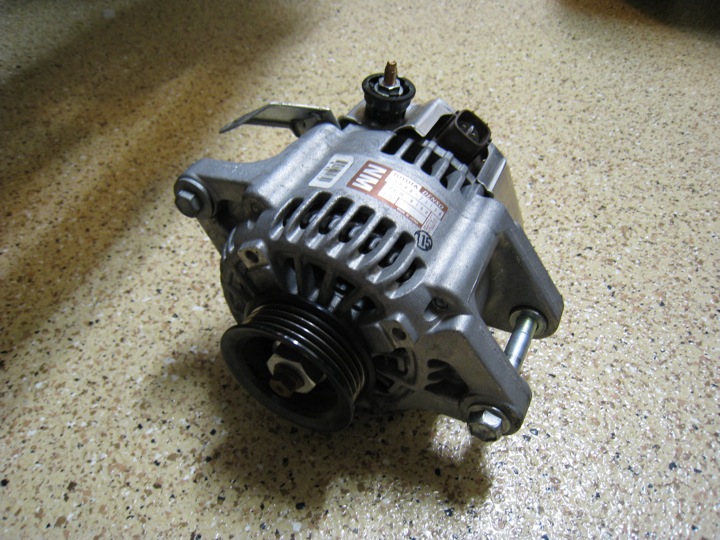
Sometimes it feels strange taking apart a nearly new car. Especially when you remove parts that looks brand new such as this. The last major electrical connection was the wiring harness at the car's ECU. A hinged lever keeps the connector secured. Lifting it was all it took to disconnect the whole harness. Now the engine is only connected to the chassis mechanically.

Saturday, November 15, 2008

Demolition: Fuel System

My goal today was to remove all of the components related to the fuel system from the car. I started by syphoning as much gas as I could from the tank using a small hand-pumped...
With very little fuel left in the tank, it would be much lighter and easier to lower from the car once I unbolted it. Under the car, I pulled some thin metal heat shields off and was quickly able to remove the fasteners holding the tank to the chassis.  Only a few hoses and lines needed to be removed to drop the tank out. Here is the plastic fuel tank below:
This device (called the canister) was adjacent to the gas tank. It was also straight forward to disconnect and remove.
These tubes used to route incoming gas from the fuel filler door to the tank:
Here are a couple photos of the area where these components used to reside. The thin tube with blue tape wrapped around it is a fuel line. These were also removed by pulling them out of the plastic clips securing them to the chassis. The clips were retained because they secure brake lines running to the rear wheels. 
The gas tank filled most of the negative space seen in the above photo. A portion of the tank was situated over that metal suspension crossmember. As I'm slowly finding, space is used very efficiently in this car.
It was very rewarding to pop open the fuel filler door after all the parts had been stripped from the Yaris. Seeing a void (more accurately my garage floor) where the old gas cap used to be brought a smile to my face. No more gasoline.

Wednesday, November 5, 2008

The motor arrives

This is just a quick update to mention that my electric motor has arrived. I purchased a NetGain Warp 9 DC motor. I took the morning off to wait for the UPS freight truck to arrive with my heavy delivery. Weighing around 150 lbs., it is a bit difficult to move while in the cardboard box.
Inside, the motor is surrounded by expanding foam wrapped in plastic. The shafts are protected by cardboard inserts at either end. Sadly, the protective perforated grill on the right had a large dent in it. A quick email to the distributor yielded an RMA for the grill. However, I ended up taking it off and carefully warping it back into shape myself. The metal is quite malleable. 

Saturday, November 1, 2008

Demolition: Radiator and Air Intake

I figure it's worth mentioning, the car's battery was removed from the car. You may notice it missing in subsequent photos. It's necessary to disconnect and remove it before starting to work around the engine bay with metal tools. Since I'm dealing with wiring, oils, and fuel, I don't want any sparks flying.

On to draining the coolant from the radiator/engine. There are a few big hoses to disconnect after the drain plug stops spewing pretty red liquid. Once I collected all the coolant I bottled it up in a gallon jug to take to a proper disposal facility.
Removing the air intake is really straight forward. The top pops off by removing some metal clips. Below the filter are some bolts that hold the air box down. The mass air flow (MAF) sensor gets unplugged from the flexible hose leading to the throttle body. A hose clamp or two later, and the whole assembly lifts out of the car.
Good to go.
This leaves a nice void where I can finally see some of the garage floor. Note the battery is missing too. It used to reside between the air intake and the firewall.
Remember that support piece I mentioned earlier that held the horn and hood latch/release? Well it comes off with a few bolts as well. This makes it possible to remove the radiator and fan (second photo). 
Here's the radiator assembly. Fan with motor, shroud, reservoir, evaporator, and some hoses. It's going to be sold as well.