With the clutch and flywheel balanced to each other, it was time to put it all together. First, the flywheel was mounted, then the clutch and disc to the flywheel using the splined alignment tool included with the Clutchmaster kit. Next, the 2 steel alignment dowel pins were driven into the transaxle flange as you can see in the first photo.
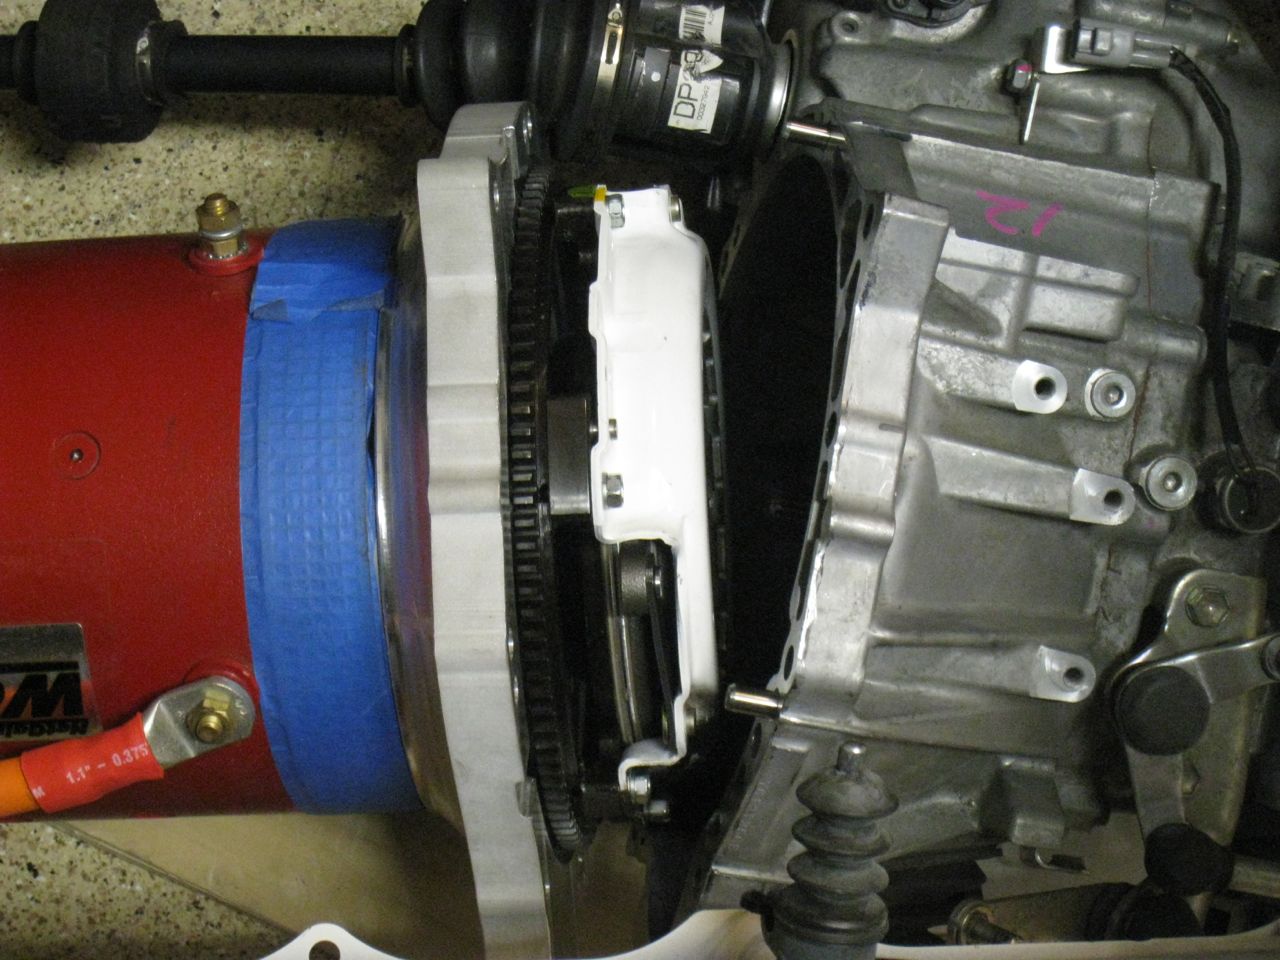
I moved the motor side assembly toward the transaxle and made sure that the input shaft engaged the clutch disc. A quick way to test this is to move the flywheel at this point and check that the driveshafts coming out of the transaxle rotate in accordance. Bringing the two halves together was a tedious process of going around the flange and tightening down all the bolts to torque specs.
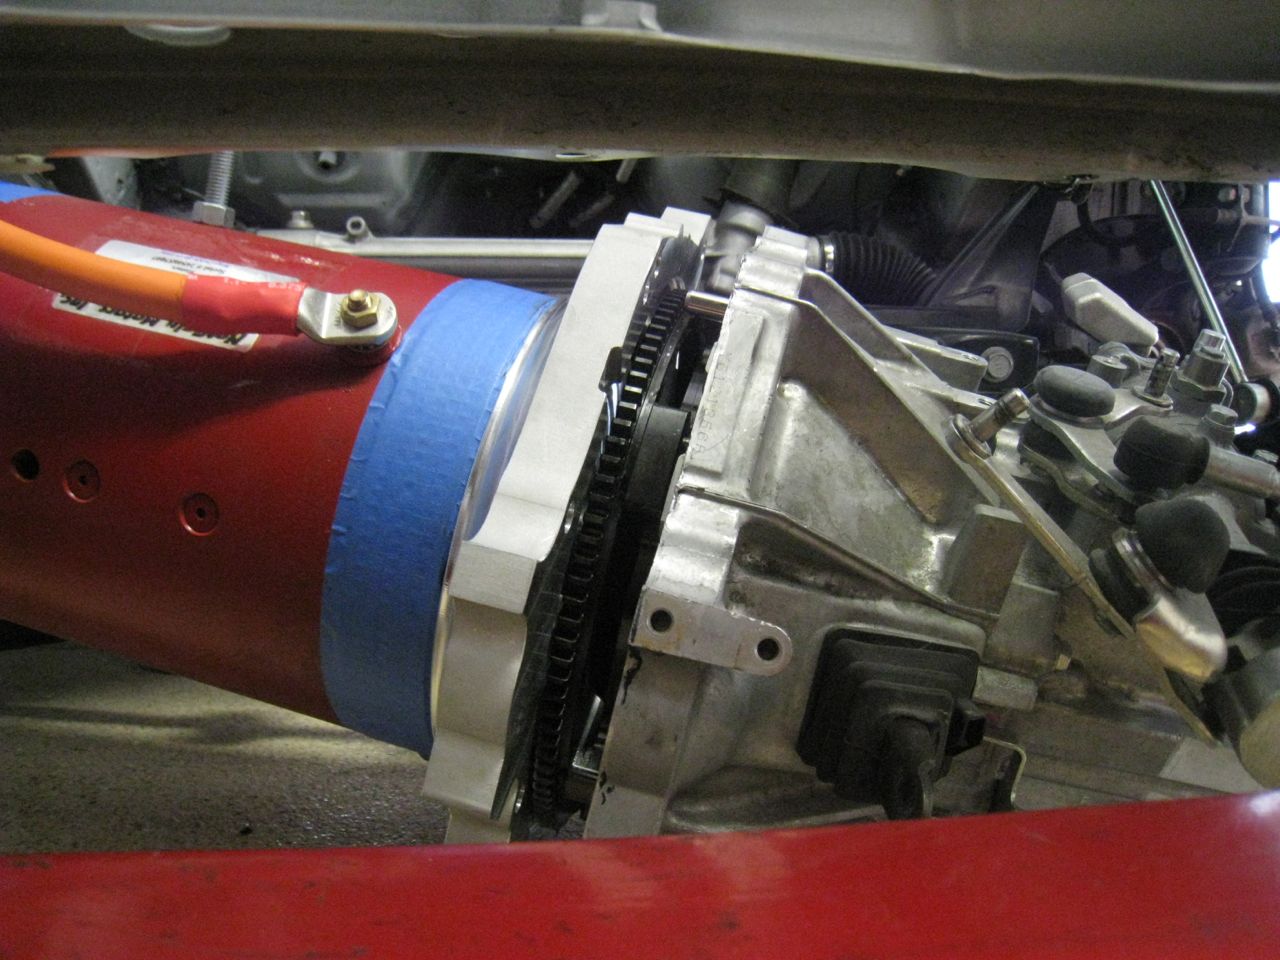
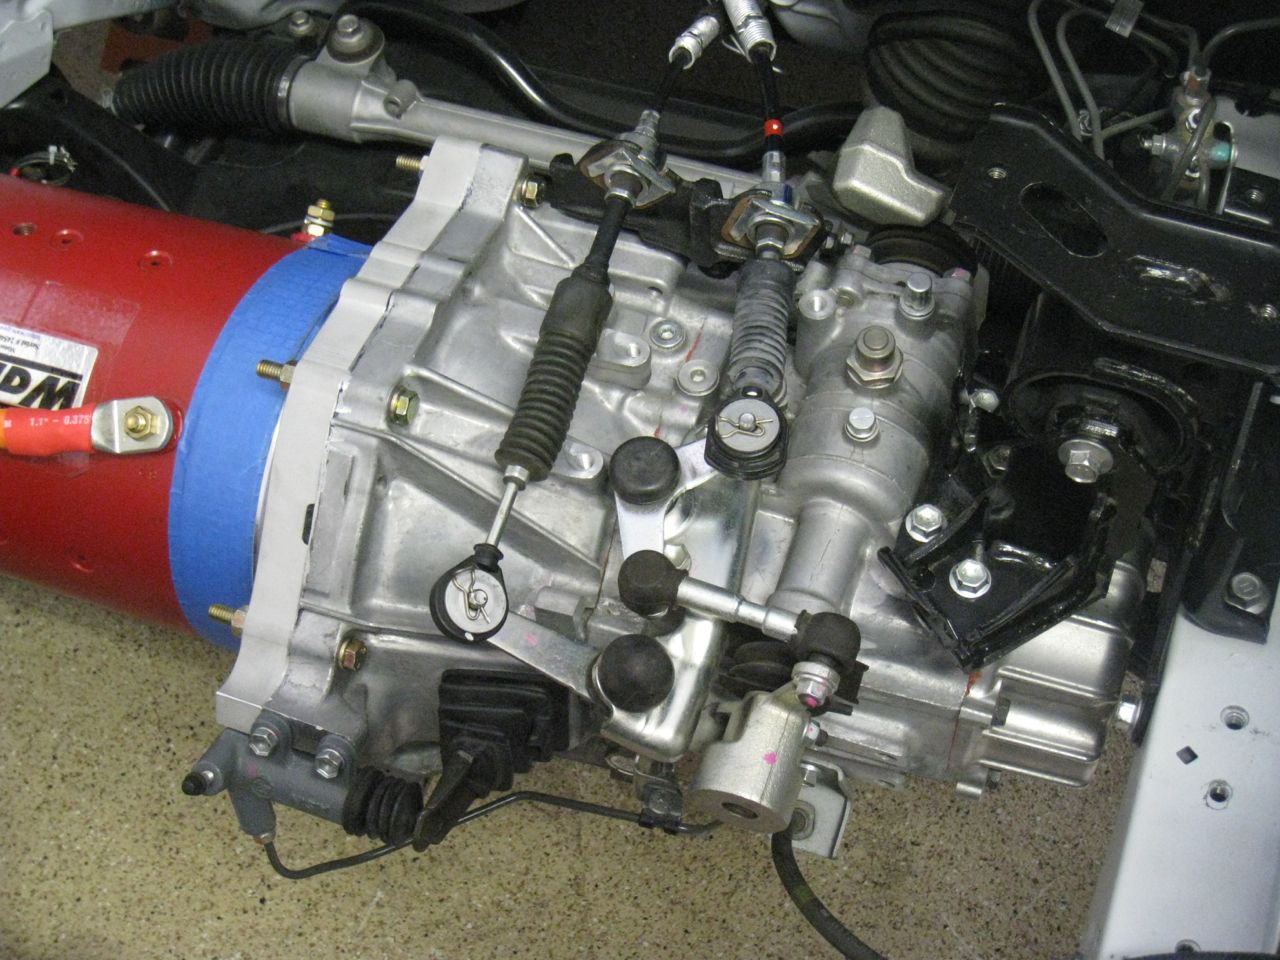
The completed drivetrain assembly was hoisted into position and I proceeded to secure it to the chassis by bolting up the OEM motor mounts and then the tail shaft mount that was custom fabricated. This was another headache from a home-garage-logisitcs perspective, but I managed to get it done (I also managed to hit the windshield in the process and create a crack at the edge…will be replaced). Once everything was verified to be in the right position, I began the process of torquing down all the mount bolts and removing the engine hoist. The next two photos show the drivetrain suspended in the car, finally!

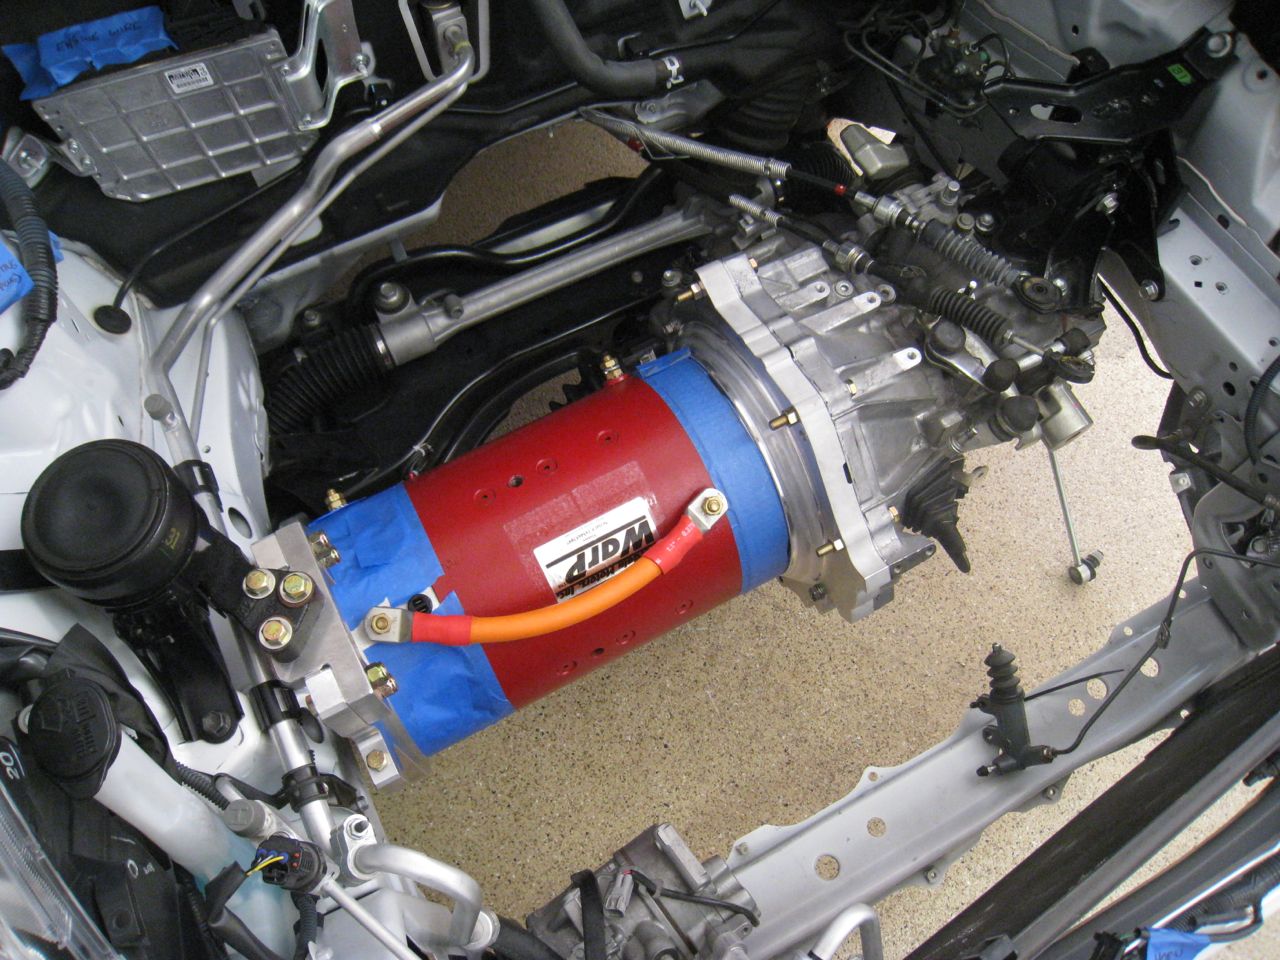
As you can see it looks really nice mounted in the car and I think the engineering and quality of the machine work paid off. Finally, I went about re-installing all the original equipment and hardware that is needed to shift and operate the clutch. I cleaned up and re-greased all the linkage pivots to ensure really smooth operation. It went together quickly as I took photos of the disassembly, wrote down notes, and also have the repair manual handy. Not to mention, it was pretty straight forward.
I've begun reinstalling the drive shafts into the wheel hubs and hope to be able to turn over the motor and confirm everything is sound all the way out to the wheels under 12V power. I'm looking forward to that moment as I can finally take the car off jack stands if all goes well. Fingers crossed.
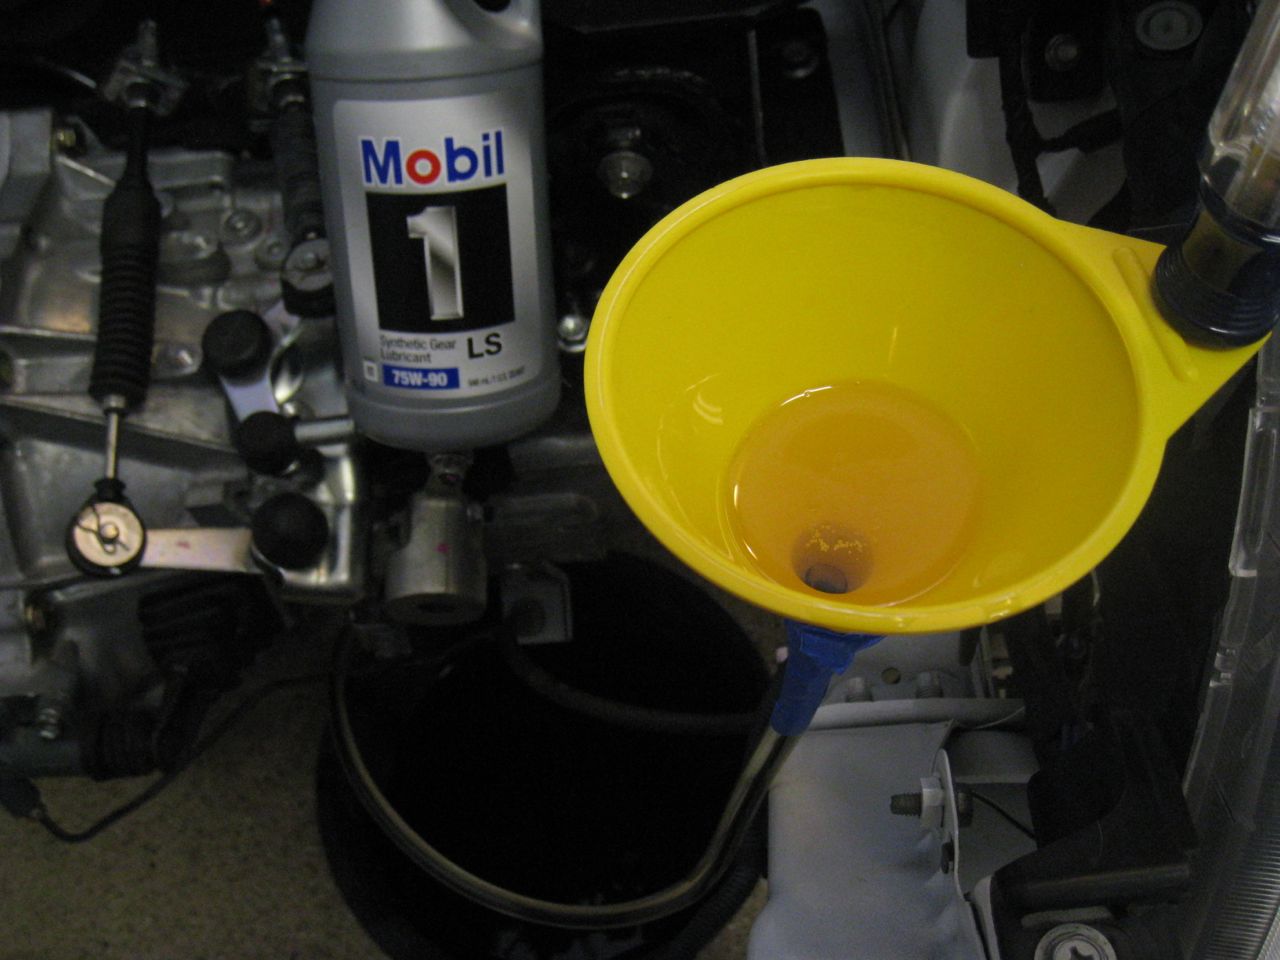
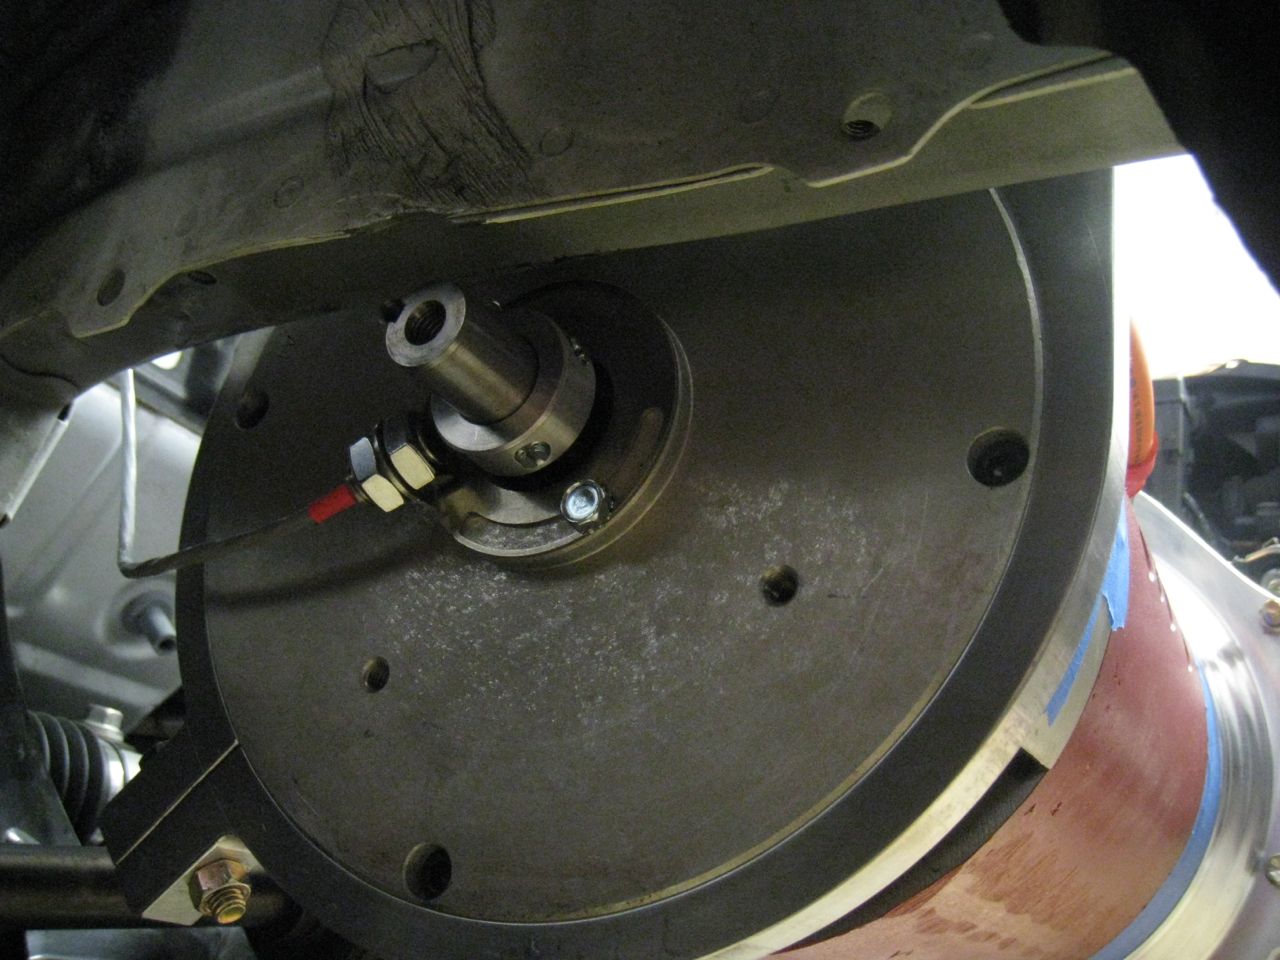
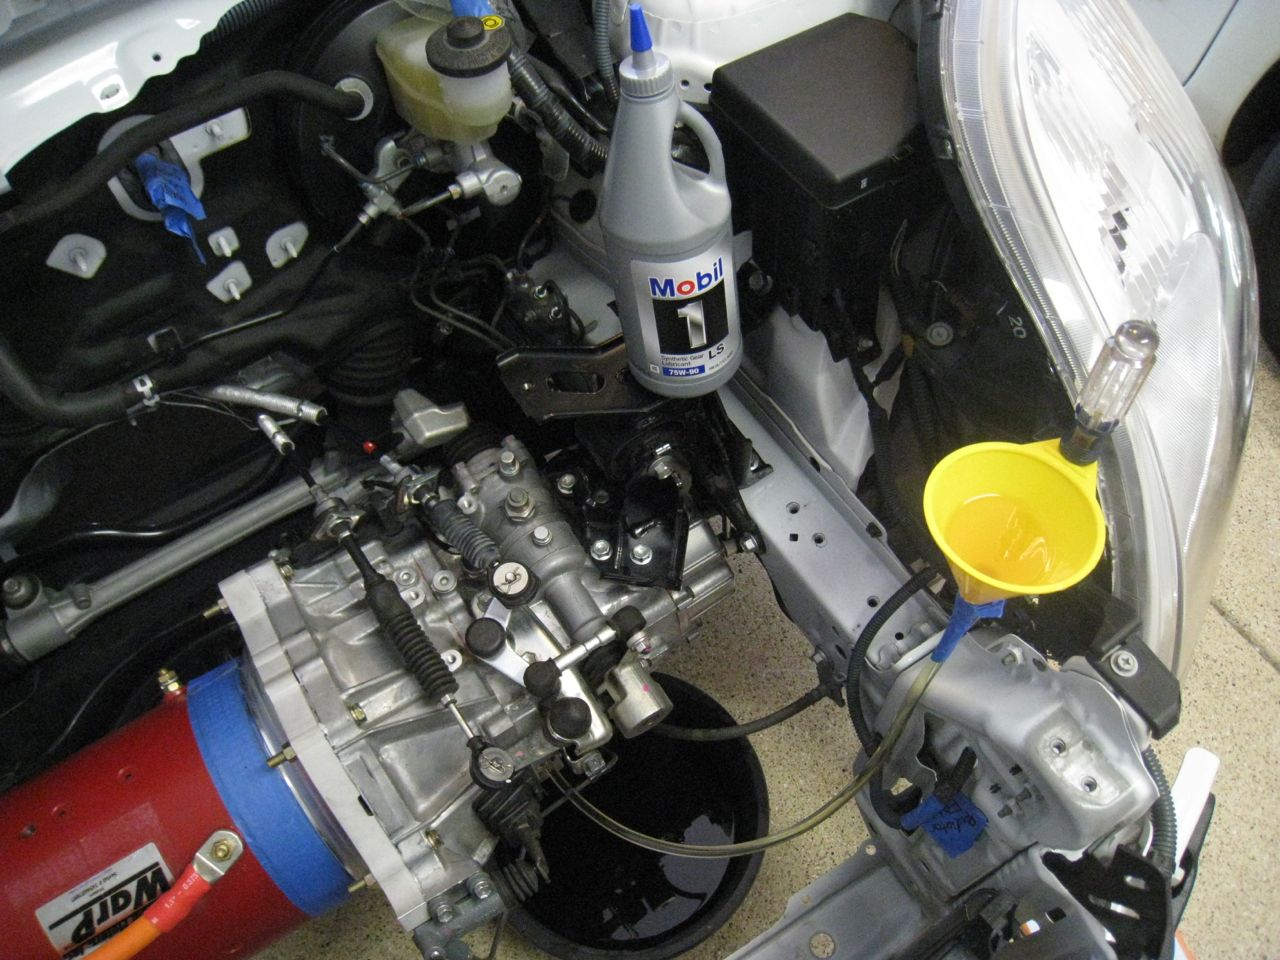 I also installed the motor speed sensor today. This little unit is extremely simple to mount and the only real trouble I ran into was to remove a tiny bit of sheet metal from the unibody that interfered with slipping the sensor collar over the commutator shaft. A bit of grinding and things were looking good.