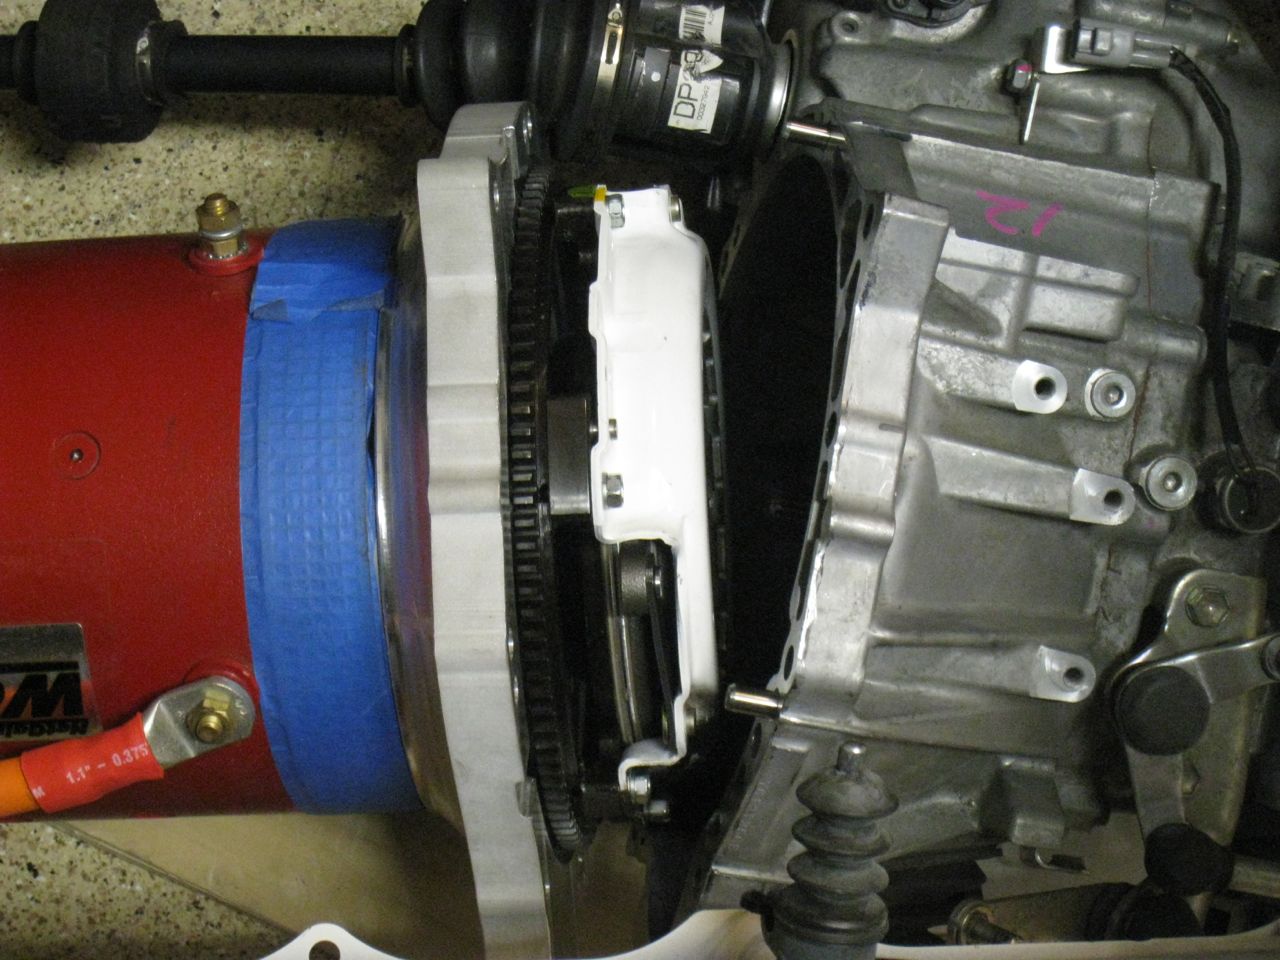
 I moved the motor side assembly toward the transaxle and made sure that the input shaft engaged the clutch disc. A quick way to test this is to move the flywheel at this point and check that the driveshafts coming out of the transaxle rotate in accordance. Bringing the two halves together was a tedious process of going around the flange and tightening down all the bolts to torque specs.
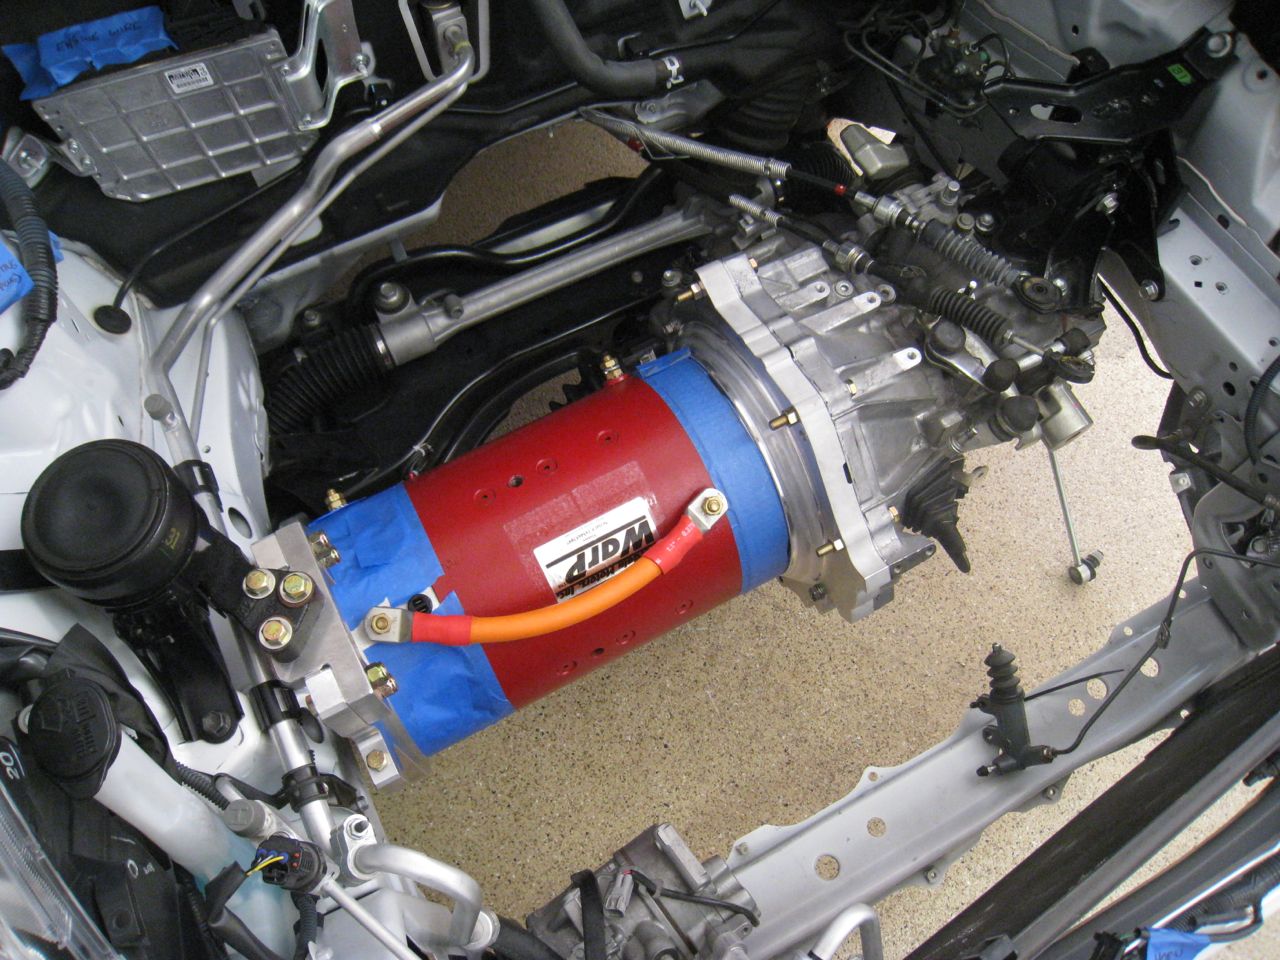
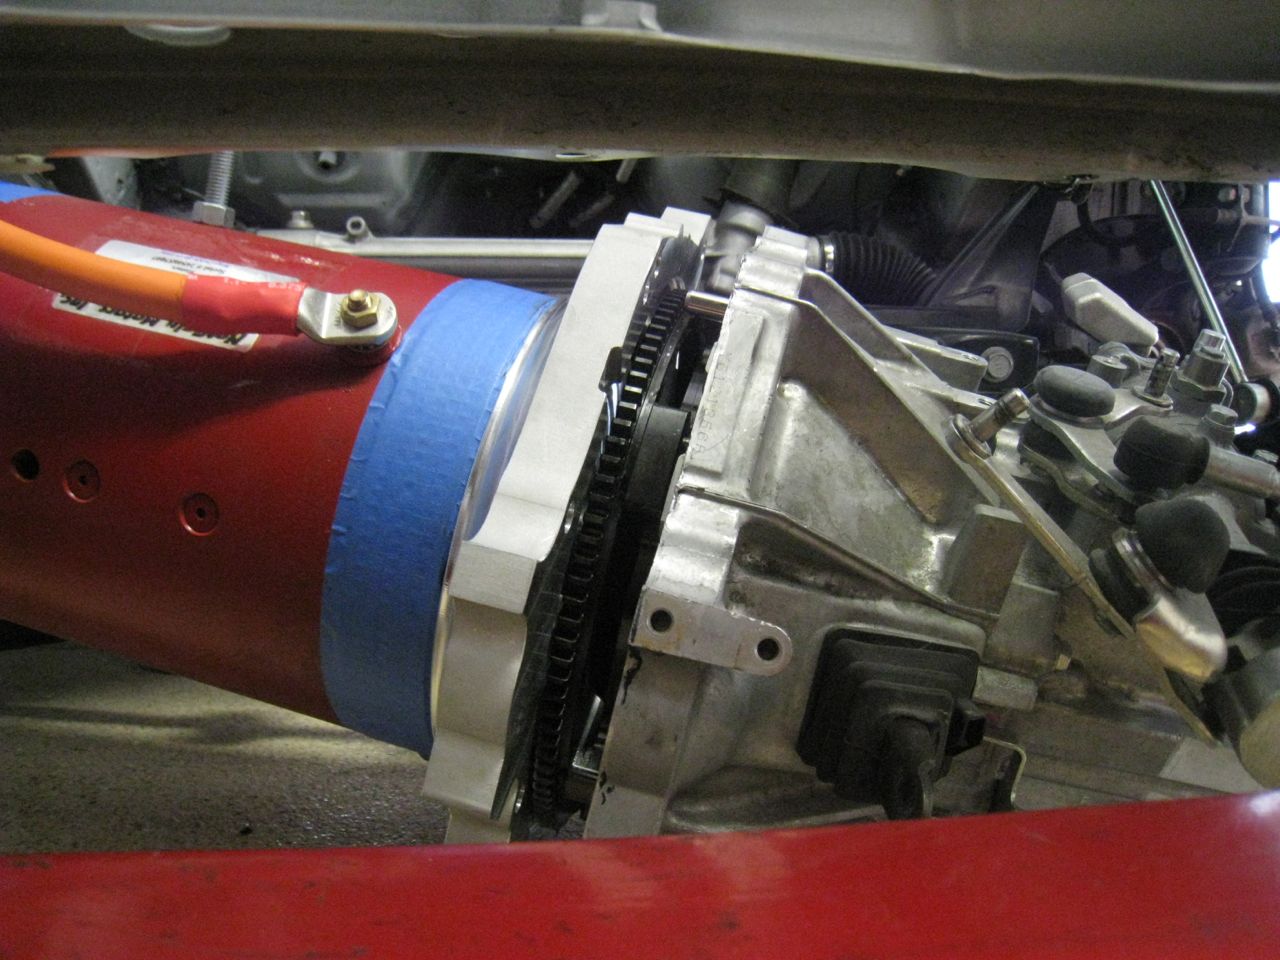 The completed drivetrain assembly was hoisted into position and I proceeded to secure it to the chassis by bolting up the OEM motor mounts and then the tail shaft mount that was custom fabricated. This was another headache from a home-garage-logisitcs perspective, but I managed to get it done (I also managed to hit the windshield in the process and create a crack at the edge…will be replaced). Once everything was verified to be in the right position, I began the process of torquing down all the mount bolts and removing the engine hoist. The next two photos show the drivetrain suspended in the car, finally!
 As you can see it looks really nice mounted in the car and I think the engineering and quality of the machine work paid off. Finally, I went about re-installing all the original equipment and hardware that is needed to shift and operate the clutch. I cleaned up and re-greased all the linkage pivots to ensure really smooth operation. It went together quickly as I took photos of the disassembly, wrote down notes, and also have the repair manual handy. Not to mention, it was pretty straight forward.
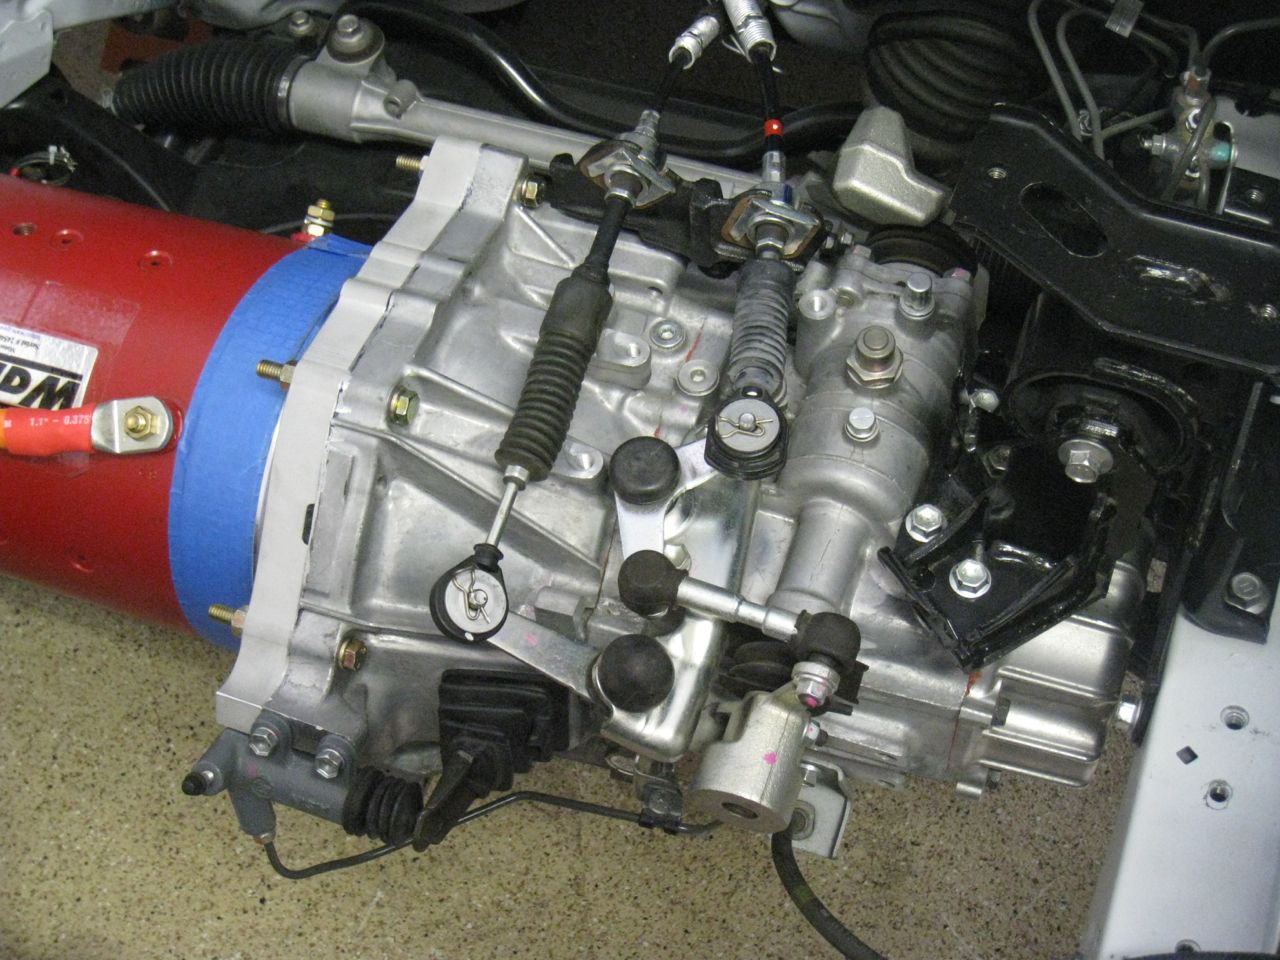
I've begun reinstalling the drive shafts into the wheel hubs and hope to be able to turn over the motor and confirm everything is sound all the way out to the wheels under 12V power. I'm looking forward to that moment as I can finally take the car off jack stands if all goes well. Fingers crossed.
1 comment:
Hey there! My name is Michael and I'm a friend of Brian's from NYC. We worked together at DDigital. I had been following your Falcon build religiously and also got hooked on your EVYaris. It makes me soooo happy to see that drivetrain together (but I'm sure it makes you feel more so!)
I've been thinking of an EV motorcycle for sometime. I'm not ready to jump in just yet, but my thoughts are of a superlight, modern sportbike rolling chassis as a commuting vehicle. I love the fact your EVYaris will have a transmission as it allows you to gain higher top speeds for less energy. If I could make that work on a bike I could shoot for a smaller, lighter motor and still keep some top end speed/performance.
I'm currently looking into the logistics of a super-capacitor bank instead of batteries for their quick charge and super high recharge-ability. A regenerative braking controller would be a great boon, especially in stop and go traffic, and the capacitors could easily be recharged via a solar panel, though I'm not sure how large it would have to be in order to charge off site. It might be too cumbersome on a bike, but it may be something you could make work given you have a larger frame to hold a panel(s).
Great work! I love what you're doing and I hope to join in the fun someday.
Cheers!
Post a Comment