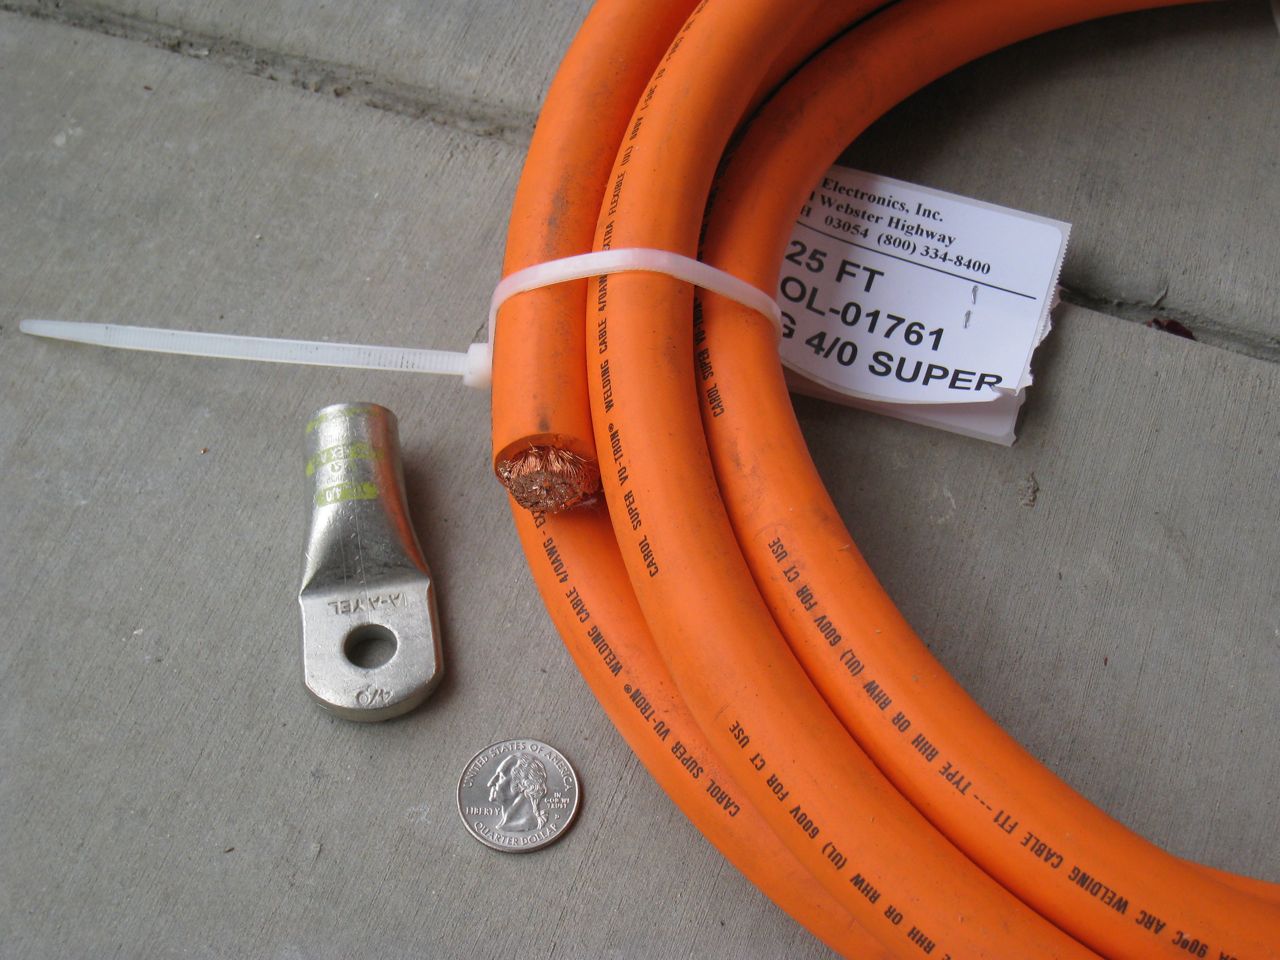
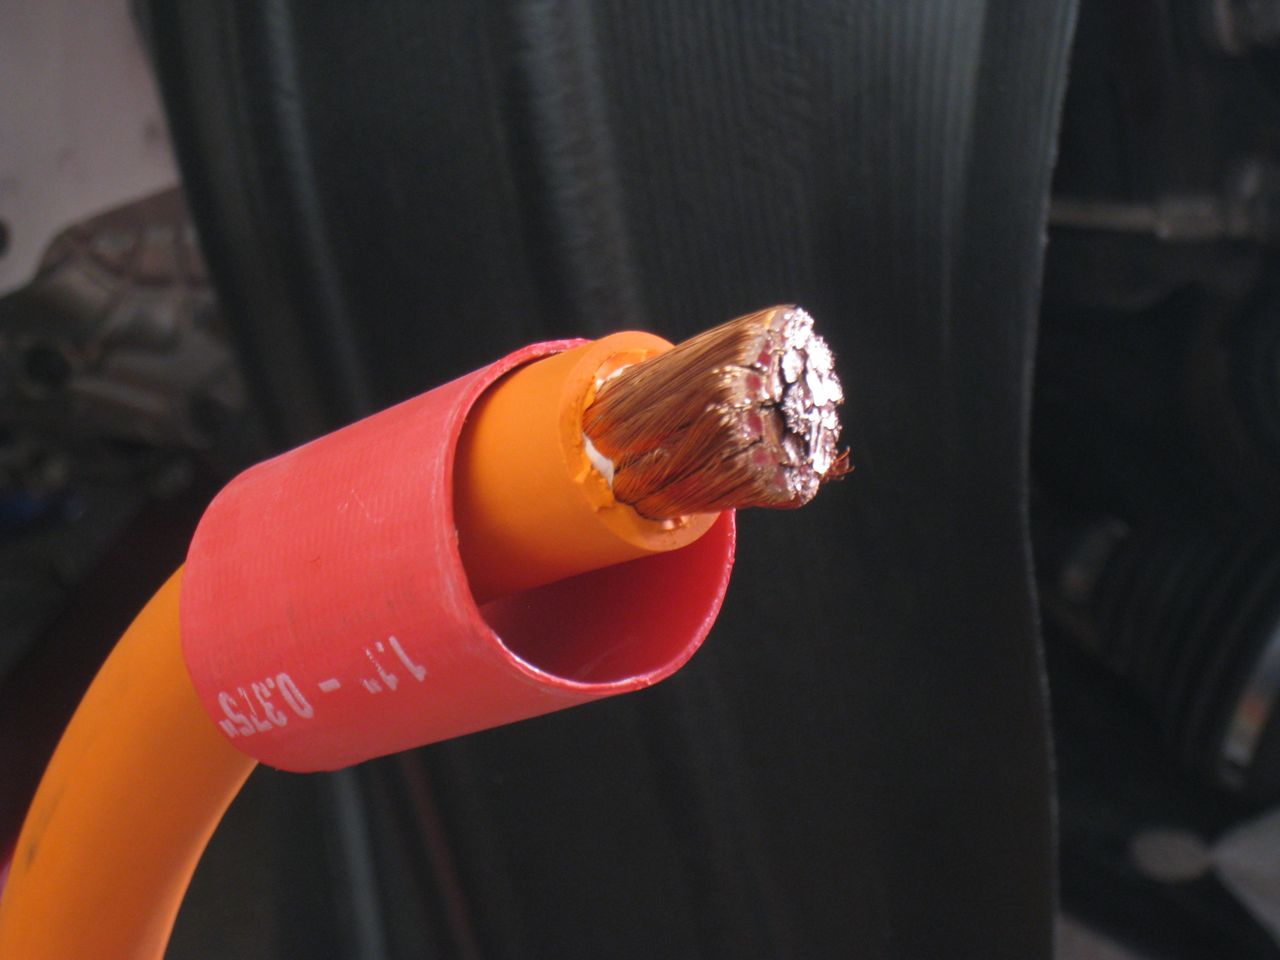
I ordered and received cable last week. I bought some 4/0 and 2/0 Super Vu-Tron ultra flexible welding cable to do my high voltage cabling. Below is a photo of the 4/0 with the appropriate heavy duty MagnaLug and a quarter for thrown in for scale:
I also purchased some thick walled mil-spec adhesive lined heat shrink tubing (black and red) to go along with the different sizes of cable. I decided to grab the 3:1 shrink ratio kind as I found a good deal on this particular combination. An added bonus is that you can also fit this size over the lugs after crimping the cables. There were several tools necessary for the job that I didn't own.
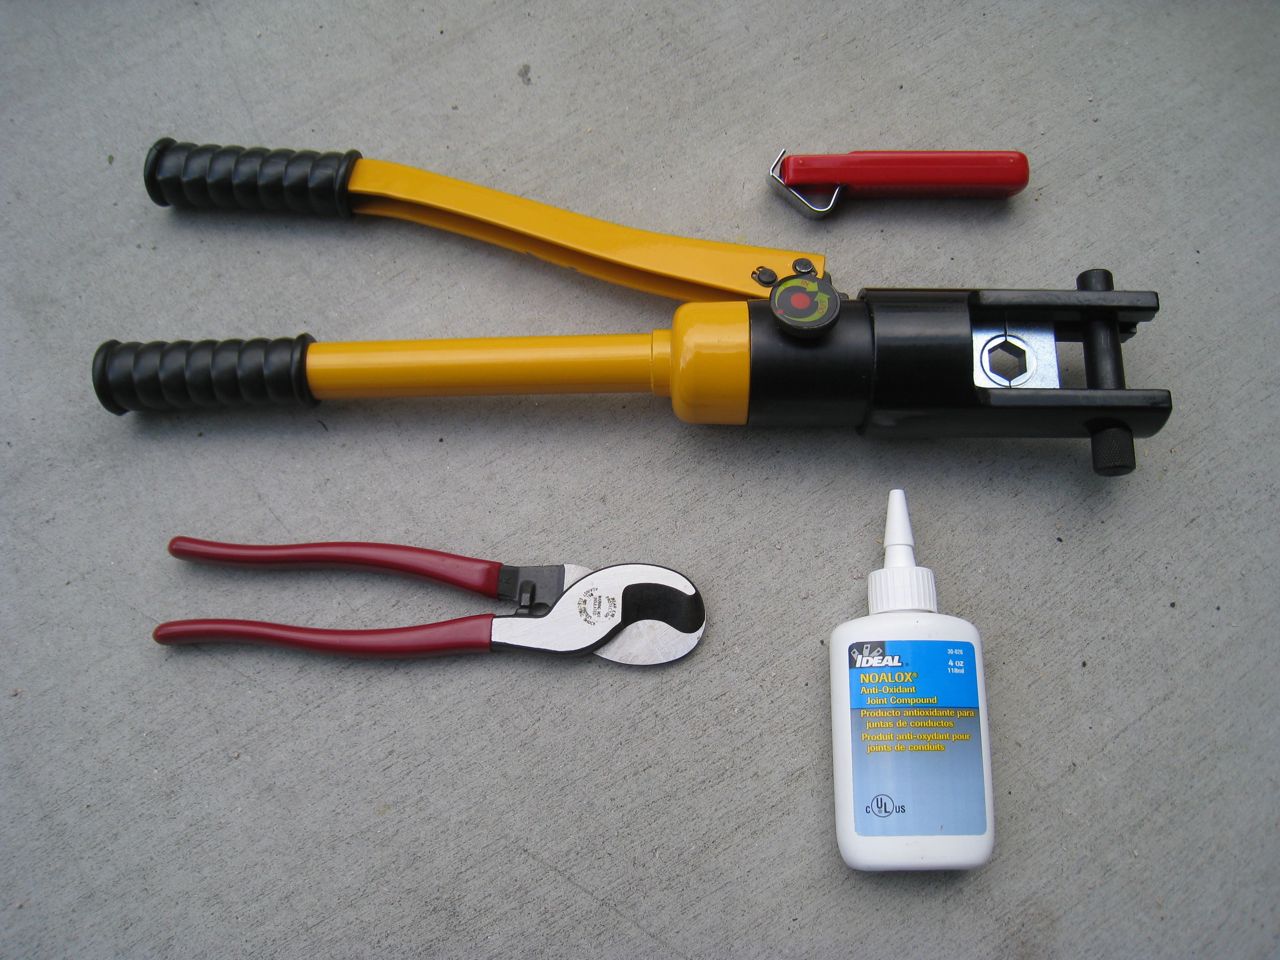
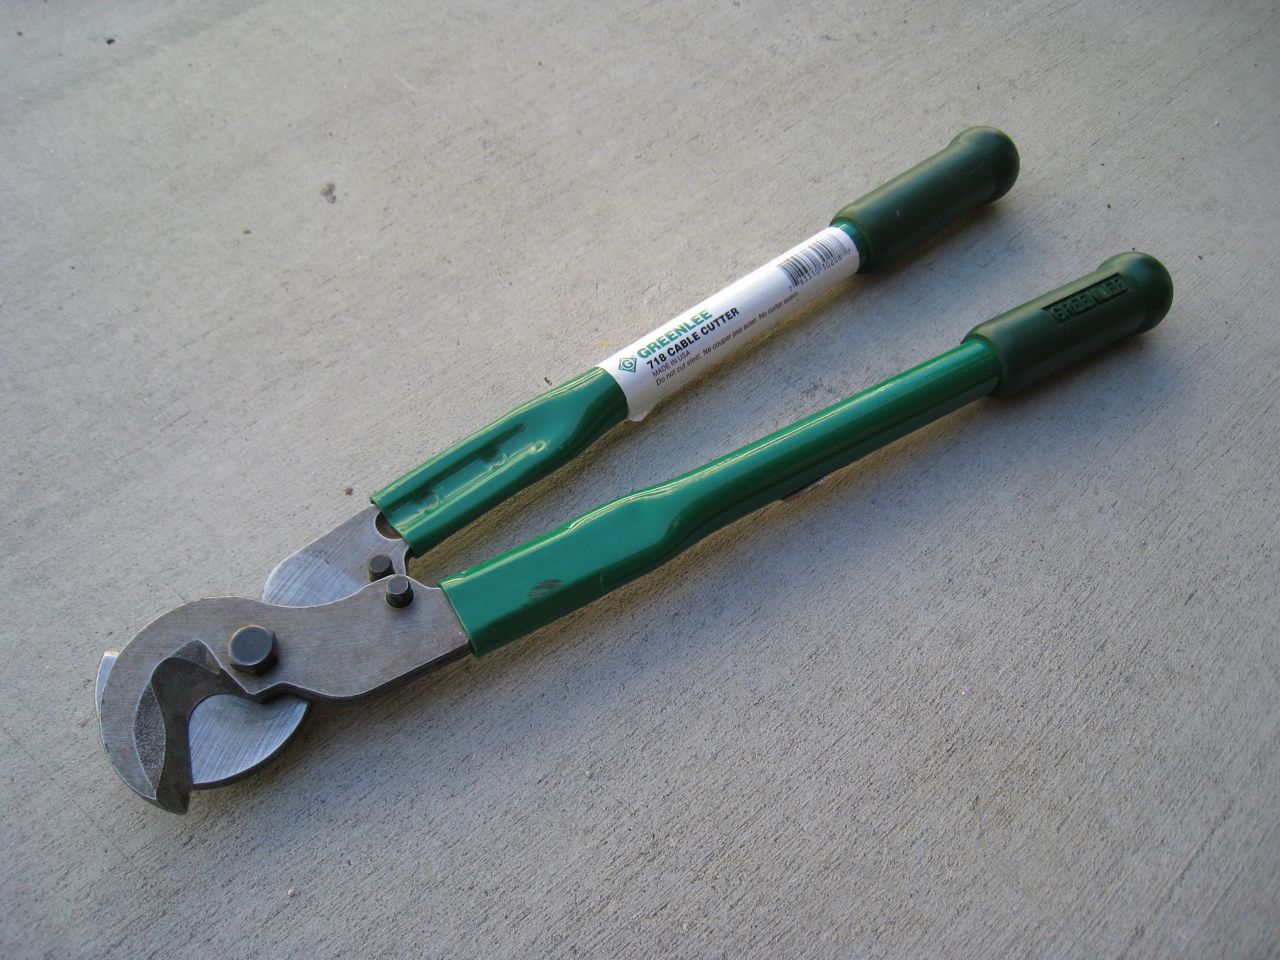
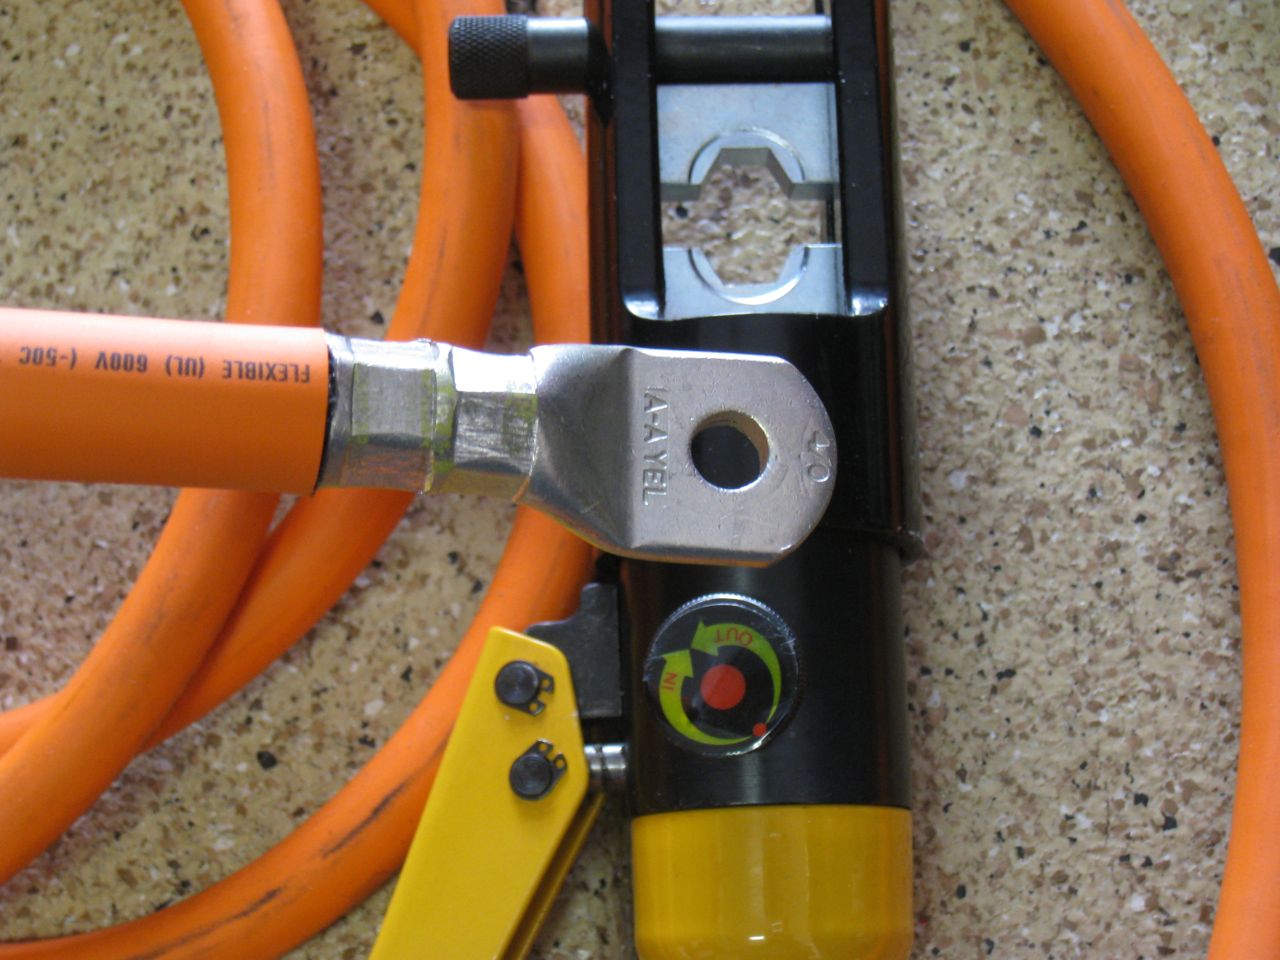
The first photo above shows a wire stripping tool in the upper right. This little thing is pretty good at stripping wires up to 2/0 with ease. When I tried it on the 4/0, it almost does the trick but I have to finish the job/clean up the cut with a utility knife. Next, in the middle, is a 16-ton hydraulic crimper. I used the 120mm2 dies for crimping the heavy duty 4/0 MagnaLugs and it is a fantastic tool. Cost about $120 but I can't imagine making these kinds of secure crimps without a good tool. In the bottom left is a Klein Tools 9 1/2" cable cutter and in the bottom right a bottle of NOALOX anti-oxidant compound. I realized after trying the Klein cable cutters on the 4/0 that I needed something with more leverage. So I went out and bought a Greenlee 718 cable cutter. This thing is 18" long and cuts through the 4/0 with ease and leaves VERY nice clean cut ends as you can see below:
So here is a quick rundown of how I made my first cable (used on the Warp9 motor from the A1 to S1 terminal). I stripped the cable back about 3/4" from the cut end, used a chip brush to apply a generous amount of NOALOX to the exposed wire strands. I also coated the inside of the lug with it. I careful fit the lug over the cable end and placed it in between the crimping dies. I crimped the lug in 2 locations, rotating it 90 degrees from one crimp to the next.
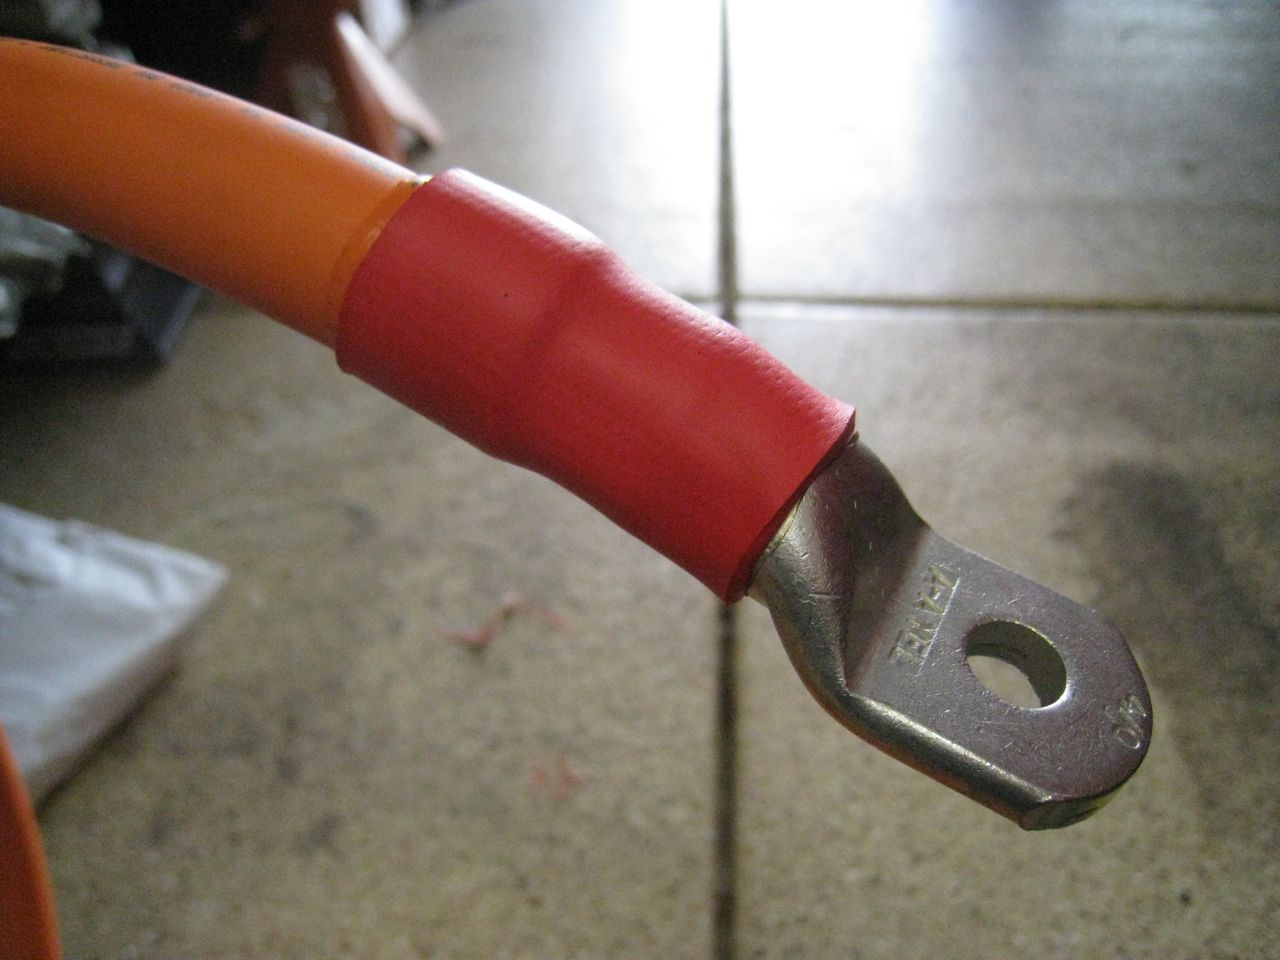
I then cleaned of the cable and lug to remove any excess compound/dirt before slipping the heat shrink tubing over the end to ensure the best possible adhesion. Next I used my heat gun set on high and moved it around the tubing in as evenly as I could. I heated it until it was snug and I could see the adhesive ooze out a bit:
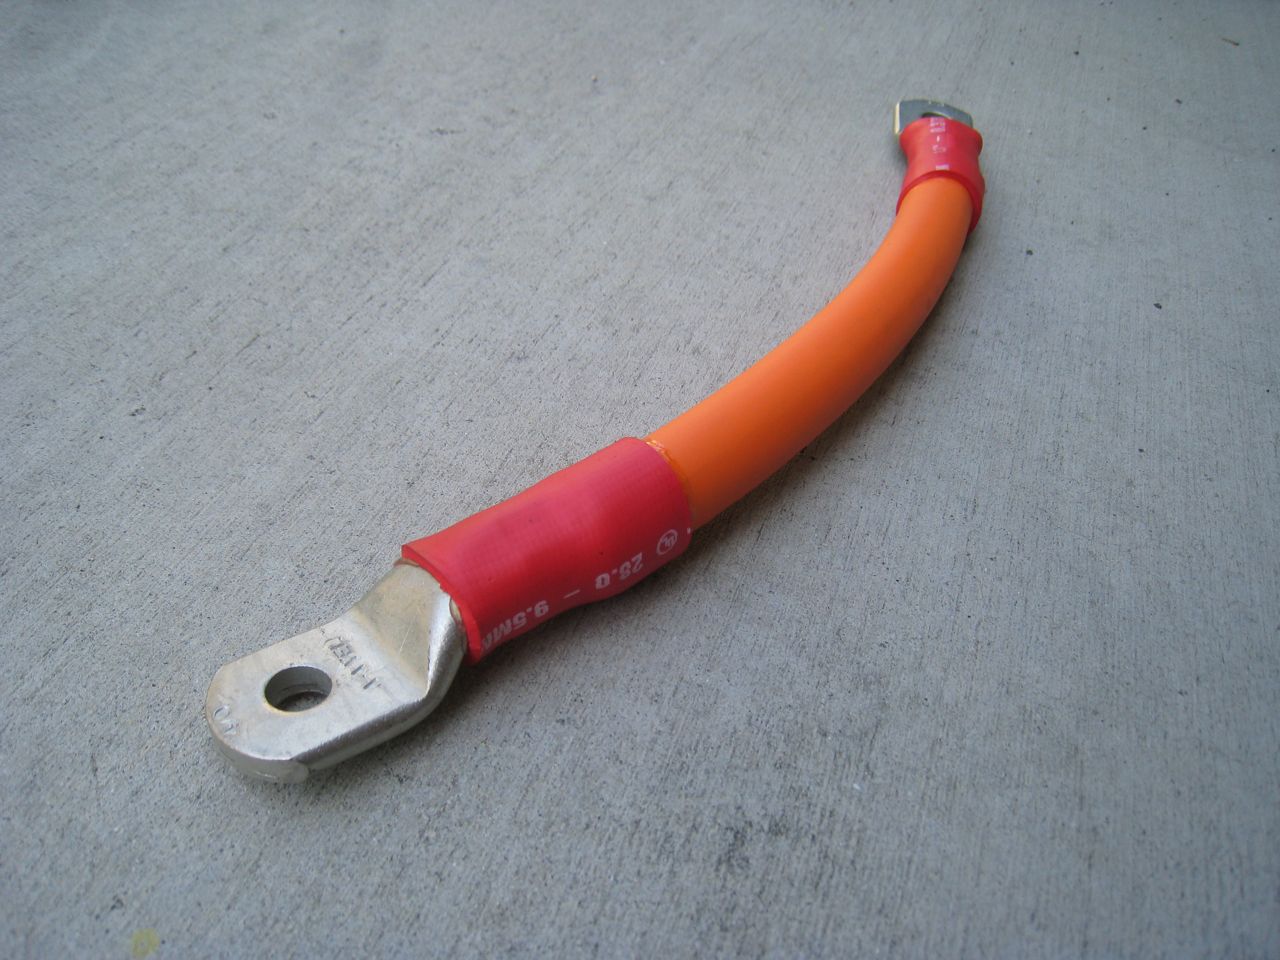
Finally, I placed the completed end on the A1 terminal of the motor and measured how much more cable I needed to make the run to the S1 terminal taking the length of the lug and the cable that goes inside it into account. Then I just followed the exact same process as before and completed the cable. A good tip is to know the orientation of the lugs before you crimp them and take into account the natural curvature of the cable so you're not fighting either once the cable is completed.
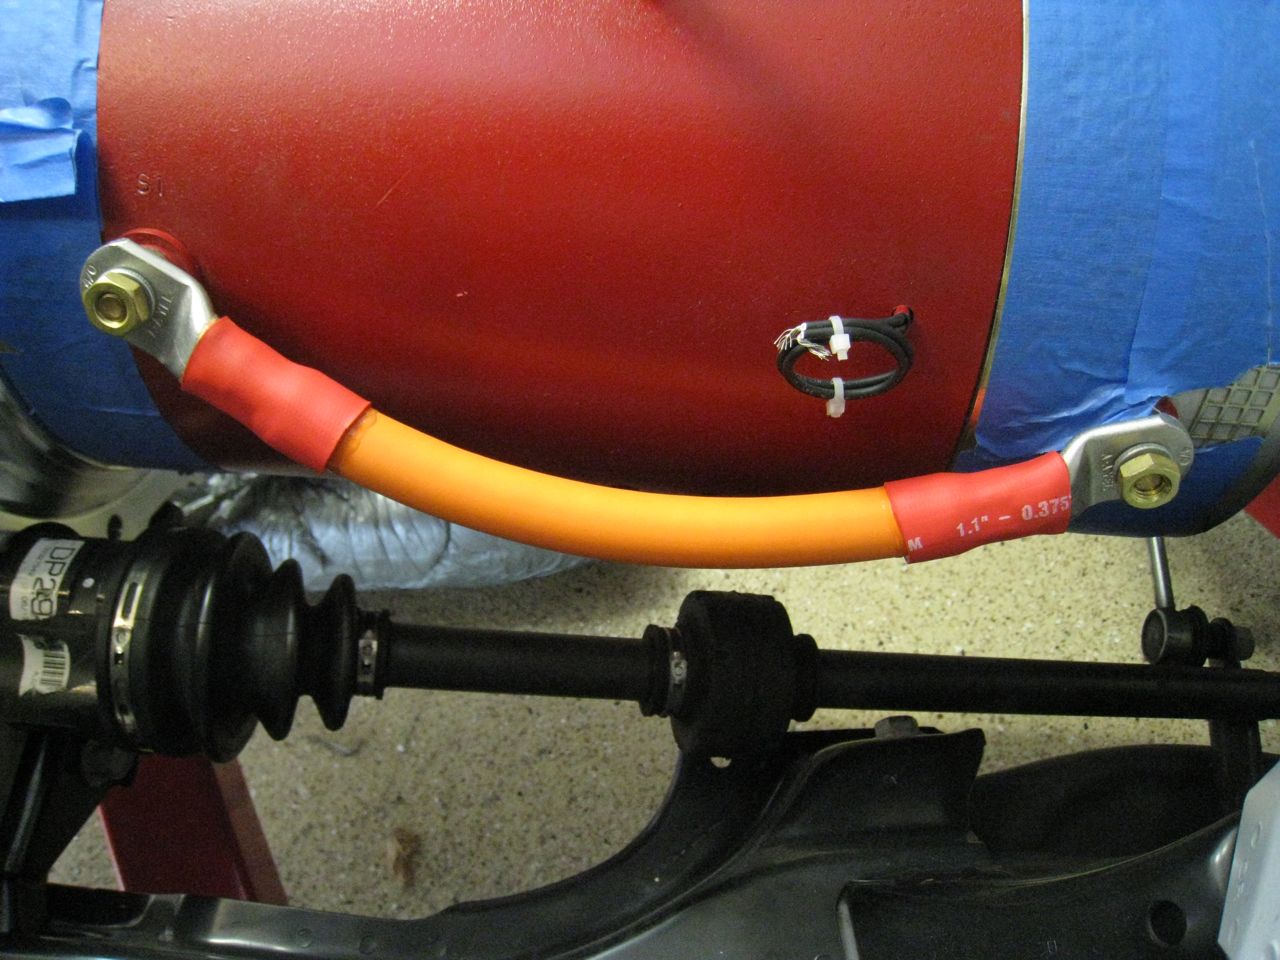
Last but not least, I snapped a shot of the cable attached to the motor. This photo is from the firewall looking toward the front of the vehicle. I won't be making any other cables until the main components are in the car. I just wanted to get one under my belt to make sure I had everything I need when the time comes. So, that's it for now.