Saturday, October 25, 2008

Demolition: Exhaust (part II)

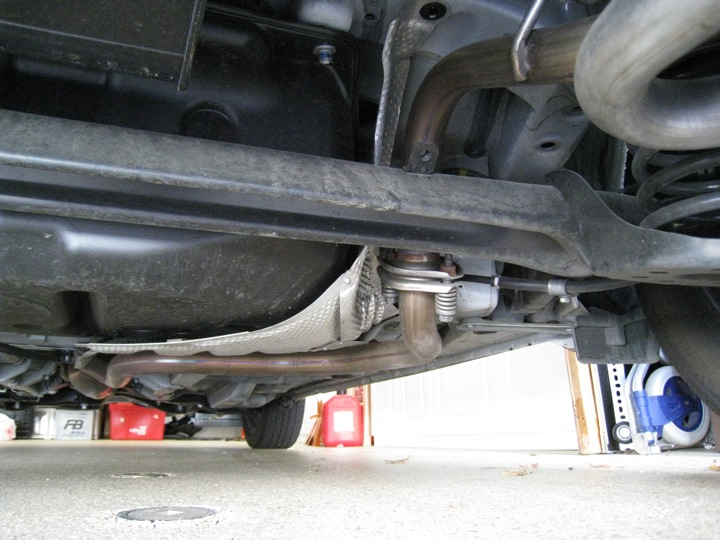
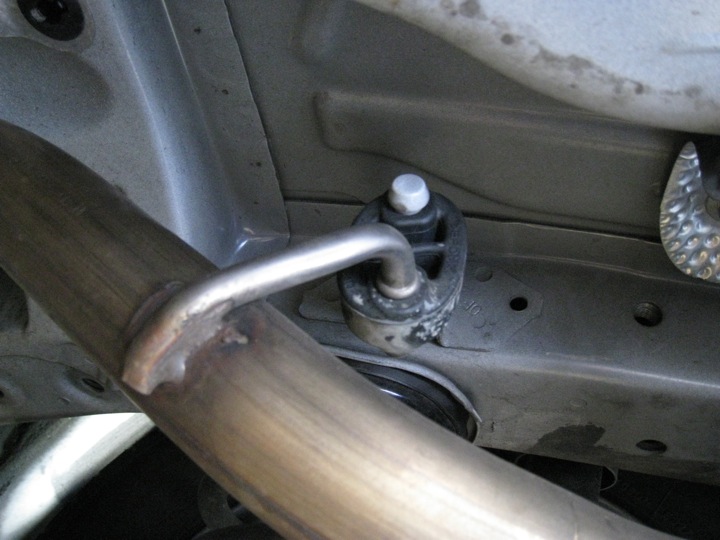
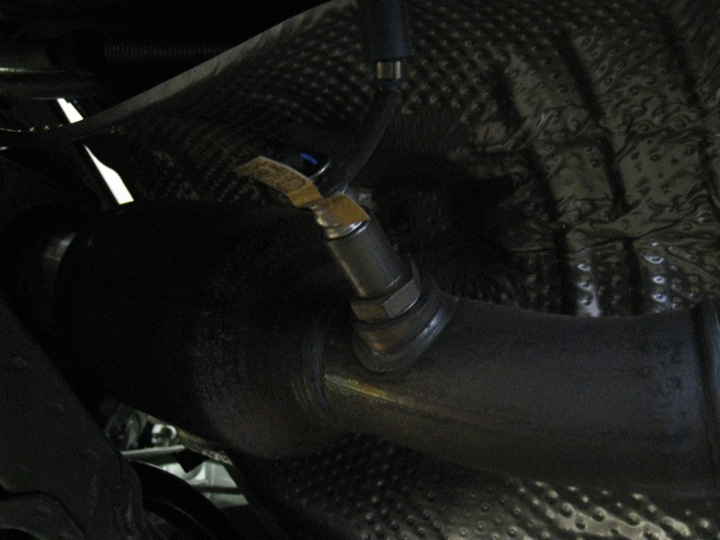
In order to remove the rest of the exhaust system (from the manifold back), this pesky little oxygen sensor has to be disconnected first. The wire from the sensor passes through a grommet in the bottom of the car into the passenger cabin. Sorry about the dark photo.
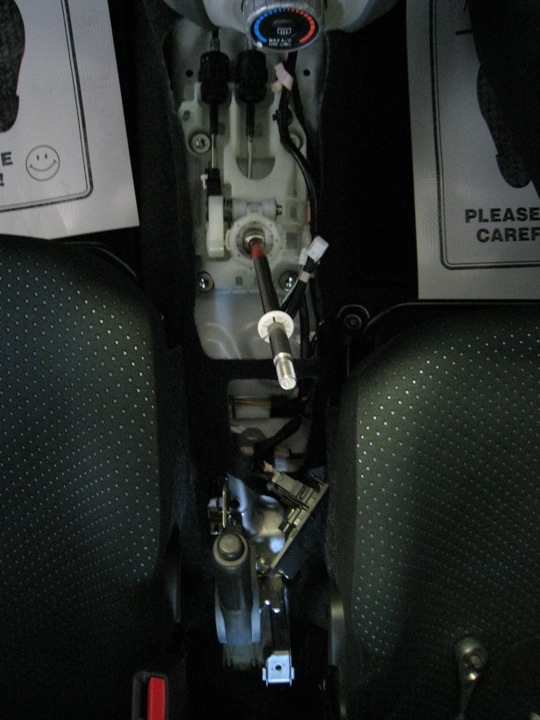
The center console needs to be disassembled in order to access the spot where the oxygen sensor comes through the floor of the car. Here I'm taking apart the shift assembly first so that the plastics can be removed.
Once it's all apart, I disconnected the sensor via a wire connector, and then re-assembled the interior parts. Here's a peak before I tidy up. 
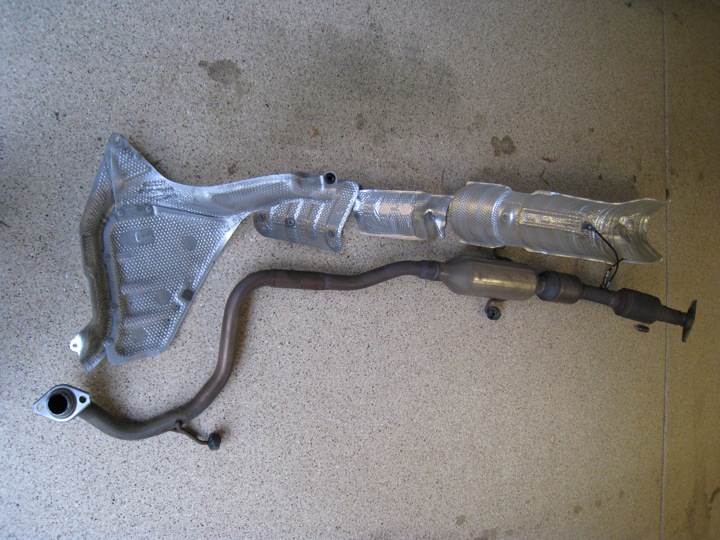
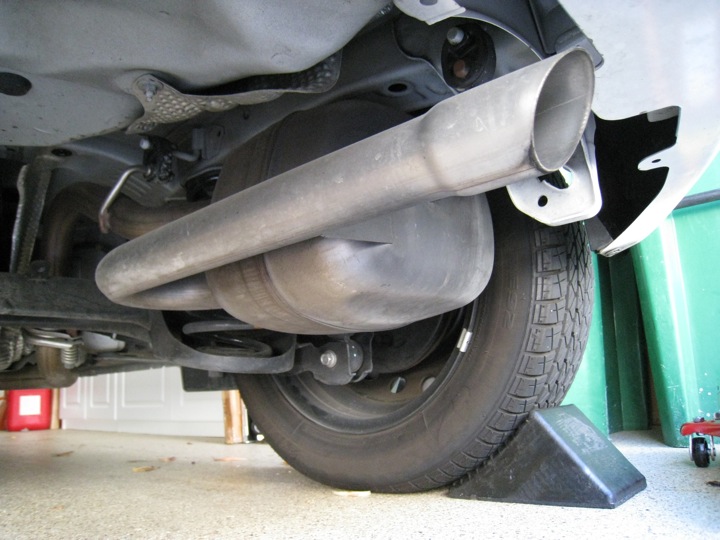
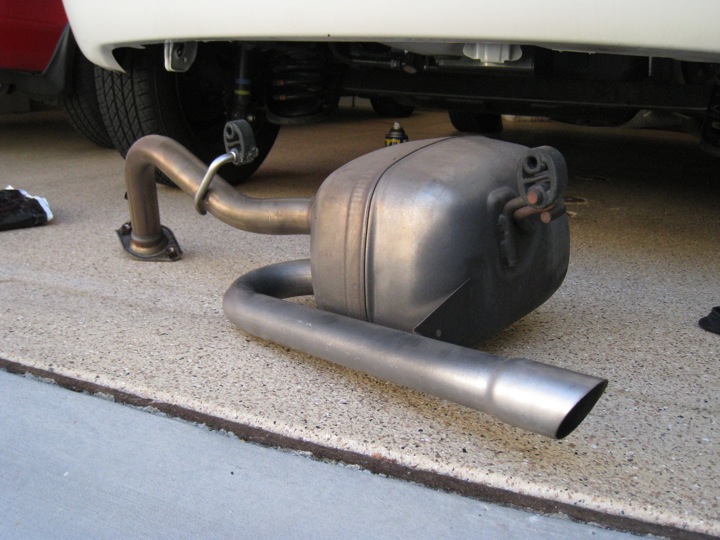
Finally, 2 bolts at the exhaust manifold get removed, then there's more pushing and pulling on hangers/mounts. Now I've got a bunch of pipe free from the car. Say good by to the stock exhaust. In addition, many thin metal heat shields were unbolted from underneath the car. They used to insulate other components (like the fuel tank) from the usually hot but recently removed exhaust system.

Demolition: Exhaust (part I)

Perhaps demolition is a strong word for what started today. Pulling the exhaust system off the car began with muffler. It's the smallest muffler that I've ever seen. Here's the business end:
Just a quick unbolting forward of the rear suspension frees the muffler from the mid-pipe. Then it's time to wrestle with those stubborn rubber mounts.
For sale:

Sunday, October 19, 2008

Preparation begins

I didn't have a lot of time, so I removed the hood and the front bumper. This will make my life easier for the next few weeks. It's also nice because I don't have to worry about scuffing, or otherwise damaging the body of the car while I work over the engine bay
Above is the hood resting on the ground after I took it off. I marked where the mounts lined up prior to removing it so that in can be re-installed with proper alignment later.
Here's what the tiny engine bay looks like. Actually, there's a fair amount of space in the car's compact front. The front bumper covers a good portion of the useable space. It's held on by a fair number of bolts, plastic clips, etc. Nothing new to me except these plastic cleat-like mounts secured to the fenders. I really thought this was a nice bit of hardware so I snapped a shot:
Once the bumper was removed it looks less cramped in there. There's also a support structure (painted white) that crosses the engine bay. It holds the horn, hood latch/release, as well as the top of the radiator. I'll remove that a bit later.

Saturday, October 11, 2008

Going Off-Road

I drove the Yaris for a while to make sure everything was mechanically sound. I also wanted to get a good feel for the pre-conversion handling and performance characteristics. Alright, it was also really fun to drive and I almost couldn't stand the idea of not driving it for however long the conversion will take. 
At 14,674 miles, I took it in for a nice wash and wax, a thorough interior cleaning, then pulled it off the road.
One of the reasons I chose to go with a new car for my conversion was that I knew I would not have to spend any time restoring the car mechanically or cosmetically during my conversion. That's not to say that I don't have any aesthetic enhancements planned, but they won't be necessary to get the car into a desirable condition for daily driving. As you can see from the photo above, right after the car was cleaned it looks brand new.