Saturday, August 15, 2009

Measure twice, cut once

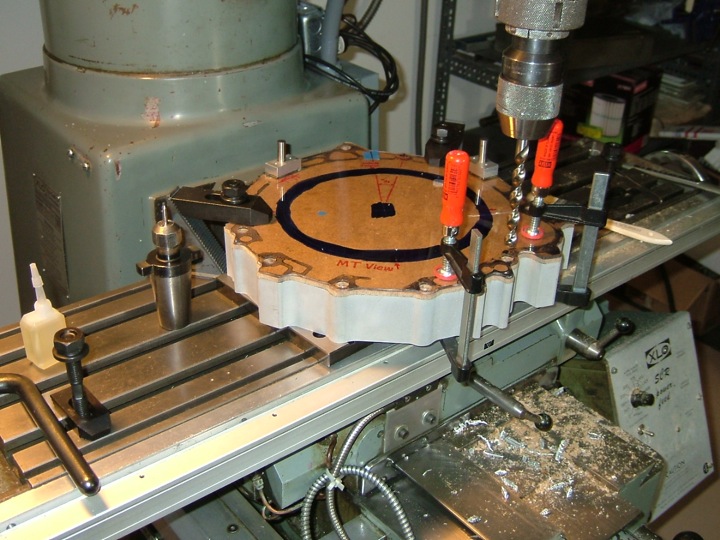
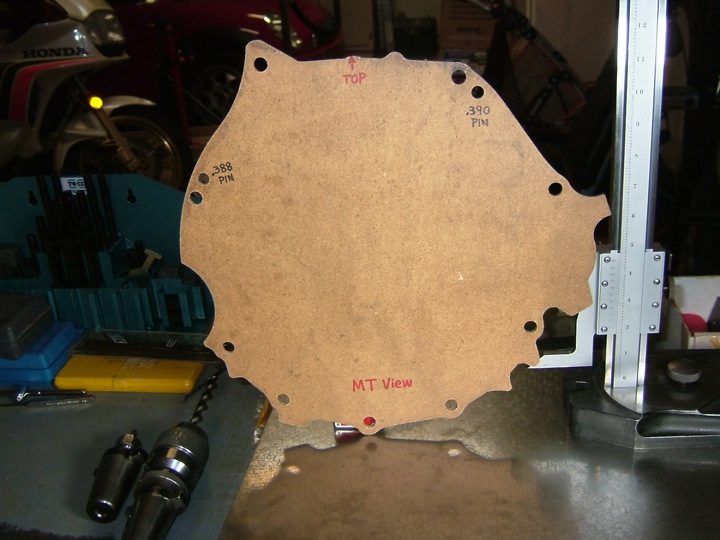
When the Masonite template arrived, I quickly mounted it to the transmission with the help of some steel alignment pins and the OEM bolts used to attach the engine. I found that there are 9 holes in the transmission (we also put 9 holes in the adapter template) but only 8 bolts were used on this particular car. So I'm short a bolt if I want to take advantage of all the holes.
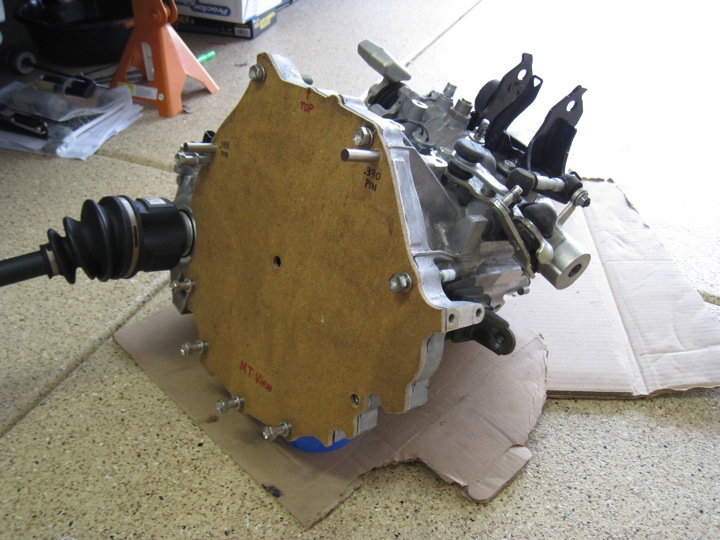
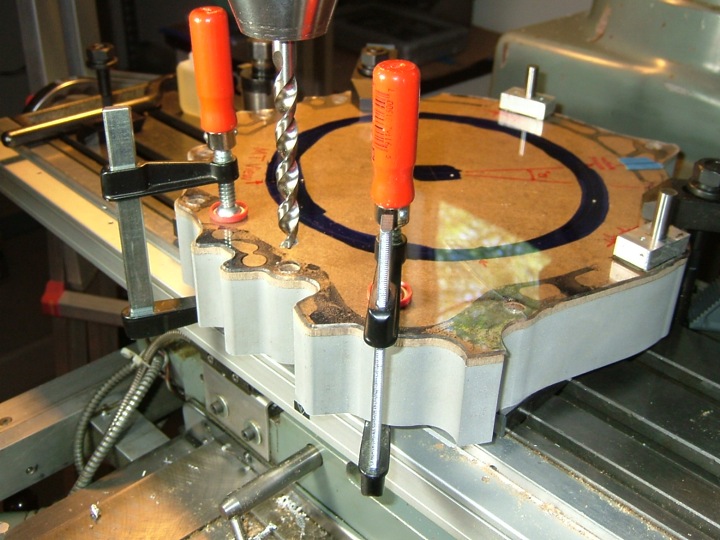
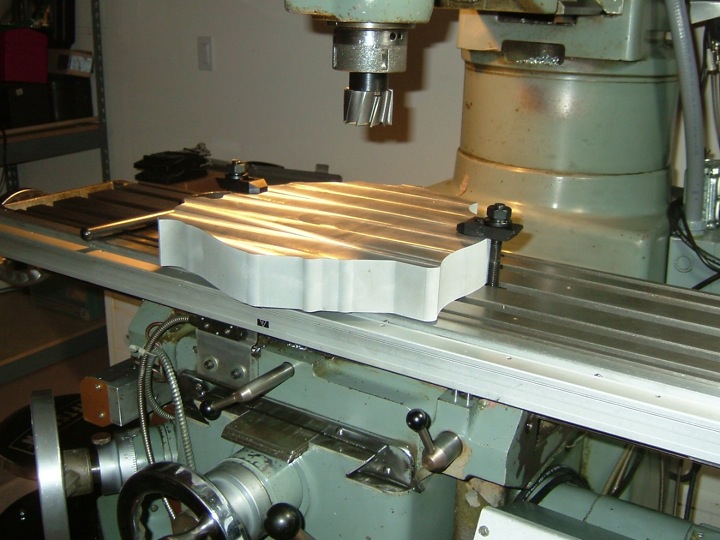
The holes along the bottom were slightly offset. This is the point of checking the measurements with this template before cutting an expensive piece of aluminum. 4 of them were fine allowing the bolts to thread without interference. However, there was one at the 4 o'clock position that was offset enough to not allow proper threading. I made notes of all the offsets on the Masonite with a black Sharpie marker so that adjustments could be made to improve their placement. I packaged the piece up and mailed it back to my father to cut the real aluminum adapter plate next weekend. These are exciting times.

Monday, August 10, 2009

Fabrication: Adapter Plate (part III)

I received an update today. Before final milling and drilling the aluminum plate, we decided to drill a test piece with the locating pin holes and bell housing mounting holes. Luckily, the shop that cut the aluminum plate with the water jet (using the the plexiglass template) tested their computer trace by first cutting it out of thin Masonite.
Above you can see the Masonite sandwiched between the 2 inch aluminum blank (bottom) and the plexiglass template we made (top). Below is a closer view:
Here is the Masonite test template. You can clearly see the drilled holes. Notes have been made to show the orientation of "top dead center", the diameters of the locating pins are written next to their appropriate locations, and the facing of the template (in this case MT for motor-transaxle) has be written at the bottom.
With the locating pin holes and bell housing mounting holes drilled into this rigid piece, I can check the fit. The piece was mailed to me today and should arrive in a few days. Any adjustments (if needed) will be marked up on this piece, mailed back, and then the aluminum plate will be machined to these final specs. We're getting close.

Monday, August 3, 2009

Fabrication: Adapter Plate (part II)

I know it's been a while, but here's a quick update. I helped my father put together a "serious-hobbyist" machine shop in his garage. He has a lot of projects he wants to work on in the future and has volunteered to help me machine parts for my electric car project. So, he's got some industrial grade tools now. The mill in particular is really something.
Above is a photo of the mill with the adapter plate clamped to it. Before drilling holes or machining features into the adapter plate, it was faced to consistent thickness of exactly 2 inches. There are minor variations in the raw plate that would throw the final adapter alignment off if not machined true. The plate is now ready for the bolt holes to be drilled. More on that soon!